background image

21

20

ELITE VO2 EXERCYCLE ASSEMBLY MANUAL

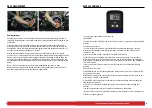
Warm up exercise is important in preparing the muscles for activity whilst minimising the 

risk  

of injury. You may choose to warm up with a light/brisk walking pace for 5-10 minutes 

before stopping and performing some simple stretches. (As shown in the pictures below)


Hamstring Stretch (Standing)


Keep your knees slightly bent and slowly lean forward, 

back and shoulders relaxed, reaching towards your toes. 

You should feel the tension and slight discomfort in your 

hamstring muscles. Hold for 15-20 seconds. Repeat 2-3 

times.


Hamstrings Stretches (Seated)


Sitting on the floor preferably on a mat, put one leg 

straight, the other inward and close to the inside of 

the straight leg. Lean forward from the hips, reaching 

towards your toes.  

Hold for 10-15 seconds, and relax. Repeat 3 times for 

each leg (See picture 2).


Crus and Feet Tendon Stretches


Standing with two hands on the wall or tree, one leg 

behind. Keeping your legs straight and the heel on the 

ground, lean forward towards the wall or tree. Hold for 

10-15 seconds,  

and relax. Repeat 3 times for each leg (See picture 3).


Quadriceps Stretches


Keeping your balance with your left hand holding onto 

a wall or stationery fixture, grasp your right foot with 

your right hand and stretch your right heel toward your 

buttocks slowly, until you feel the stretch in the front of 

your thigh. Hold for 10-15 seconds, and relax. Repeat 3 

times for each leg (See picture 4).


Sartorius (Inner Muscles of the Thigh) Muscle Stretches


Sitting down with the soles of your feet or shoes together  

and your knees positioned outward. Pull your feet 

towards your groin until you can feel the stretch. Hold for 

10-15 seconds, and relax. Repeat 3 times (See picture 5).

WARM-UP EXERCISE

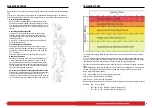
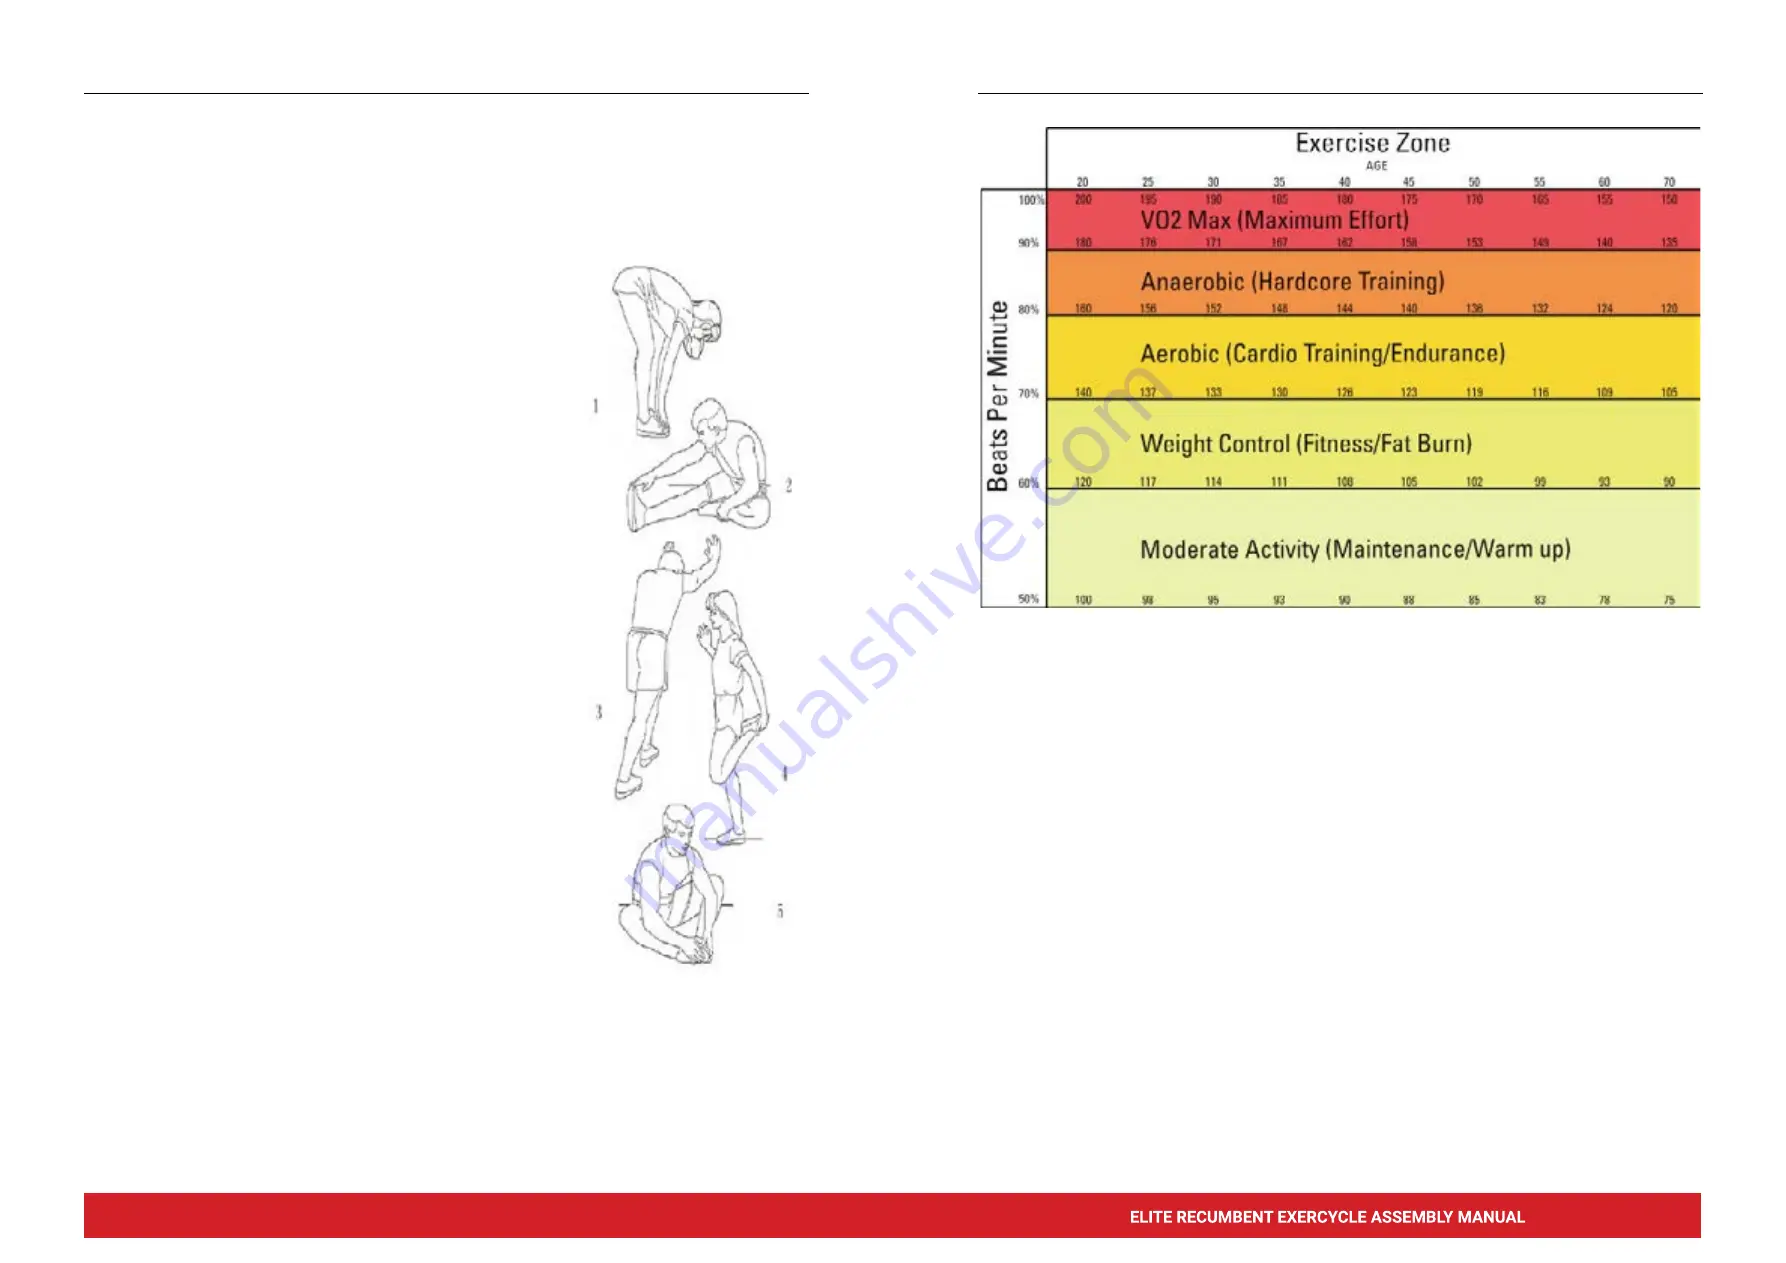
Cardiovascular training plays an important part in maintaining a healthy heart and lung 

function,  

so it’s no surprise we should be paying attention to how quickly our heart beats during 

exercise. The chart above outlines a range of heart rate training zones determined by the 

individual’s age and workout goals to ensure you train safely and effectively.
Heart Rate can be measured by using the radial (wrist) or carotid (neck) pulse using your 

index  

and middle fingers, counting the beats for 10 seconds and multiplying by 6. Alternatively, 

the use of a Wireless Telemetry Heart Rate strap and watch will give you an accurate 

Beats Per Minute (BPM) reading.
220 – AGE = TMHR (Theoretical Maximum Heart Rate)
TMHR x 85% = (Upper Training Limit) BPM
TMHR x 65% = (Lower Training Limit) BPM
Note: Contact heart rate may provide inaccurate readings and is designed only as a guide
Example:  220 – 39 = 181 BPM
 

181 x 85% (0.85) = 154 BPM (Upper Training Limit)


181 x 65% (0.65) = 118 BPM (Lower Training Limit)

TRAINING STAGES

Содержание VO5

Страница 1: ...ASSEMBLY MANUAL Record serial number Elite VO5 Recumbent Exercycle ...

Страница 2: ...entre Home Based PT Studio and Physio This exercise machine is built for optimum safety However certain precautions apply whenever you operate a piece of exercise equipment Be sure to read the entire manual before you assemble or operate your machine In particular note the following safety precautions Read all instructions in this manual before using this equipment Use the machine only for its int...

Страница 3: ...o be changed immediately During the time of repair the product must not be used by anybody IMPORTANT HINTS A This product has been tested in accordance with the requirements of EN 957 1 A1 EN 957 5 standard Class HA HOME USE The maximum load is limited to 120KG B Parents should be aware of the risk factor of young children playing on fitness equipment unattended Make sure that children are instruc...

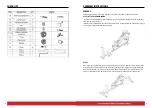
Страница 4: ... 1 Attach the rear main frame 9 to the hole of main frame 1 and fasten with 2 flat washers 65 2 curve washers 66 and 4 Allen head bolts 77 STEP 2 Attach the rear stabiliser 10 with 2 adjustment end caps to the welded cross bar bracket of Rear main frame 9 and fasten with 2 flat washers 65 2 spring washers 69 and carriages bolts 78 Attach front stabiliser 11 with 2 transportation wheels to the weld...

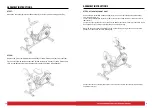
Страница 5: ...ver 31 32 into the rear main frame 9 and fasten with 5 screws 88 Place the rear cover 29 30 into the main frame 1 and slide tube 11 fasten with 6 screws 88 ASSEMBLY INSTRUCTIONS STEP 4 Put the slide tube with slide bracket 7 into the main frame 1 and rear main frame 9 fasten with 4 flat washers 65 and 4 carriage bolts 76 Remove the pre assembled 2 Allen head bolts 76 from slide bracket 7 Put the a...

Страница 6: ...5 into the bottom post of main frame 1 and fasten with 6 Allen head bolts 77 4 flat washers 65 and 2 curved washers 66 NOTE do not tighten Allen head bolts 77 too much at the beginning When all parts are fixed already and then fasten each one piece tightly ASSEMBLY INSTRUCTIONS STEP 8 Remove the pre assembled 4 Allen head bolts 77 and 4 flat washers 65 from seat 19 Fix the seat 19 with the back se...

Страница 7: ...led 4 Allen head bolts 82 from the meter 18 Connect the middle section sensor wire 58 of the front post with meter 18 securely Connect the pulse wire 60 with meter 18 Fix the meter 18 with the top of front post 2 and fasten with bolts 82 CONGRATULATIONS Assembly of your Elite V05 Recumbent Exercycle is now complete Be sure to fully inspect your machine before using it for the first time WARNING Fa...

Страница 8: ...g extended fully with heel on pedal Picture 2 Knee bent forefoot on pedal DISPLAY CONSOLE The things you should know before exercise SLEEP MODE The monitor will enter SLEEP mode LCD off when there is no signal or key input within 4 minutes Functions and Features 1 SCAN At the exercise mode press the MODE key until SCAN appears on the LCD Monitor will then display the following functions and each f...

Страница 9: ...he power is turned off and the power cord removed from the plug socket Prolong the life of your exercycle by performing periodic maintenance checks Not only does this ensure your machine is in full working order to ensure they continue to run smoothly and reliably but it will save you service costs in the long run Cleaning General cleaning of the unit after use will protect the bike s powder coate...

Страница 10: ... maintenance and normal operations not factitious factors Warranty card to the original purchaser shall not be transferred Warranty Time HOME USE ONLY This bike is not designed for commerical use 10 Year Frame 1 Year Parts and Labour The following conditions are not under warranty range A As a result of abuse neglect accident or unauthorized modification B The damage due to incorrect adjustment of...

Страница 11: ... stretch your right heel toward your buttocks slowly until you feel the stretch in the front of your thigh Hold for 10 15 seconds and relax Repeat 3 times for each leg See picture 4 Sartorius Inner Muscles of the Thigh Muscle Stretches Sitting down with the soles of your feet or shoes together and your knees positioned outward Pull your feet towards your groin until you can feel the stretch Hold f...

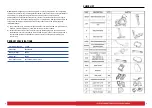
Страница 12: ...ce all parts of the exercycle in a cleared area and remove the packing materials Do not dispose of the packing materials until assembly is completed Before you start the installation inspect and prepare all parts and screws featured in this manual When you open the carton you will find the following parts ...

Страница 13: ...25 24 ELITE VO2 EXERCYCLE ASSEMBLY MANUAL EXPLODED DRAWING NOTES ...

Страница 14: ... home visit www elitefitness co nz Copyright 2021 Elite Fitness Elite Fitness 28 Morrin Road Saint Johns Auckland New Zealand 0800 243 834 www elitefitness co nz Keep up to date with the latest products competitions and equipment follow us on our social media sites EliteFitnessNZ EliteFitnessTV ...

Отзывы: