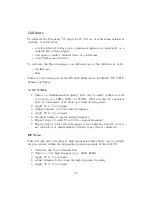
6. Retune the fundamental you started with.
7. Repeat 3-6 until that octave is calibrated
8. Repeat 3-7 for each successive Voltage/octave, and/or until satisfied.
Symmetry Trim
This adjusts the dc offset applied to the sine waveshaper.
Rotating the trimmer will push the waveform more toward the positive or
negative rail.
Ideally you will rotate this until the curve on the top of the waveform looks
the same as the curve on the bottom of the waveform.
If you do not have an oscilloscope to view the signal, you can compare the
sound to a digital sine wave, and try to adjust these two trimmers to match
that sound.
Shape Trim
This adjusts the overall amount of shaping being applied. This affects both
the top and bottom of the waveform simultaneously.
At its extremes you will end up pointy like a triangle wave, or something flat
like a square wave.
Ideally you will rotate this until the curve is sinusoidal. This can be hard to
do with out a reference, but the goal is to have a nice rounded edge on either
side of the waveform.
32
Содержание 3340 VCO
Страница 1: ...Electrosmith 3340 VCO MU Build Guide 1 ...
Страница 4: ...Build 4 ...
Страница 5: ...Build 5 ...
Страница 6: ...1 Power Header 6 ...
Страница 8: ...8 ...
Страница 9: ...Once soldered clip the pin labeled K from the power header 9 ...
Страница 10: ...2 Link Headers 10 ...
Страница 12: ...12 ...
Страница 14: ...14 ...
Страница 15: ...3 Submodule 15 ...
Страница 16: ...Connect the female and male headers together 16 ...
Страница 17: ...With the board face down insert the female headers into the 1MU PCB 17 ...
Страница 20: ...20 ...
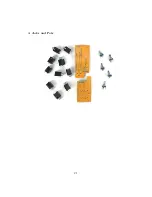
Страница 21: ...4 Jacks and Pots 21 ...
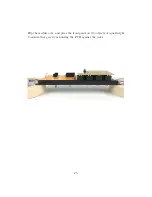
Страница 24: ...Install the front panel so that all of the jacks and pots fit into their holes 24 ...
Страница 28: ...28 ...
Страница 29: ...Attach the link cable aligning the red stripe to the white indicator on both pcb s You re done Enjoy 29 ...


