4
INSTALLATION
Unpacking
All transit bolts and packing must be removed before
using the machine.
You are advised to keep all packing for re-use in case
you move house and the machine has to be transpor-
ted again.
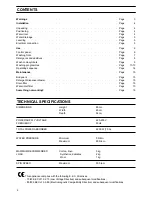
Proceed as follows:
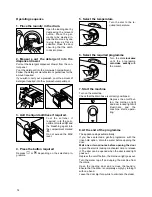
Using a spanner remove
the screw on the right at
the rear of the machine.
Carefully lay the machi-
ne on its back making
sure that the hoses are
not squashed.
Place between machine
and bottom one of the
polystyrene angle pack-
ings.
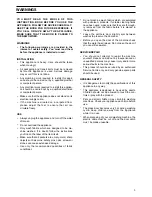
Remove the polystyrene block from underneath the
machine.
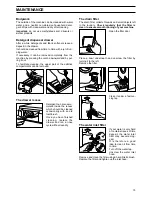
Release the two polythene bags by removing the
adhesive strip.
Carefully remove the right polythene bag (1) by pull-
ing it towards the centre of the machine. Repeat the
operation for the left polythene bag (2).
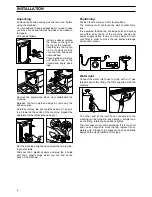
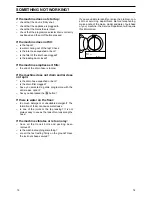
Set the machine upright and unscrew the two remain-
ing rear screws.
Slide out the 3 plastic spacers and plug the 3 holes
with the 3 plastic plugs which you can find on the
back of the machine.
Positioning
Position the machine on a firm level surface.
The machine must not touch the wall or other furni-
ture.
It is assumed that the tap, drainage point and socket
are within easy reach of the machine hoses and
power supply cable. If not, you are advised to call
your fitter in order to move the tap and/or drainage
point and/or socket.
Water inlet
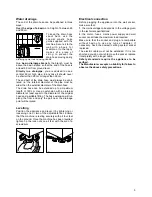
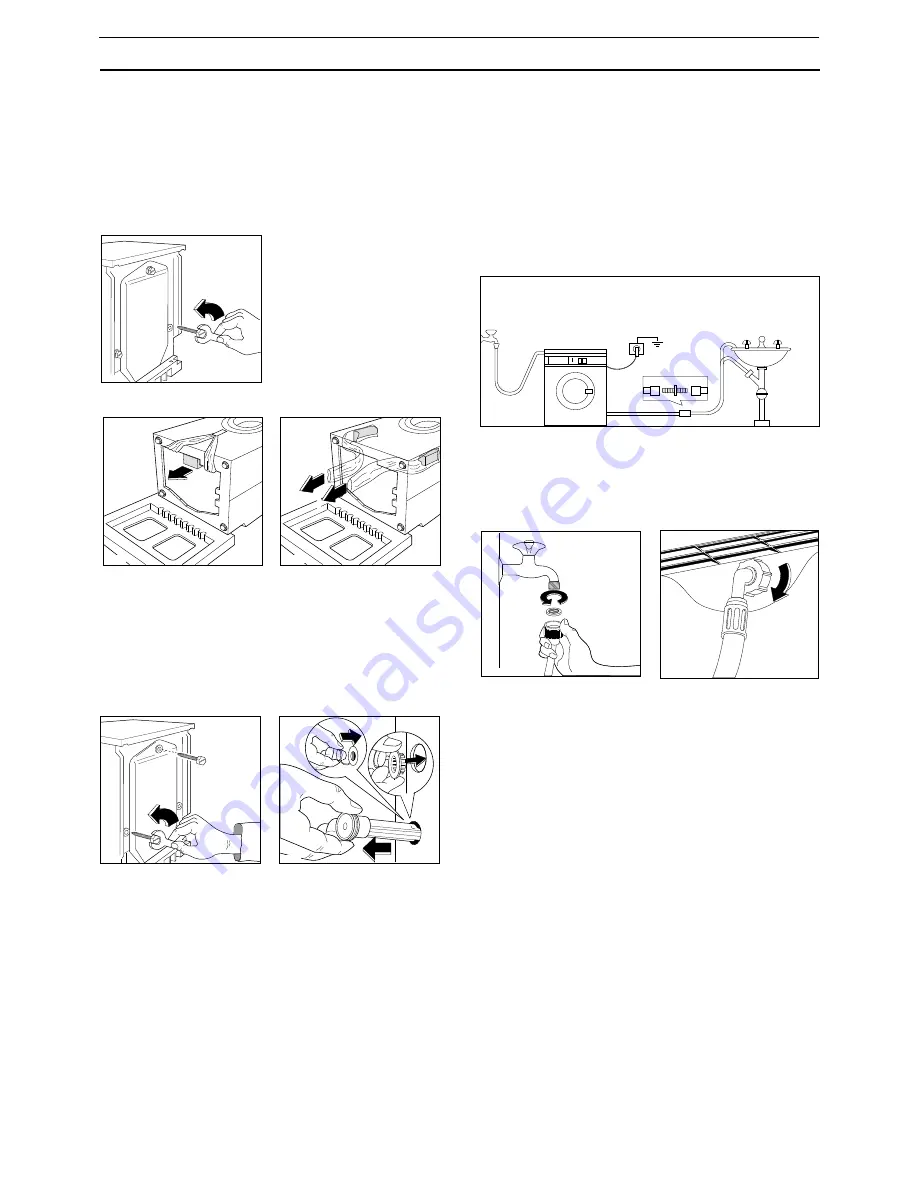
Connect the water inlet hose to a tap with a
3
/
4
" gas
thread spout after fitting the filter supplied with the
machine.
The other end of the inlet hose connected to the
machine can be turned in any direction. Simply loos-
en the fitting, rotate the hose and retighten.
The inlet hose must not be extended. If it is too short
and you do not wish to move the tap, replace it com-
pletely with a longer high pressure hose specifically
designed to solve problems of this type.
P0255
P0234
P0233
2
1
P0256
P0023
P0020
P0003
P0021


