


3
www.electia.se
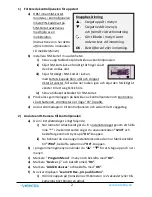
g)
The display will now show
”Detected: (OK) ?, IRCamera”
, confirm by
pressing ”
OK”.
h)
”
Select device Zone”
will now briefly
appear on the display. Select the zone
to which the camera you have just
connected should be added. Start by
selecting
”Zone 01”
and confirm with
”
OK”.
i)
Now you will see a menu with many
attributes. Select ”
Home omit”
and press
”OK”
(you will find more
information about this in the manual under D/-).
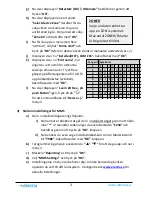
j)
”Installed(OK?), CAM Z01”-
appears on the display. Confirm with
”OK”.
k)
”
Edit name” appears on the display
.
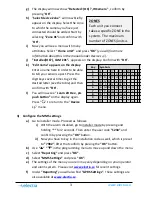
Enter a name here in order to be able
to tell your sensors apart. Press the
digit keys several times to get the
desired letter
(see the table)
and then
confirm with
”OK”.
l)
You will now see ”
Learn ZB Dev., pls
push button”
on the display again.
Press ” ” to return to the ”
Device
+/-
” menu.
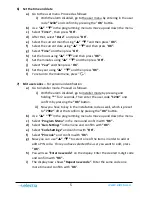
3)
Configure the MMS settings
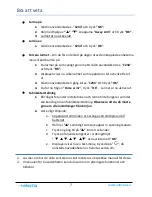
a)
Go to installer mode. Proceed as follows:
i)
With the alarm disabled, go to installer mode by pressing and
holding ”
*”
for 2 seconds. Then enter the user code
”1234”
and
confirm by pressing the
”OK”
button.
ii)
Now you have to key in the installation code as well, which is preset
to
”7982”
. After that confirm by presing the
”OK”
button.
b)
Use
“
” “
”
in the programming menu to move up and down the menu.
c)
Select
”Reporting”
and press
”OK”.
d)
Select
”MMS Settings”
and press
”OK”.
e)
The settings of the menu you are in may vary depending on your operator
and alarm system. Please visit
www.electia.se
for recent settings.
f)
Under
”Reporting”
you will also find
”GPRS Settings”
. These settings are
also available at
www.electia.se
.
Key
1
1 ,
! ? -
( ) @ /
2
2 A B C Å Ä a b c å ä
3
3 D E F d e f
4
4 G H I g h i
5
5 J K L j k l
6
6 M N O Ö m n o ö
7
7 P Q R S p q r s
8
8 T U V t u v
9
9 W X Y Z w x y z
0
0
␣
/ - & ' . " + :
Symbols
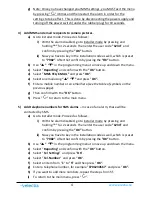
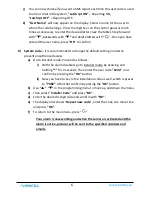
ZONES
Each unit you connect
takes a specific ZONE in the
system. The maximum
number of ZONES/units is
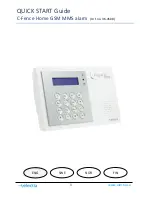
Содержание C-Fence
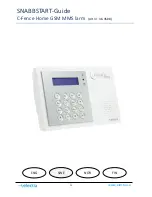
Страница 1: ...1 www electia se QUICK START Guide C Fence Home GSM MMS alarm Art no 36 4508 ENG SWE NOR FIN...
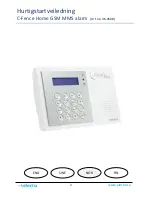
Страница 9: ...1 www electia se SNABBSTART Guide C Fence Home GSM MMS larm Art nr 36 4508 SWE NOR FIN ENG...
Страница 17: ...1 www electia se Hurtigstartveiledning C Fence Home GSM MMS alarm Art no 36 4508 NOR SWE ENG FIN...
Страница 25: ...1 www electia se PIKA ALOITUSOPAS C Fence Home GSM MMS alarm Art no 36 4508 FIN SWE NOR ENG...