background image

ADR Touch Advanced Readout US Edition 


37-4856/09 


Original Instructions 

12 

9901X0277 Issue 3 


Fuse failure is typically caused by an instrument problem. If the fuse continues to fail, contact 

ELE International’s Customer Service Department. 


A spare fuse is supplied in the fuse drawer. Refer to Section 1 Specifications for fuse 

requirements. 


a.  Set the power switch for the controller to off. 

b.  Remove the power cord for the controller from the electrical outlet. 

c.  Use a flat-blade screwdriver to open the fuse drawer. 

d.  Remove the fuse drawer and replace the fuse. 

e.  Install the fuse drawer. 


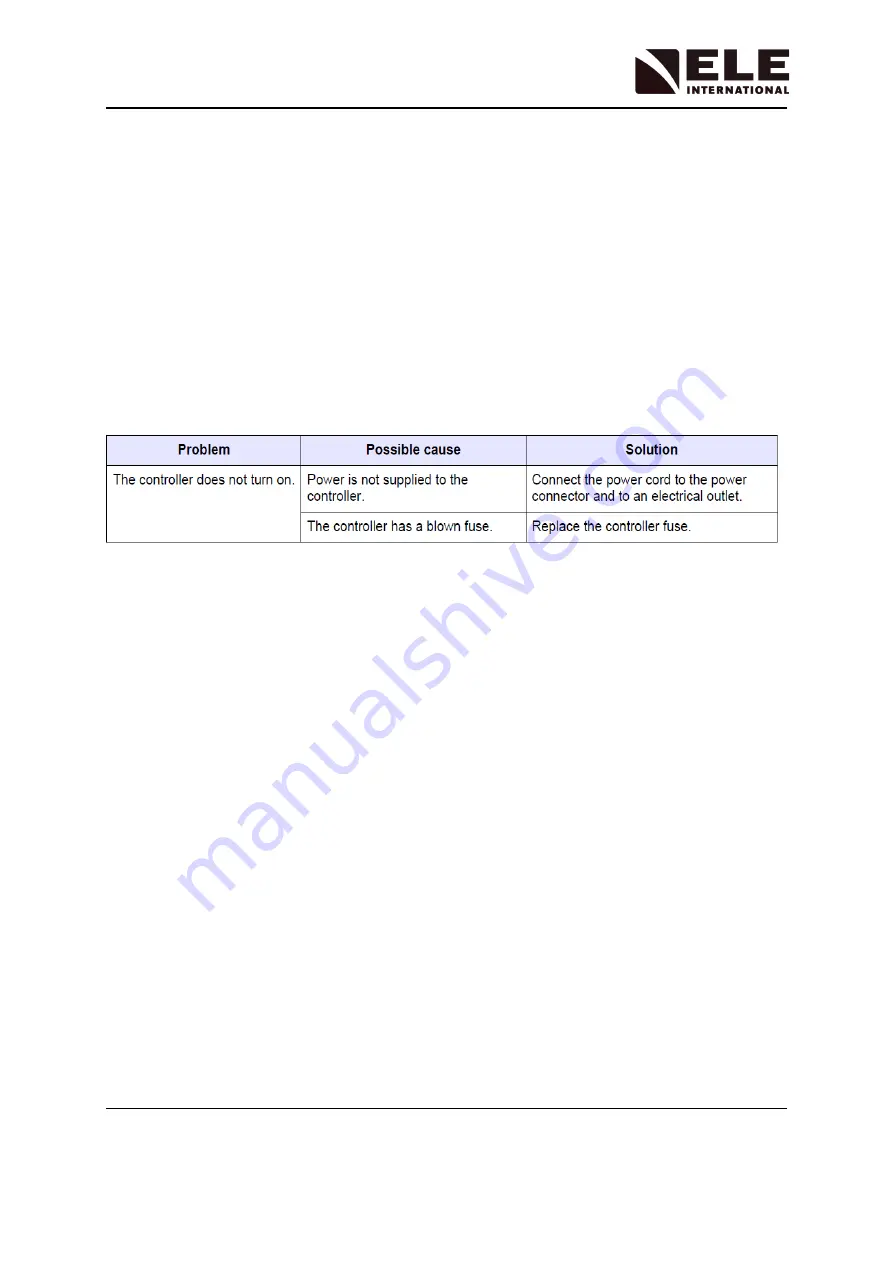
Troubleshooting 


7.1 

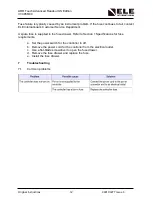
Common problems 


Содержание ADR Touch Advanced Readout US Edition

Страница 1: ...h Lange Ltd Distributor ELE International Soiltest Product Division PO Box 389 5600 Lindbergh Drive Loveland CO 80539 USA phone 1 970 663 9780 fax 1 970 663 9781 email soiltest eleusa com http www eleusa com In the interests of improving and updating its equipment ELE reserves the right to alter specifications to equipment at any time ELE International 2020 Original Instructions 1 9901X0277 Issue ...

Страница 2: ... 4 Certification 6 2 5 Product overview 7 3 Installation 8 4 User Interface and Navigation 8 4 1 Display description 8 4 2 Navigation 10 5 Start up 10 5 1 Connect the power chord 10 5 2 Connect a printer optional 10 5 3 Turn on the controller 10 5 4 Select the language date and time 10 5 5 Adjust the display 11 6 Maintenance 11 6 1 Clean the instrument 11 6 2 Replace the controller fuse 11 7 Troub...

Страница 3: ...ange without notice 2 General information In no event will ELE International be liable for direct indirect special incidental or consequential damages resulting from any defect or omission in this manual ELE International reserves the right to make changes in this manual and the products it describes at any time without notice or obligation ...

Страница 4: ...ating this equipment Pay attention to all danger and caution statements Failure to do so could result in serious injury to the operator or damage to the equipment Make sure that the protection provided by this equipment is not impaired Do not use or install this equipment in any manner other than that specified in this manual 2 2 Hazard information 2 2 1 Use of hazard information ...

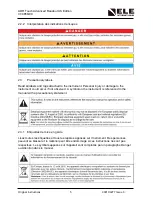
Страница 5: ...he instrument could occur if not observed A symbol on the instrument is referenced in the manual with a precautionary statement 2 3 1 Etiquettes de mise en garde Lisez toutes les étiquettes et tous les repères apposés sur l instrument Des personnes peuvent se blesser et le matériel peut être endommagé si ces instructions ne sont pas respectées Les symbols apposés sur l appareil sont complétés par ...

Страница 6: ...e the equipment This equipment has been tested and found to comply with the limits for a Class A digital device pursuant to Part 15 of the FCC rules These limits are designed to provide reasonable protection against harmful interference when the equipment is operated in a commercial environment This equipment generates uses and can radiate radio frequency energy and if not installed and used in ac...

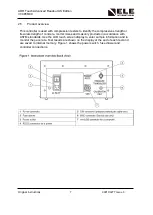
Страница 7: ... compressive strength or flexural strength of concrete mortar mixes and masonry products in accordance with ASTM standards Use the LCD touch screen display to enter sample information and to monitor the pace rate Test results are shown on the display at the end of each test and are saved to internal memory Figure 1 shows the power switch fuse drawer and controller connections ...

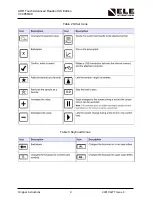
Страница 8: ...ctions of the controller are started from the LCD touch screen To use the touch screen tap the screen with a finger pencil eraser or stylus Do not use sharp objects to select options Refer to Table 1 for descriptions of the Home screen icons Refer to Table 2 for descriptions of the other icons Refer to Table 3 for descriptions of the keyboard icons Table 1 Home Screen Icons ...

Страница 9: ...ADR Touch Advanced Readout US Edition 37 4856 09 Original Instructions 9 9901X0277 Issue 3 Table 2 Other Icons Table 3 Keyboard Icons ...

Страница 10: ... Start up 5 1 Connect the power cord a Connect the supplied power cord to the power connector b Connect the power cord to a mains electrical outlet with protective earth ground 5 2 Connect a printer optional To send test results to a printer connect a printer to the RS232 connector 5 3 Turn on the controller Set the power switch for the controller to on 5 4 Select the language date and time ...

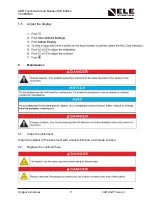
Страница 11: ...ition 37 4856 09 Original Instructions 11 9901X0277 Issue 3 5 5 Adjust the display 6 Maintenance 6 1 Clean the instrument Clean the exterior of the instrument with a moist cloth and a mild soap solution 6 2 Replace the controller fuse ...

Страница 12: ...ustomer Service Department A spare fuse is supplied in the fuse drawer Refer to Section 1 Specifications for fuse requirements a Set the power switch for the controller to off b Remove the power cord for the controller from the electrical outlet c Use a flat blade screwdriver to open the fuse drawer d Remove the fuse drawer and replace the fuse e Install the fuse drawer 7 Troubleshooting 7 1 Commo...

Отзывы: