background image

18

Chapter 2  Settings and Adjustments

2-9  Setting Language [Language]

This function allows you to select a language for the adjustment menu or
displaying message.

Selectable languages

English/German/French/Spanish/Italian/Swedish/Simplified Chinese/
Traditional Chinese/Japanese
(1)  Choose <Language> menu from the Adjustment menu, and press 

.

The <Language> menu appears.

(2)  Choose a language with 

 or 

, and press 

.

The setting is completed.

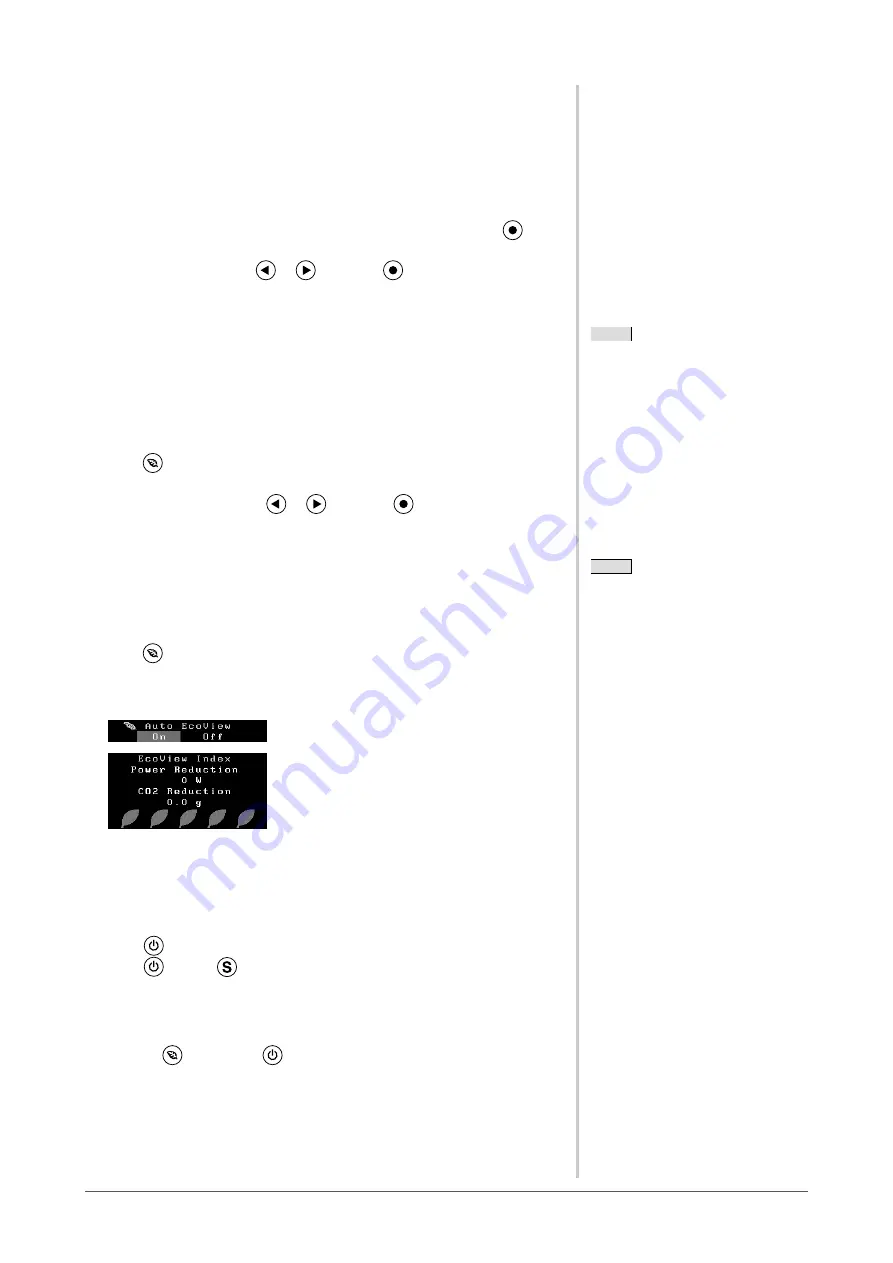
2-10  Setting On/Off for the automatic 

brightness adjustment function  

[Auto EcoView]

The sensor on the front side of the monitor detects the environmental brightness 
to adjust the screen brightness automatically and comfortably by using the Auto 
EcoView function.
(1) Press 

.

The <Auto EcoView> menu appears.

(2) Select “On” or “Off” with 

 or 

, and press 

.

The setting is completed.

2-11  Displaying the level of power saving by 

EcoView Index

This indicator shows the power saving ratio, power reduction and CO2 
reduction as a result of the brightness of the monitor.
(1) Press 

.

The EcoView Index menu appears.
The power saving ratio comes to high as the indicator level meter lights towards 
right.

2-12  Locking Buttons

This function allows you to lock to prevent changing the adjusted/set status.

● 

To lock adjustments/settings in the Adjustment menu

(1)  Press 

 to turn off the monitor.

(2)  Press 

 holding 

 down to turn on the monitor.

You can toggle between Lock and Unlock by performing steps 1 and 2.

● 

To lock all operations

(1)  Holding 

 down, press 

 for five seconds while the screen is displayed.

You can toggle between Lock and Unlock by performing this step.

NOTE

•  Be careful not to block the sensor on 

the lower side of the monitor when 
using the Auto EcoView function.

NOTE

Power reduction: the backlight’s 
reduction of electricity consumption as 
a result of the adjusted brightness value
CO2 reduction: converted from the 
“Power reduction” value, this is 
an estimate of the quantity of CO2 
emissions reduced when using the 
monitor for 1 hour.
* The numeric value is a result of a 

calculation based on a default value 
(0.000555 t -CO2/kWh) determined 
by a ministerial ordinance (2006, 
Ministry of Economy, Trade and 
Industry, Ministry of Environment, 
civil code article 3) and may differ 
depending on country and year.

Содержание FLEXSCAN T1721

Страница 1: ...olume carefully to familiarize yourself with safe and effective usage Please refer to the Setup Manual for basic information ranging from connection of the monitor to a PC to using the monitor The lat...

Страница 2: ...unless prior arrangements are made pursuant to EIZO NANAO CORPORATION s receipt of said information Although every effort has been made to ensure that this manual provides up to date information plea...

Страница 3: ...ng is recommended to keep the monitor looking new and to prolong its operation lifetime refer to Cleaning page 4 The LCD panel is manufactured using high precision technology Although missing pixels o...

Страница 4: ...clearance between the panel and the panel frame NOTE The optional ScreenCleaner is recommended for cleaning the cabinet and panel surface If necessary the stains on the cabinet and panel surface can...

Страница 5: ...aying Monitor Information Information 17 2 9 Setting Language Language 18 2 10 Setting On Off for the automatic brightness adjustment function Auto EcoView 18 2 11 Displaying the level of power saving...

Страница 6: ...h brightness may lead a damage to the natural environment as well as to your eyes Suppressing the excessively high brightness will be helpful to reduce the power consumption and the damage to your eye...

Страница 7: ...ns Left Right 6 Enter button 7 Power button 8 Power indicator Indicator status Operation status Blue The screen is displayed Orange Power saving Off Power off ScreenManager is an EIZO s nickname of th...

Страница 8: ...splay mode Resumption of Default Setting To reset color adjustment values Reset see page 19 Main menu Refer to page 9 for operation 1 Screen Adjustment Automatic Adjustment To adjust flickering and po...

Страница 9: ...aying Adjustment menu and selecting function 1 Press The main menu appears 2 Select a function with or and press The sub menu appears 3 Select a function with or and press The adjustment setting menu...

Страница 10: ...resolution 5 Click the OK button 6 When a confirmation dialog box is displayed click Keep changes Windows Vista 1 Right click the mouse anywhere on the desktop except for icons 2 From the displayed m...

Страница 11: ...overview The disk includes a touch panel driver and User s Manual Refer to Readme txt on the disk for software startup procedures or file access procedures Item Overview OS A Readme txt file Screen a...

Страница 12: ...e the monitor comfortably Adjustment Procedure 1 Perform the auto adjustment To adjust flickering screen position and screen size automatically Screen 1 Choose Screen from the Auto Adjustment menu and...

Страница 13: ...ly Range 4Perform advanced adjustments for the following using the Screen menu of the Adjustment menu Adjust the clock phase and position in this order To eliminate vertical bars Clock 1 Choose Clock...

Страница 14: ...rn files 2 Choose Range from the Auto Adjustment menu and press 3 Select Execute with or and press The output range is adjusted automatically 4 Close the Pattern 2 6 Modify blurred characters or lines...

Страница 15: ...able for making desired setting EyeCare Allows the brightness to be set lower than possible with other modes sRGB Suitable for color matching with sRGB compatible peripherals Text Suitable for display...

Страница 16: ...ain To adjust red green and blue to a desired color tone respectively 0 to 100 Adjust the respective brightness of red green blue to make a desired color tone Display an image with white or gray backg...

Страница 17: ...nu Position menu appears 3 Select a menu position with or and press The setting is completed 2 7 Setting Power Indicator ON OFF Power Indicator This function allows you to set the power indicator blue...

Страница 18: ...menu appears The power saving ratio comes to high as the indicator level meter lights towards right 2 12 Locking Buttons This function allows you to lock to prevent changing the adjusted set status T...

Страница 19: ...only to the default settings and the other is to reset all the settings to the default settings To reset color adjustment values Only the adjustment values in the current FineContrast mode will rever...

Страница 20: ...set input signal selection Input Signal Setting Function Auto When a PC is turned off or enters the powersaving mode the monitor automatically displays another signal Manual The monitor detects only t...

Страница 21: ...may appear because some PCs do not output the signal soon after power on Check whether the PC is turned on Check whether the signal cable is connected properly Switch the input signal with The messag...

Страница 22: ...bles in Setup Manual page 3 11 The adjustment menu does not appear Check whether the operation lock function works page 18 12 The auto adjustment function does not work correctly This function does no...

Страница 23: ...e screws specified in the user s manual of the arm or stand Attention When attaching an arm or stand follow the instructions of their user s manual When using another manufacturer s arm or stand confi...

Страница 24: ...etting PC Monitor Power Indicator Operating Operating Blue Power saving Power saving Orange Resumption Procedure Touch the panel surface or operate the keyboard or the mouse Attention Unplugging the p...

Страница 25: ...gnal input with USB load when stereo mini jack cable is not connected 0 7W or less for D Sub single signal input without USB load when stereo mini jack cable is not connected Power button Off 0 6W or...

Страница 26: ...Disable Language English Outside Dimensions 322 2 12 7 346 2 13 6 256 10 1 140 5 5 140 5 5 110 4 3 143 5 6 14 5 0 57 20 8 0 82 20 8 0 82 23 9 0 94 56 9 2 24 200 7 9 100 3 9 100 3 9 380 15 0 338 4 13...

Страница 27: ...for 5V Hsync and Vsync 23 TMDS Clock 8 NC 16 Hot Plug Detect 24 TMDS Clock NC No Connection D sub mini 15 pin connector 5 1 3 4 2 8 7 6 9 10 12 13 14 15 11 Pin No Signal Pin No Signal Pin No Signal 1...

Страница 28: ...oduces a low contrast image while a large gamma value produces a high contrast image Phase Phase means the sampling timing to convert the analog input signal to a digital signal Phase adjustment is ma...

Страница 29: ...sitive VESA 1024 768 60Hz 65 0 MHz Horizontal 48 36 Negative Vertical 60 00 Negative VESA 1024 768 70Hz 75 0 MHz Horizontal 56 48 Negative Vertical 70 07 Negative VESA 1024 768 75Hz 78 8 MHz Horizonta...

Страница 30: ...ference to radio communications However there is no guarantee that interference will not occur in a particular installation If this equipment does cause harmful interference to radio or television rec...

Страница 31: ...e Zeile der Bildschirmanzeige nicht h her als die Augenh he eines Benutzers in sitzender Position ist c Im Fall eines stehenden Benutzers mu die Befestigung des Bildschirmger tes derart erfolgen da di...

Страница 32: ...32 Pb Hg Cd Cr VI PBB PBDE SJ T 11363 2006 SJ T 11363 2006...

Страница 33: ...5th Edition March 2012 03V23000E1 U M T1721 Copyright 2009 2012 EIZO NANAO CORPORATION All rights reserved...

Отзывы: