


85
Accessories
Owner’s Manual (CD-ROM)
Quick Reference Guide
AC Power Cord
Remote Control and Batteries
VGA Cable
USB Cable
Remote Control Cable
Lens Cap (for LC-WGC500)
Lens Mount Cover (for LC-WGC500L)
PIN Code Label
Lens Antitheft Screw
*
*
Contact the dealer where you purchased the projector or the service center about the Lens Antitheft Screw.
This projector is compliant with PJLink Standard Class 1 of JBMIA (Japan Business Machine and Information
System Industries Association). The projector supports all commands defined by PJLink Class 1 and is verified
conformance with PJLink Standard Class 1.
PJLink is a registered trademark of JBMIA and pending trademark in some countries.
PJ Link Notice
Appendix
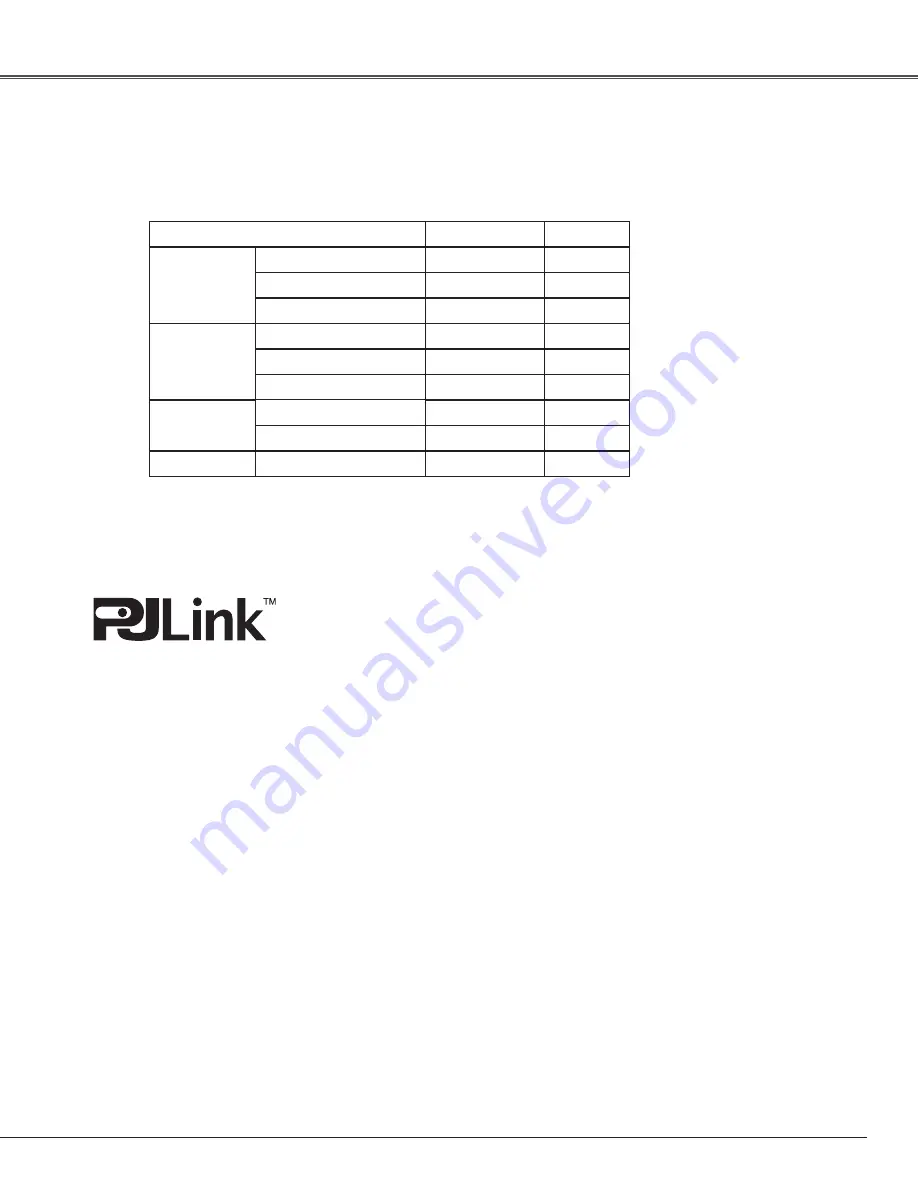
Projector Input
RGB
RGB (Scart)
RGB (PC analog)
Video
Component
PJLink Input
RGB 3
RGB 2
RGB 1
VIDEO 1
VIDEO 2
Video
S-video
VIDEO 3
VIDEO 4
Input 2
Input 3
Parameter
13
12
11
21
22
23
24
RGB (HDMI)
DIGITAL 1
31
Input 1
Network
NETWORK 1
51
Input 4


