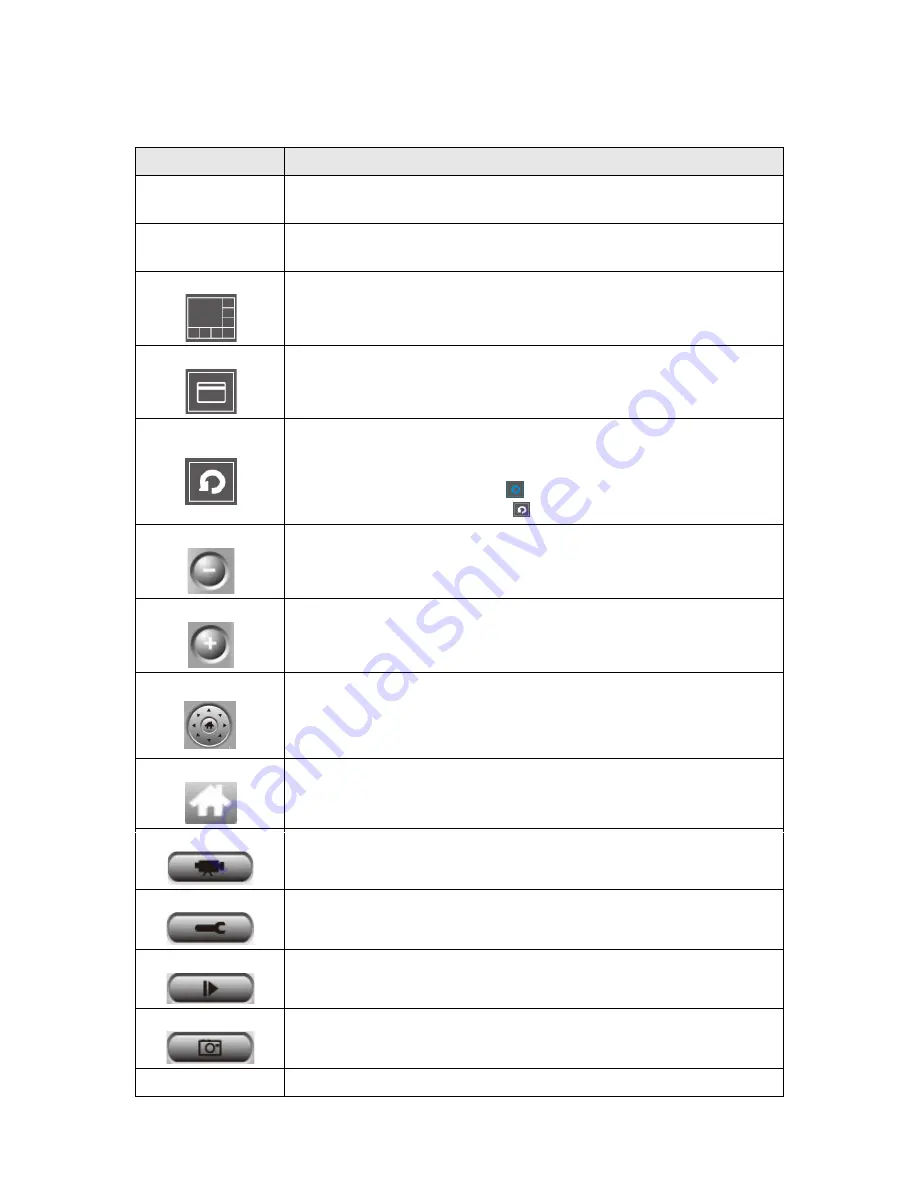
You can put the mouse cursor on a certain component and see its button name, and here’re
detailed descriptions of all buttons:
Item
Video displaying
area
The image of all connected cameras will be displayed here.
Language
Select a language from this dropdown menu to change display
language.
Display layout
Change camera image display layout (Click a layout icon to
change camera display layout). There are 8 kinds of available
display layouts.
Full screen
Click this button to s
camera’s image), press ‘ESC’ key to quit full screen mode.
Scan
Click this button and the IP camera surveillance software will
switch displaying the image of all connected camera
automatically. Click this butt
(scan icon will become blue
(scan icon will become white
Zoom out
Zoom-out (To see more objects).
This function is only available for supported cameras.
Zoom In
Zoom-in (Too see
This function is only available for supported cameras.
PTZ control
There are 8 directions in PTZ control ring. If the camera you
connect support PTZ, you can use PTZ control ring to change the
direction that camera points
This function is only available for supported cameras.
Home
Click this button to return the camera to ‘Home’ (default) position.
This function is only available for supported cameras.
Recording
Start video recording.
Configure
Software /
Playback
Playback a recorded video file.
Snapshot
Take a snapshot of current camera.
Message display Displays all system messages like camera is disconnected etc.
81
You can put the mouse cursor on a certain component and see its button name, and here’re
detailed descriptions of all buttons:
Description
The image of all connected cameras will be displayed here.
a language from this dropdown menu to change display
language.
Change camera image display layout (Click a layout icon to
change camera display layout). There are 8 kinds of available
display layouts.
Click this button to switch to full screen mode (only display all
camera’s image), press ‘ESC’ key to quit full screen mode.
Click this button and the IP camera surveillance software will
switch displaying the image of all connected camera
automatically. Click this button once to activate scan function
(scan icon will become blue
), click again to stop scanning
(scan icon will become white
).
out (To see more objects).
This function is only available for supported cameras.
in (Too see more details).
This function is only available for supported cameras.
There are 8 directions in PTZ control ring. If the camera you
connect support PTZ, you can use PTZ control ring to change the
direction that camera points to.
This function is only available for supported cameras.
Click this button to return the camera to ‘Home’ (default) position.
This function is only available for supported cameras.
Start video recording.
Software / camera configuration.
Playback a recorded video file.
Take a snapshot of current camera.
Displays all system messages like camera is disconnected etc.
You can put the mouse cursor on a certain component and see its button name, and here’re
The image of all connected cameras will be displayed here.
a language from this dropdown menu to change display
Change camera image display layout (Click a layout icon to
change camera display layout). There are 8 kinds of available
witch to full screen mode (only display all
camera’s image), press ‘ESC’ key to quit full screen mode.
Click this button and the IP camera surveillance software will
switch displaying the image of all connected camera
on once to activate scan function
), click again to stop scanning
This function is only available for supported cameras.
This function is only available for supported cameras.
There are 8 directions in PTZ control ring. If the camera you
connect support PTZ, you can use PTZ control ring to change the
This function is only available for supported cameras.
Click this button to return the camera to ‘Home’ (default) position.
This function is only available for supported cameras.
Displays all system messages like camera is disconnected etc.
Содержание IC-9000
Страница 1: ...1...
Страница 19: ...19...
Страница 31: ...31...
Страница 35: ...35...
Страница 40: ...4 Click to proceed 5 Make a selection and click 6 Click to proceed 40 to proceed lick to proceed to proceed...
Страница 41: ...41 7 Click to exit CamView installation now is completed...
Страница 47: ...47 4 3 3 Rename You can rename the folder New folder shows up after you create it Rename folder...
Страница 77: ...77...
Страница 91: ...91 OK Save settings in this tab Cancel Discard all settings in this tab...
Страница 93: ...93 OK Save settings in this tab Cancel Discard all settings in this tab...
Страница 98: ...98 6 3 2 4 About This tab shows the version number of the IP camera surveillance software you re using...
Страница 101: ...101 Layout style 8 16 Cameras Displays the video of up to 16 cameras...
Страница 118: ...118...


