12
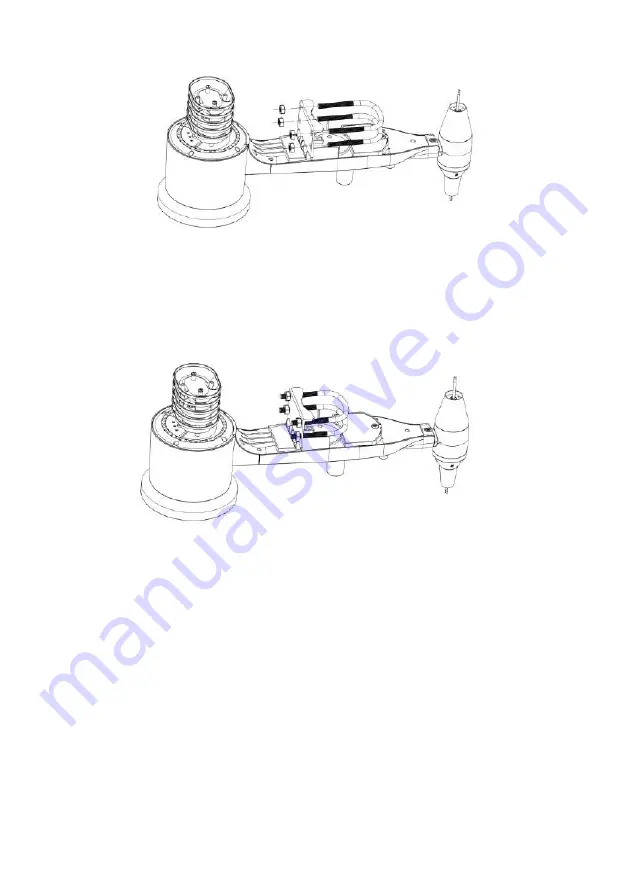
Figure 5: U-Bolt installation
Loosely screw on the nuts on the ends of the U-bolts. You will tighten these
later during final mounting. Final assembly is shown in Figure 6.
Figure 6: U-Bolts and nuts installed
The plate and U-Bolts are not yet needed at this stage but doing this now may
help avoid damaging wind vane and wind speed cups later on. Handling of the
sensor package with wind vane and speed cups installed to install these bolts
is more difficult and more likely to lead to damage.
4.1.2
Install wind vane
Push the wind vane onto the shaft on the top side of the sensor package, until
it goes no further, as shown on the left side in Figure 7. Next, tighten the set
screw, with a Philips screwdriver (size PH0), as shown on the right side, until
the wind vane cannot be removed from the axle. Make sure the wind vane can
Содержание HP3500
Страница 44: ...44 Android version IOS version ...
Страница 50: ...50 3 Uploading Setting Ensure your phone and device are on the same LAN Android Version ...
Страница 52: ...52 6 WU Station ID Manage You can add or delete WU Station ID Android version ...
Страница 53: ...53 IOS veraion 7 WU Online Data Press Station ID and choose your desired Station to view Andorid IOS Version ...
Страница 54: ...54 Andorid IOS Version 8 Configure Units Set your desired display units and press Save Andorid IOS Version ...
Страница 56: ...56 3 Click verify location and fill out the form After submitting the form you will see the following ...


