78
Various Settings
The “Customize data?” message
appears on the display.
The display data import mode is
activated, and "Insert DATA DISC" is
displayed.
If a CD-R has already been inserted,
"Eject DATA DISC" is shown on the
display. Press the [
e
(EJECT)] button
to eject the CD-R.
Start importing the data into the main
unit. If the data has already been
imported, it will be overwritten. After
import has been completed,
“COMPLETED” will be displayed.
Press the [ (OPEN)] button to open
the front panel, and eject the CD-R.
Then manually close the front panel.
ATTENTION
To load data into the main unit, you have to
make a special folder. For detailed information
about how to make the folder, refer to the E-
iSERV manuals.
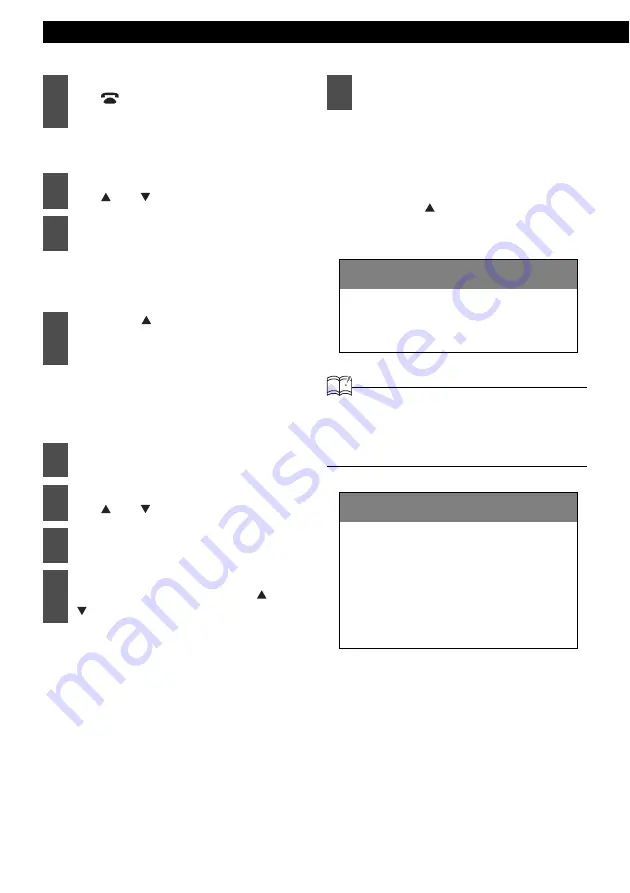
1
When the power is off, hold down
the [
/MENU] button for more
than three seconds.
2
Select "DISP DATA" by pressing
the [ ] or [ ] button.
3
Press the [ENTER] button.
4
Press the [ (OPEN)] button to
open the front panel, and insert a
CD-R.
5
Manually close the front panel.
6
Select the desired file by pressing
the [ ] or [ ] button.
7
Press the [ENTER] button.
8
Select the image data to be
overwritten by pressing the [ ] or
[ ] button.
9
Press the [ENTER] button.
CAUTION
1
2
If there is no file whose data type is the one
you selected in the CD-R, "the NO DATA"
message will be displayed and the display
returns to the previous screen.
CAUTION
1
2
• Do not turn the ignition switch or power
to the main unit ON or OFF (or remove
the front panel of the main unit) while
data reading is in progress. Data
reading will be interrupted and data may
be damaged.
• You cannot operate the main unit while
the system is reading data.
Содержание CD5030
Страница 6: ...6...
Страница 113: ...How to contact customer service 113 XXIII...


