2
1
2
1
Fig. 17
Fig. 18
Fig. 19
Fig. 20
o
PeratinG
i
nStructionS
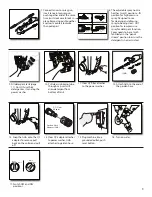
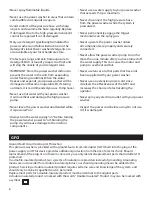
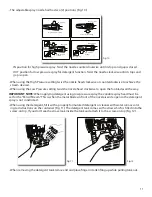
*!Turn on the water supply at the faucet.!* (Fig. 17)
Powering Up
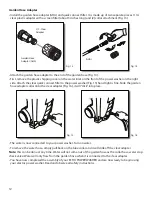
• Make sure the “ON/OFF” switch is in the “OFF” position. The power switch has international symbols for ‘on’
and ‘off’: On (|) Off (O), (Fig. 18).
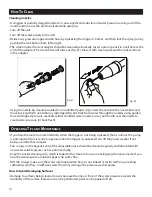
• Unwind the power cord completely and plug the GFCI into a grounded 120 volt outlet. Press the ‘reset’
button on the GFCI box (Fig. 19). The indicator window should show a green color. This must be done each
time the unit is plugged in.
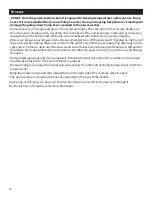
• Release the safety lock button on the spray gun by pressing the safety lock button from left to right (Fig.
20). While pointing the spray gun in a safe direction, squeeze the trigger on the spray gun until there is a
steady stream of water, letting the water and air out of the hose.
• Turn the power switch to the ‘ON’ (|) position. The unit will turn on for 1 - 2 seconds and shut off, this is a
normal function of the (TSS) auto start feature. Squeeze the spray gun trigger to begin pressure washing.
• Squeezing rapidly will cause the (TSS) feature to miss an on/off cycle that may prevent from turning on
while squeezing trigger after rapid squeezing. Use slow deliberate trigger pulls to avoid such symptoms.
OFF/0
OFF/0
ON/I
ON/I
Trigger
Trigger
Push to
lock
Push to
unlock
13


