Operating instructions
R3G400-PW03-01
Translation of the original operating instructions
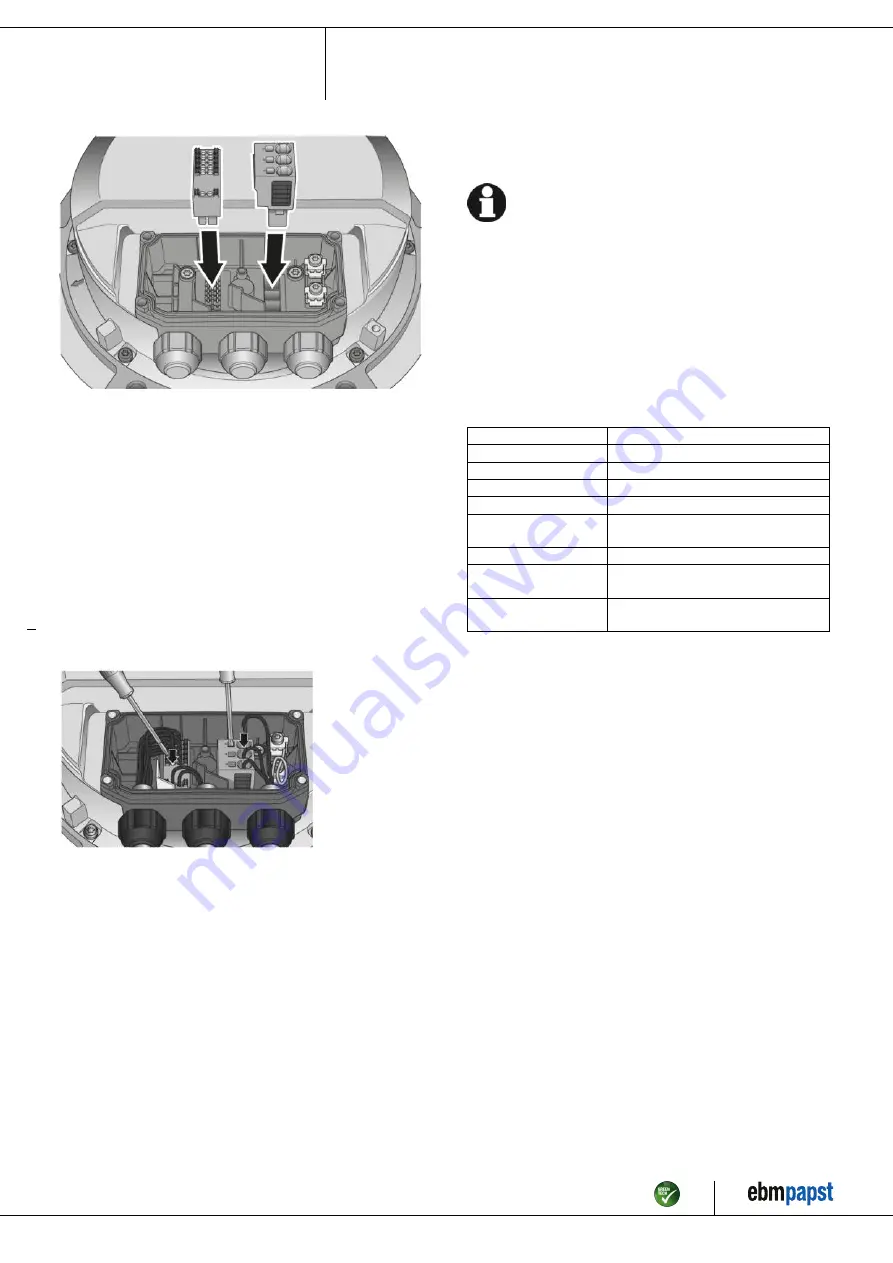
Fig. 3: Installing the connectors in the terminal box. The connectors
must engage properly.
;
Depending on the cable diameter, the seals included in the terminal
box must be inserted into the cable gland if necessary.
;
Route the cable(s) (not included in the scope of delivery) into the
terminal box.
;
Ensure separate routing of the supply cable(s) and the cables for
status contact and control interface. Depending on the requirements for
the end device, the physical separation of these cables in the terminal
box may be mandatory. Use the partitions inside the terminal box as
an aid to routing for this purpose.
;
First connect the protective earth "PE". Tightening torque 3.5 ±0.4 Nm
;
Connect the cables to the corresponding terminals. Use a
screwdriver to do so. When connecting, make sure the wires do not
splay out. Insert the strands until they meet with resistance.
Fig. 4: Connection of cables at terminals
;
There must not be any tensile stress between the terminal and the
cable gland. The cable must be provided with strain relief.
;
The cable glands must be tight.
;
Fit the terminal box cover, making sure that the sealing surfaces are
clean.
;
Screw in the four screws (for tightening torque, see Chapter 3.1
Product drawing).
4.3.4 Cable routing
Water must be prevented from reaching the cable gland along the cable.
NOTE
Damage caused by moisture penetration.
Moisture can penetrate into the terminal box if water is
constantly present at the cable glands.
→ To prevent the constant accumulation of water at the cable
glands, the cable should be routed in a U-shaped loop
wherever possible.
→ If this is not possible, a drip edge can be produced by
fitting a cable tie directly in front of the cable gland for example.
When routing the cable, make sure that the cable glands are located at
the bottom. The cables must always be routed downward.
4.4 Factory settings
Factory settings made for the device by ebm-papst.
Mode parameter set 1
PWM control
Mode parameter set 2
PWM control
Fan/device address
01
Max. PWM / %
100
Min. PWM / %
5
Save set value to
EEPROM
Yes
Set value requirement
Analog (linear)
Direction of action
parameter set 1
Positive (heating)
Direction of action
parameter set 2
Positive (heating)
Item no. 57364-5-9970 · ENU · Change 260759 · Approved 2022-06-28 · Page 10 / 17
ebm-papst Mulfingen GmbH & Co. KG · Bachmühle 2 · D-74673 Mulfingen · Phone +49 (0) 7938 81-0 · Fax +49 (0) 7938 81-110 · [email protected] · www.ebmpapst.com


