30
Operation
EATON TFX INSTALLATION AND OPERATION MANUAL
6046279-001
September 2019
www.eaton.com
DOWNLOADING AND DISPLAYING OR CONVERTING FILES
You can download data from the data platform and use
PROEMION Dashboard to display it or PROEMION
Converter to convert it.
PROEMION Dashboard can directly read the saved
logfiles (.clf).
With PROEMION Converter, you can convert the data into a
comma-separated text file (.csv) or provide the position data
for use in Google Earth or Google Maps (.kml).
You can find a description of the logfiles (.clf) in the “clf.pdf”
file on the PROEMION Tools CD (path: CD_PROEMION_
Tools\Devices\Proemion\clf.pdf). The PROEMION Tools
CD also contains sample files and a Windows DLL for
converting CLF and CNT files (path: CD_PROEMION_Tools\
RMtools\Developer\CLF DLL Demo Projects\RMtools CLF
DLL Delphi Demo.zip). You can use this data to write your
own converter or import functions.
To find out how to download data from the data
platform, see the documentation “PROEMION Web
Services API”.
To find out how to configure the Dashboard application to
the logged data, see the documentation “EN_Software-
Dokumentation RMTools Dashboard”.
5.3 Real-time mode
In real-time mode, CAN messages are
transmitted bidirectionally.
CAN messages and GNSS data can be transmitted in close
to real-time.
Use EATON Configurator for the configuration. The basics
are described in Chapter Configuring the device.
NOTICE
Before you start a real-time session, check the device status
in the machine overview in the Portal. The device must be in
real-time mode.
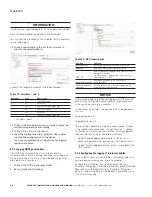
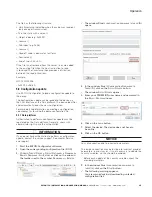
The colored squares in the machine overview indicate the
current status:
Constant blue = device is passive in real-time mode
Flashing blue = device is connected to a real-time
client software
Grayed out = device is offline
Constant green = device is in file transfer / logging mode
Click on the current status to change it.
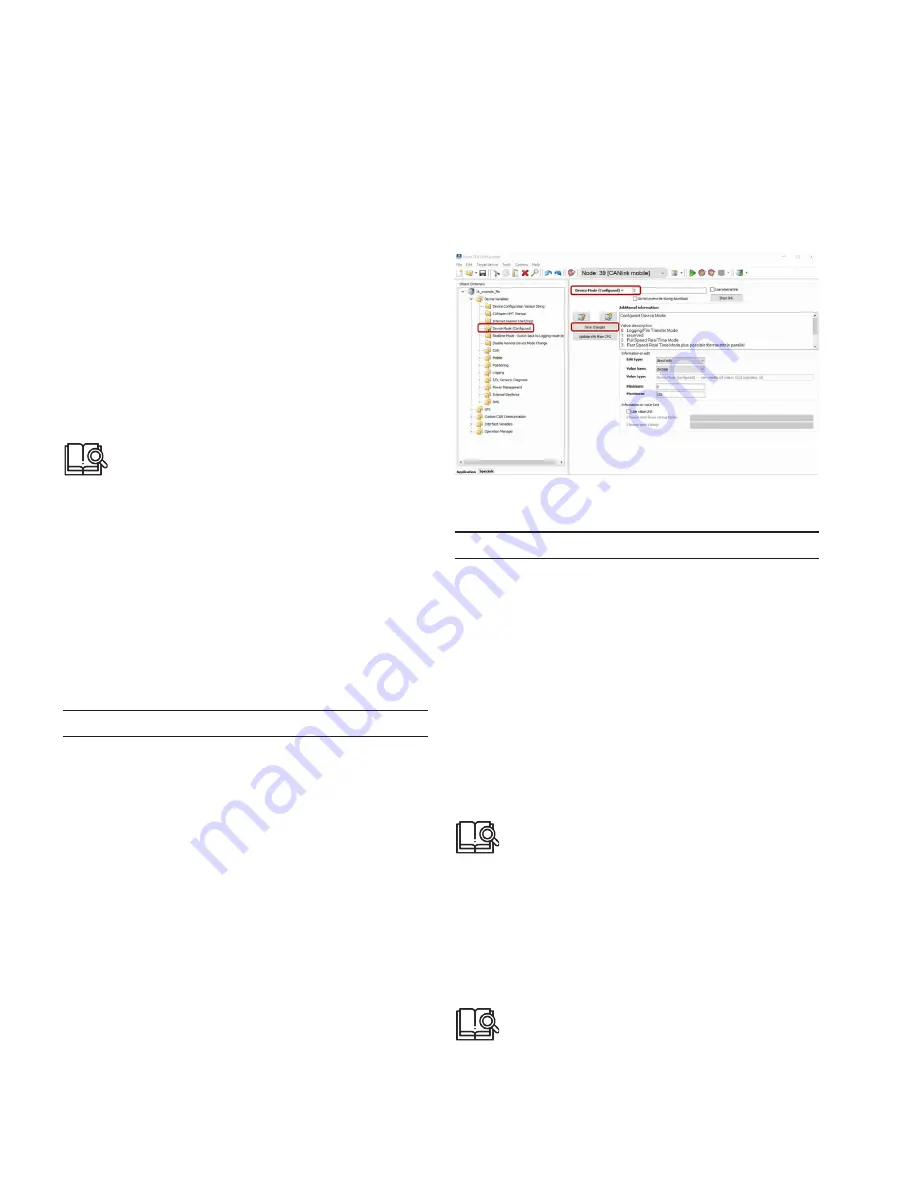
5.3.1 Configuring real-time mode
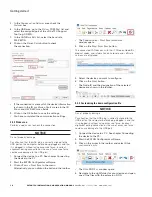
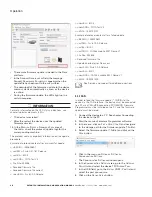
1. Start the EATON Configurator software.
2. Choose
f
ile
> o
pen
from the menu.
3. Open the configuration file you want.
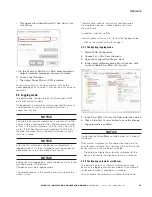
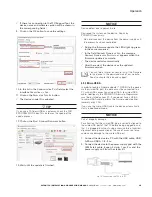
4. In the object dictionary group
D
eviCe
v
ariaBles
, click
on the variable
D
eviCe
m
oDe
(C
onfigureD
)
.
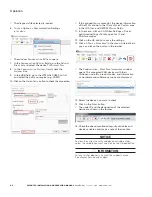
5. In the
D
eviCe
m
oDe
(C
onfigureD
)
field, enter the value 2.
6. Click the Save changes button to save
the configuration.
3
3
You have configured the real-time mode.
NOTICE
Configuring the DEVICE-MODE variable during first startup
of the device.
After manual switchover of the connection mode or after
an automatic switchover by a real-time client software, the
device remains in the mode last activated.
•
If required, configure the automatic switchover of the
device. See chapter Configuring automatic switchover.
5.3.2 Creating a real-time connection and evaluating CAN
messages
For a real-time connection, you must log in to the Portal.
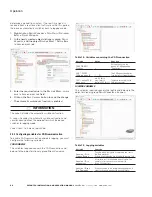
There you can download an installation-free version of
PROEMION Dashboard in order to evaluate your CAN
messages.
To find out how to download the software from
the Portal, see the documentation
“proemion_portal_dokumentation_EN”.
To find out how to configure the Dashboard application to
the logged data, see the documentation “EN_Software-
Dokumentation RMTools Dashboard”.
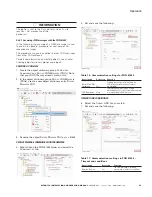
5.3.3 Setting a reception filter
You can filter CAN messages for transmission to the Data
platform. Set filters using
PROEMION Dashboard.
For more information on using PROEMION
Dashboard, see the documentation “EN_Software-
Dokumentation RMtools Dashboard”.
Содержание TFX Series
Страница 1: ...TFX Installation and Operation Manual...

