PAGE - 7 -
PAGE - 6 -
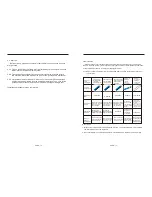
FIGURE 4. TOOL
Water Proof Silicone Gel
Scissors
Screw Driver or Electric Screw Driver
Knife
Teflon Tape
File
Pipe Wrench
Electrical Drill
Hammer
Adjustable Wrench
2. Installation
Since there are many types of faucets, this manual provides the installation
instruction for general conditions.
2.1 Confirm tools for installation
Before you start, please first make sure that the installation components and
tools are complete. Otherwise, you may feel annoyed when you discover the stuff
is unsufficient during half way of installation:
2.1.1 Tool preparation- please first check if your tools on hand are complete. (You
should have the following tools by yourselves.)
Furthermore, please prepare a long electric extension cord to be used if the
length of electric cable attached with the machine is not enough.
2.2 Machine installation
Under sink:
The location of installation should be under
the counter of kitchen. Please make sure there
is enough space to install the machine. If depth
of counter is small, you may take off upper drop
tray, lower drop tray and antidust cover.
2.2.1 If your counter material is made by concrete,
marble or other factors may not install the
machine. Please find appropriate space to
install it.
2.2.2 Turn off the source of water inlet-please find
your water source and turn it off in orde to
prevent flooding during installation.
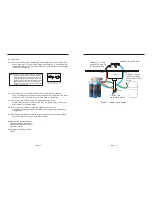
Figure 8. European style
dual pipe faucet with
water cut off switch
(provided by yourself)
Figure 7. Accessories
Figure 9. Water inlet adaptor
set (sketch diagram)
Wind Taflon tape
Wind Teflon tape
Water inlet adaptor
gooseneck
faucet
WP-14OD
saddle clamp
(option)
C clamp 1/4" and 3/8"
ball valve
PE pipe 1/4" and 3/8", one each
2.1.2 Confirm your installation components


