2.0
Slicer software application
(STL format 3D file need be
sliced to gcode format that printer can recognize).
(1).This 3d printer runs with it’s own developed slicing software named NANO plus ,
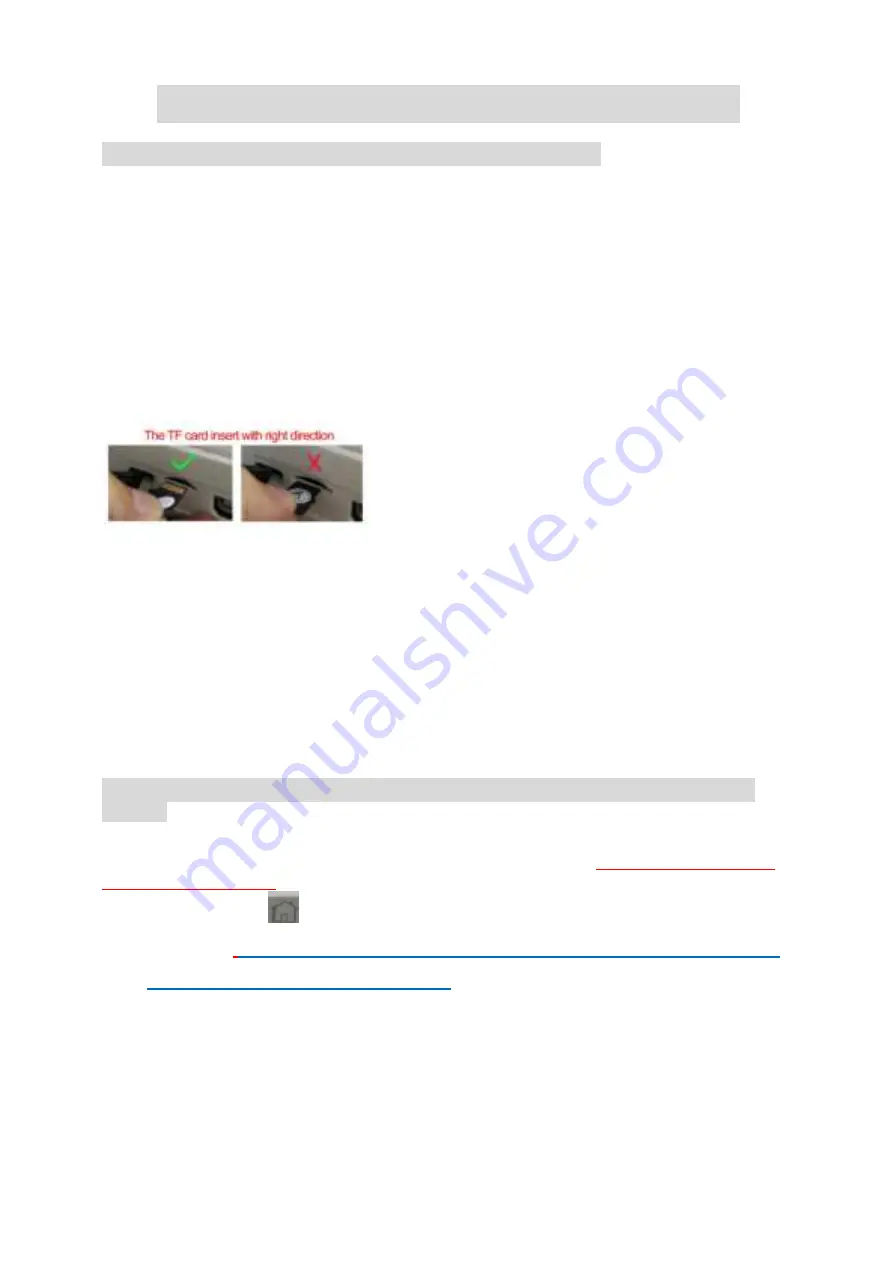
it is in the TF card included in the accessories box , please copy it to your
computer and no need installation ,you can also download NANO plus from
official website, and you can watch Slicer operation video in Youtube channel.
NANO plus slicer can recognize STL format 3D file.
(2). STL format 3D file need be sliced to .gcode format, and save to TF card, and
Insert TF card to printer, then can print 3D file. (3D Printer can read gcode format file
only)
Warm Notice: there is a gcode file inside the TF card when it come from factory
3.0 Connect and power the printer
Connect the power to the 3d printer, the light inside the Print button will be light.
4.0 Print
(
1
)
Platform Leveling
,
The first time to use this printer, you need leveling the
platform
Please adjust the distance between the nozzle and the platform in
1,2,3,4
points,
the distance should be just the thickness of a sheet of paper.(
Please do this leveling
with the help of adults
.)
a), Click the button
, Z axis will go home position. After Z axis come to
home position,
please turn off the power, after turn off the power ,then you can
move the X axis and Y axis by hand
(
Attention: when the hot bed is
heating up, the home function will not react until the temperature of the hot
bed reaches the set temperature
)
b),Move the nozzle to
1
point, And put a sheet of paper between the nozzle and the
platform, if the distance is too far , turn the hand-twisted nut counter-clockwise to
make the printing platform rise to the standard distance. If the distance between
the nozzle and the platform is too close, turn the hand-twisted nut clockwise to


