16
Eastwood Technical Assistance: 800.343.9353 >> [email protected]
OPERATION OF THE EASTWOOD GENESIS
FDM 3D PRINTER
The Eastwood Genesis FDM 3D Printer is completely operated from the side mounted
LCD display, controlled by the knob below the screen. Rotating the knob clockwise and
counterclockwise will scroll through the menus and adjust settings. Pressing the control
knob will select the highlighted option.
The following steps describe the interface, and how to accomplish certain tasks before
explaining printing preparations. The printer is configured by the factory with baseline
settings. The most common settings a beginner may adjust are nozzle temperature,
bed temperature, and preheat profile settings.
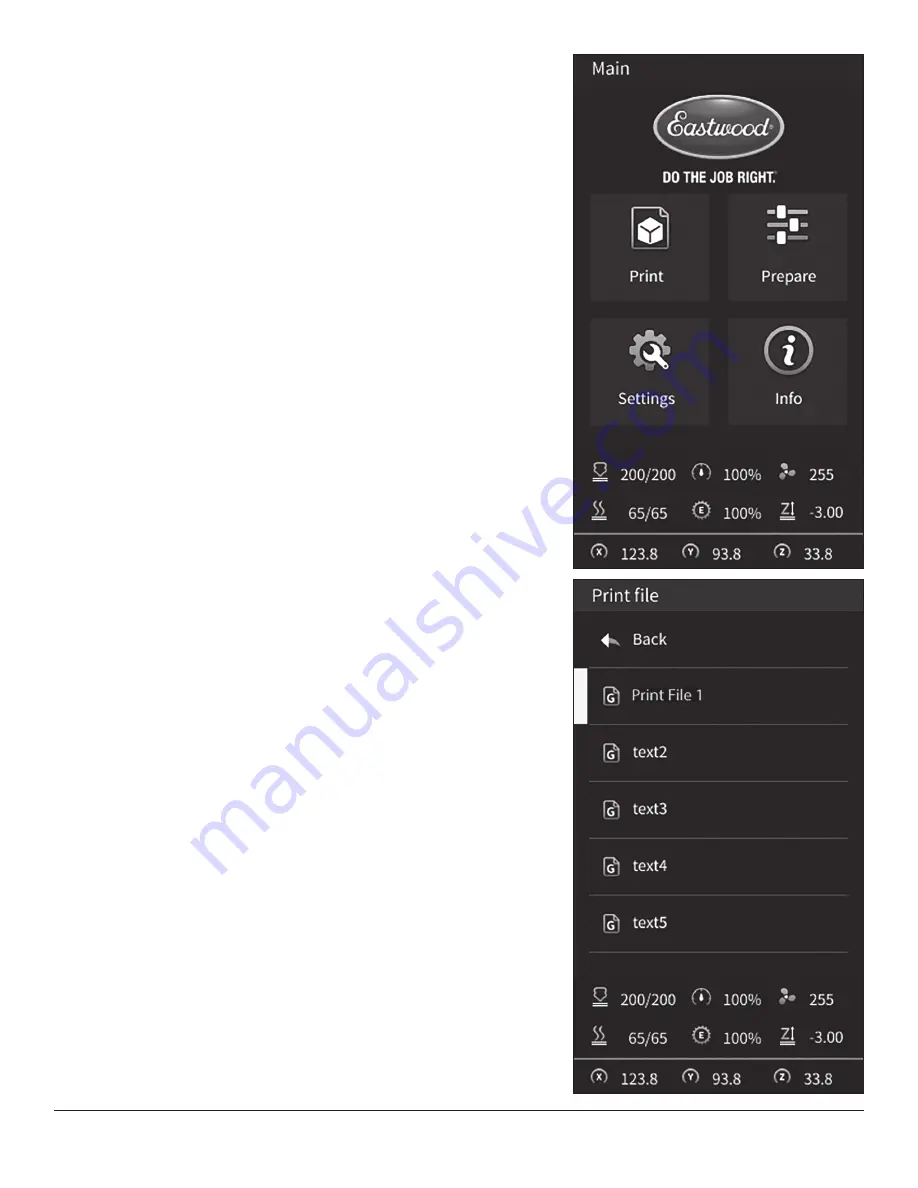
MAIN SCREEN MENUS (FIG 31)
PRINT (FIG 32)
The print option allows immediate access to the storage device for selection of a
print file.
The included Micro SD card has preloaded G-Code files for a quick start to verify
function of the printer.
Once a print file is selected the printer will switch to print in progress mode,
this screen is covered in Print in Progress Screen Options.
At the bottom of the screen the nozzle temperature actual/set point, bed temperature
actual/set point, movement speed, extruder speed, fan speed, Z offset, and X/Y/Z
coordinate location of the nozzle will always be displayed. Note that the X/Y/Z
coordinates will flash zero until the axes have been zeroed with auto home.
FIG. 31
FIG. 31
FIG. 32
FIG. 32


