27
WAYPOINT NAMES
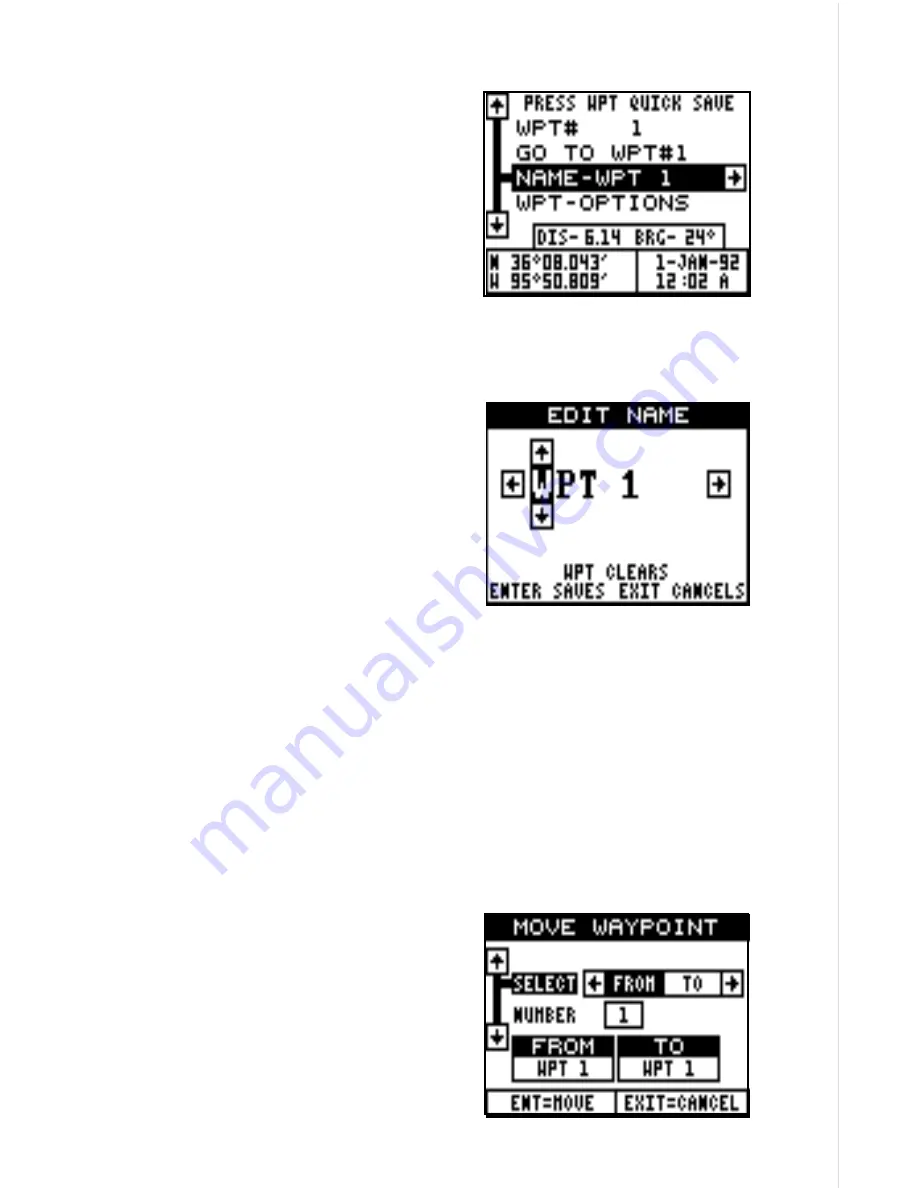
It automatically assigns the waypoint
number as a name when the waypoint
position is saved. You can find a way-
point by highlighting the “Name” label on
the waypoint menu as shown at right.
Now press the right or left arrow keys to
scroll through the saved waypoints. Only
waypoints that have a position will show
using this method.
Edit Name
The Eagle View also lets you assign a name to each waypoint. The name
can have up to eight characters. To name
a waypoint, first select the waypoint num-
ber that you wish to name. (Note: A way-
point must have a position stored before
you can name it.) Now highlight the
“WPT Options” label and press the right
arrow key. Finally, highlight the “EDIT
NAME” label and press the right arrow
key. A screen similar to the one at right
appears.
Press the up or down arrow keys to select the first letter in the name.
Press the right arrow key to move the black box to the next position in the
name. Repeat this sequence until you’ve entered all of the letters in the
waypoint name. Press the ENT key to accept this name, the WPT key to
erase all characters in the name, or the EXIT key to leave this screen
without saving any changes.
MOVE A WAYPOINT
You can move all information from one waypoint number to another. In
this example, we’ll move all of the information in waypoint number 2 to
waypoint number 10. To do this, highlight the waypoint options menu and
press the right arrow key. Now highlight
the “Move WPT” label. Press the right
arrow key. The screen shown at right ap-
pears. The black box is resting on the
“Select From” label. Now press the down
arrow key until the number 2 appears
beneath the “FROM” label. Now press
the up arrow key, then the right arrow
key. This highlights the “TO” label, as


