14
E-flite Hawker Sea Fury 480 ARF Assembly Manual
Radio Installation - Fuselage
Required parts
Hook and loop tape Receiver
6-inch (152mm) servo extension (2) (ailerons)
Servo (two required if using rudder control)
Required Tools and Adhesives
Phillips screwdriver: #0
Pin drill
Drill bit: 1/16-inch (1.5mm)
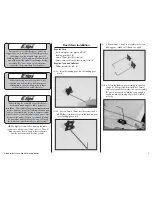
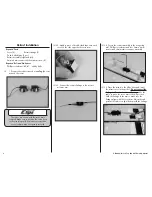
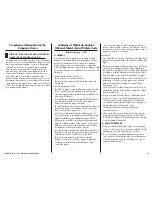
1. Mount the rudder and elevator servos in the
fuselage using a pin drill, a 1/16-inch (1.5mm)
drill bit and the hardware provided with the servo.
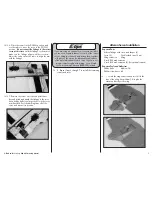
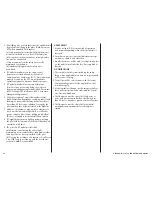
2. Plug the leads from the servos and speed control
to the appropriate outputs on the receiver. Also
connect the 6-inch (152mm) extensions for the
ailerons to the receiver.
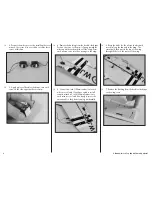
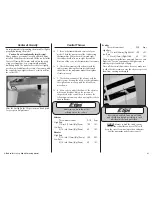
3. Use double-sided tape to secure the receiver in
the fuselage as shown.
Rudder preparation
Required parts
Control horn
Control horn backplate
2mm x 10mm sheet metal screw (2)
Operational tail gear wire
Tail wheel
Wheel spacer
Wheel axle cap
Required Tools and Adhesives
Hobby knife
Thin CA
Drill bit: 1/8-inch (3mm)
Pin drill
Felt-tipped pen
Sandpaper
Medium CA
Although the rudder can be installed after the
stabilizer, it is much easier to do so before installing
the stabilizer. The photos show the stabilizer
installed for reference, even though the actual
installation will be covered later in the manual.
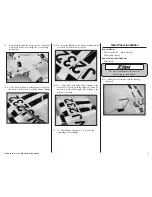
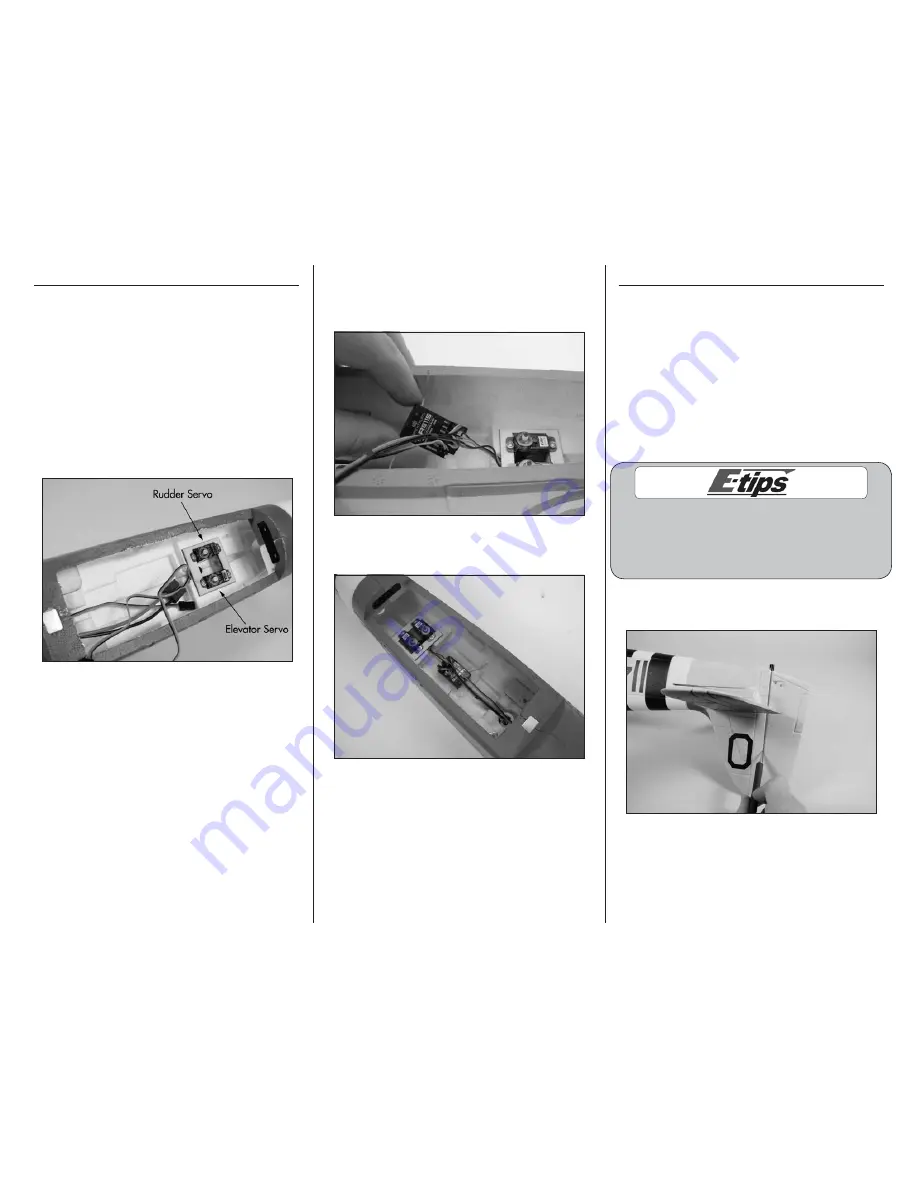
1. Use a hobby knife to cut the rudder from the fin.
Cut as close to the fin as possible for the best results.


