


8
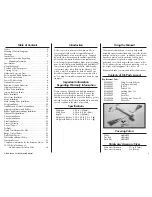
E-flite Advance 25e ARF Assembly Manual
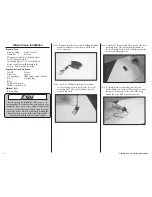
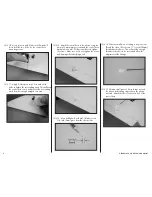
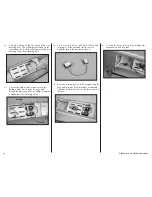
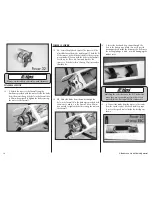
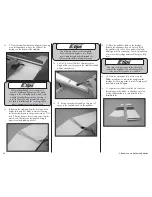
10. Use a pin vise and 5/64-inch (2mm) drill
bit to drill the two holes for the control horn
mounting screws.
11. Apply 2–3 drops on thin CA in each of the
holes to harden the surrounding wood. This will keep
the control horn secure and prevent the surrounding
wood from becoming damaged over time.
12. Attach the control horn to the aileron using two
2mm x 12mm machine screws and the control horn
backplate. Use a #1 Phillips screwdriver to tighten
the screws. Make sure not to over-tighten the screws
and damage the underlying wood.
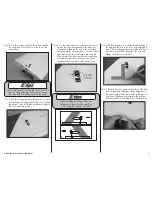
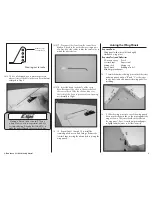
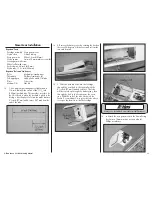
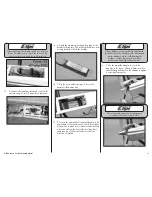
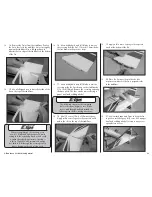
13. Use a hobby knife with a #11 blade to cut a
1/4-inch (6mm) piece from the silicone tube.
14. Slide the small piece of tubing in a nylon clevis.
Thread the clevis 12-turns on a 11
7
/
8
-inch (302mm)
threaded pushrod wire. This will provide enough
threads in the clevis to be secure and allow for
adjustment of the linkage.
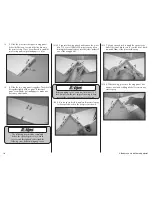
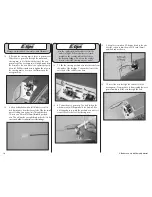
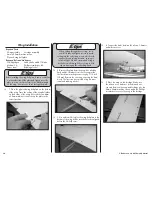
15. Wrap a small piece of low-tack tape around
the aileron and trailing edge to keep the aileron
centered. Attach the clevis to the outer hole of the
control horn.
Содержание Advance 25e ARF
Страница 1: ...Advance 25e ARF Assembly Manual ...


