CB-5222 User and Installation Guide
80
To add an action, click
ADD
. The action is displayed in the
Actions
table.
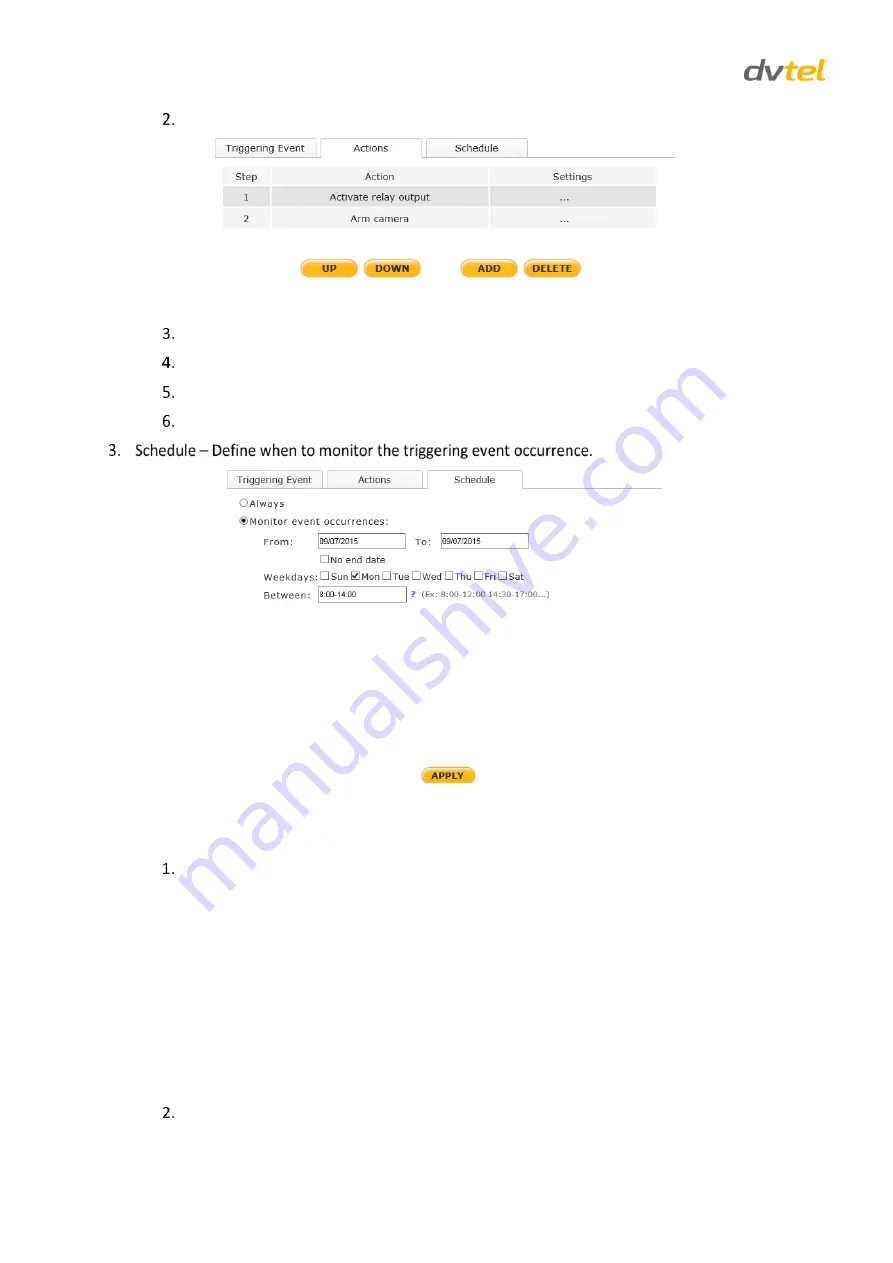
Figure 85: Responses > Actions Table
Repeat step 1 for each new Action.
To change the order of the Actions, click
UP
or
DOWN
.
To delete an action, select the Action and click
DELETE
.
Click
APPLY
when finished.
Figure 86: Responses > Schedule Tab
To set a schedule
Do one of the following:
Select
Always.
Select
Monitor event occurrences.
In the
From
text box, enter the start date.
In the
To
text box, enter the end date. If there is no end date, check
No end
date
.
From the
Weekday
s list, select the day of the week.
In the
Between
text box, enter the hours during which the monitoring will
occur.
Click
APPLY
.


