background image

No. 

Ite m

Description

8

Information

Tap  the  icon  to  view  the  battery charge  cycle,  Bios version, 

EC version,  and  Quick  Menu  version.

Information  Page

I   Battery Charge Cycles 

I   Batteryl

B io s V e rs io n   : 

RD.1D

EC V e rsio n   : 

0.00,34

Q u ic k   M enu  V e rsio n   : 

1.7.0.19

9

Keyboard

Tap  the  icon  to  display/hide the  on-screen  keyboard.

10

Mobility

center

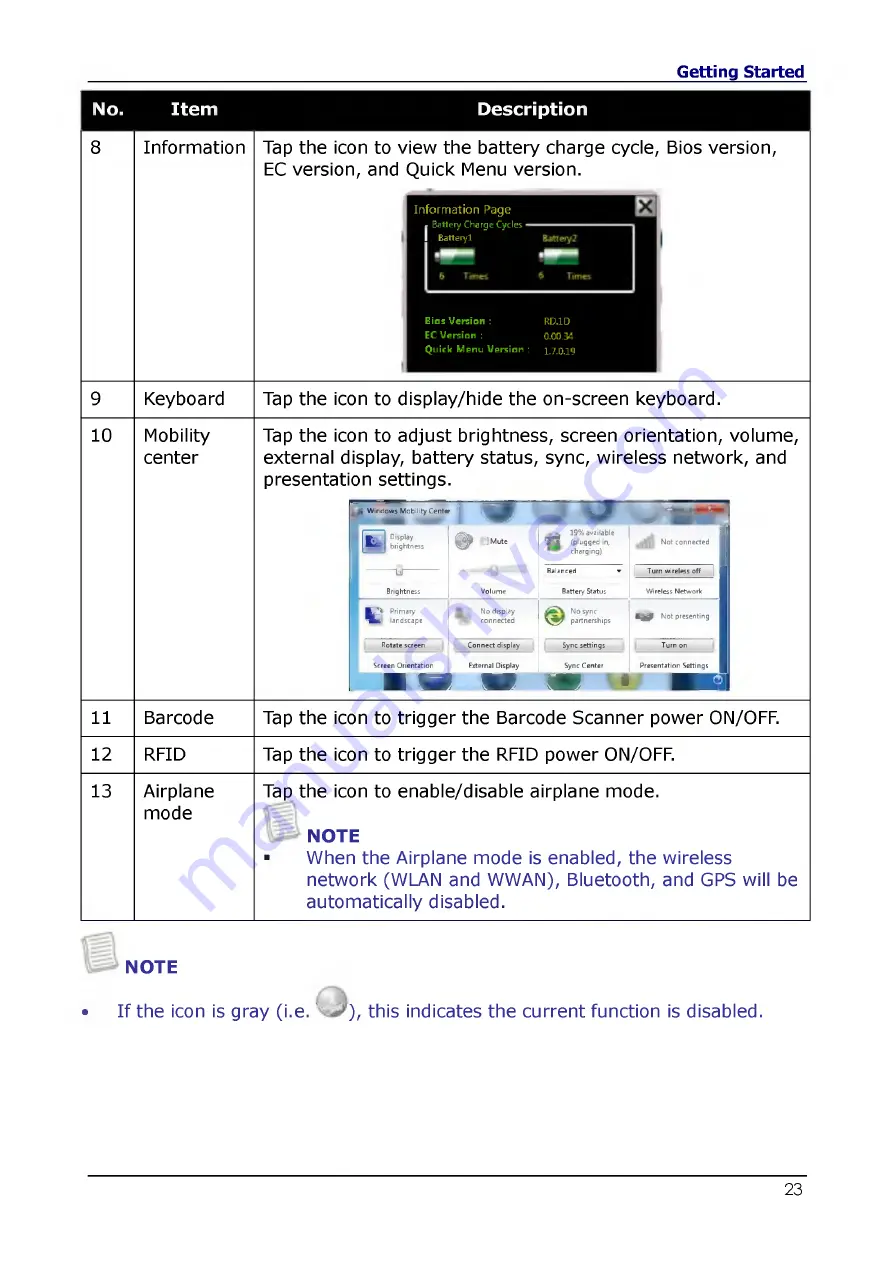
Tap  the  icon  to  adjust  brightness,  screen  orientation,  volume, 

external  display,  battery status,  sync,  wireless  network,  and 

presentation  settings.

"

2

  Windows Mobility Center  " 

'


^  

^

7 7  

'


Я

L -

1  Display 

I  brightness

^

  j M u t e

19% available 

V j  

(plugged in, 

charging)

Not connected 

1

U

B rightness

,____ ^____

Volume

Balanced 

▼ 

Battery Status

Turn wireless off 

j

Wireless Network

к

Primary
landscape

No display 

connected

No sync 

^ 5 7

  partnerships

Ъщ?

  Not presenting

Rotate screen

Connect display

Sync settings

Turn on

Screen Orientation

External Display

Sync Center

Presentation Settings

Ш

Ш


Ш


Ш


t  

H R   I

11

Barcode

Tap  the  icon  to  trigger the  Barcode  Scanner  power ON/OFF.

12

RFID

Tap  the  icon  to  trigger the  RFID  power ON/OFF.

1 3

Airplane

mode

Tap  the  icon  to  enable/disable  airplane  mode.

NOTE


When  the Airplane  mode  is  enabled,  the  wireless

network  (WLAN  and  WWAN),  Bluetooth,  and  GPS  will  be 

automatically disabled.

NOTE

• 

If the  icon  is  gray  ( i . e . ' 

),  this  indicates  the  current function  is  disabled.

Содержание T7Q

Страница 1: ...3519 55 03 13 Москва 495 268 04 70 Мурманск 8152 59 64 93 Набережные Челны 8552 20 53 41 Нижний Новгород 831 429 08 12 Новокузнецк 3843 20 46 81 Новосибирск 383 227 86 73 Орел 4862 44 53 42 Оренбург 3532 37 68 04 Пенза 8412 22 31 16 Пермь 342 205 81 47 Ростов на Дону 863 308 18 15 Рязань 4912 46 61 64 Самара 846 206 03 16 Санкт Петербург 812 309 46 40 Саратов 845 249 38 78 Смоленск 4812 29 41 54 С...

Страница 2: ... GETTING STARTED 16 Po w e r in g U p Y o u r Ta b l e t P C 16 Connecting theAC Adapter 16 Using Battery Power 16 I n s t a l l in g t h e Ba t t e r y 17 Charging the Battery 17 Charging Time 17 Checking the Battery Level 18 When to replace the Battery Pack 18 Removing the Battery 18 S t a r t in g Y o u r Ta b l e t P C 19 Turning On Your TabletPC 19 Changing the Display Orientation 19 Shutting...

Страница 3: ... a Bluetooth Device 32 POWER MANAGEMENT 33 U s in g t h e Po w e r P l a n 33 U s in g t h e Po w e r S a v in g M o d e 3 4 USING THE BIOS SETUP UTILITY 35 B IO S S e t u p M e n u 35 S t a r t in g t h e B IO S S e t u p Ut i l i t y 35 N a v ig a t in g a n d E n t e r in g I n f o r m a t io n in B I O S 3 6 M a in M e n u 3 6 A d v a n c e d M e n u 3 7 B o o t M e n u 3 7 S e c u r it y M e ...

Страница 4: ...n If this equipment does cause harmful interference to radio or television reception which can be determined by turning the equipment off and on the user is encouraged to try to correct the interference by one or more of the following measures Reorient or relocate the receiving antenna Increase the separation between the equipment and the receiver Connect the equipment into an outlet on a circuit ...

Страница 5: ...f the device Radio Frequency RF Exposure Information The radiated output power of the Wireless Device is below the Industry Canada IC radio frequency exposure limits The Wireless Device should be used in such a manner such that the potential for human contact during normal operation is minimized This device has been evaluated for and shown compliant with the IC Specific Absorption Rate SAR limits ...

Страница 6: ...sposal THIS PRODUCT CONTAINS A LITHIUM ION OR NICKEL METAL HYDRIDE BATTERY IT MUST BE DISPOSED OF PROPERLY CONTACT LOCAL ENVIRONMENTAL AGENCIES FOR INFORMATION ON RECYCLING AND DISPOSAL PLANS IN YOUR AREA A N N EX IV Symbol for the marking of electrical and electronic equipment The symbol indicating separate collection for electrical and electronic equipment consists of the crossed out wheeled bin...

Страница 7: ...erials DO NOT tamper the battery Keep it away from children DO NOT expose your tablet PC to sudden changes in temperature or humidity Keep your tablet away from air conditioners or heating vents DO NOT attempt to service your tablet PC yourself Any attempt to do so will make the warranty invalid When servicing refer to qualified service personnel For better environmental protection waste batteries...

Страница 8: ... from heat after long time usage CAUTION FOR ADAPTER THIS TABLET PC IS FOR USE WITH DEDICATED AC ADAPTER BATTERY SAFETY DANGER OF EXPLOSION IF BATTERY IS INCORRECTLY REPLACED REPLACE ONLY WITH THE SAME OR EQUIVALENT TYPE RECOMMENDED BY THE MANUFACTURER DISPOSE OF USED BATTERIES ACCORDING TO THE MANUFACTURER S INSTRUCTIONS ...

Страница 9: ...re you begin using your tablet PC read this chapter to familiarize yourself with the main components installed in the system Package Contents The following items come with your package If any of them is damaged or missing please contact your retailer Tablet PC Stylus Pen Hand strap Power cord Desktop Cradle Power adapter LTE Antenna NOTE The pictures are for reference only actual items may slightl...

Страница 10: ...Small size and light weight Spill and Dust Proof Rugged design up to military standard MIL STD 810G Built in 5MP camera Support G sensor for LCD auto rotation Intel WLAN capability Bluetooth connectivity WWAN Optional integrated barcode scanner support 1D 2D barcode reading Optional RFID reader support ISO 15693 14443A B stand ...

Страница 11: ...ng function status See Status Indicators on page 15 3 Speaker Emit sound 4 Power Press to power on and off the tablet PC 5 Scanner Press to trigger the Barcode scan function 6 Camera Press to activate the Camera Application 7 Stealth mode Press to disable all emitting lights and sound 8 Quick menu Press to access the Quick menu 9 Security Press to exit Windows and enter SAS Secure Attention Sequen...

Страница 12: ...ccess your favorite programs 12 Enter Press to emulate the Enter key 13 Program2 Press to access your favorite programs 14 Arrow up Press to emulate the Up key 15 Arrow left Press to emulate the Left key 16 Arrow right Press to emulate the Right key 17 WLAN Wi Fi and Bluetooth Press to activate wireless LAN or Bluetooth communication 18 Arrow down Press to emulate the Down key 19 Rotate Press to r...

Страница 13: ...s under the low light environment 2 Camera Use to take pictures 3 Battery compartment Contain the battery 4 Battery latch Lock the battery in place Left View No Item Description 1 Kensington lock slot Connect to a Kensington compatible tablet PC security lock 2 DC in jack Connect the power adapter ...

Страница 14: ... an Ethernet cable 3 USB port s Connect USB peripheral devices Top View o e No Item Description 1 ExpressCard slot and PC Card slot Use to insert one 34 54 ExpressCard or Type II PC Card 2 Card reader Use to insert memory cards to transfer pictures music and data between your tablet PC and flash compatible devices The card reader supports SD Secure Digital SDHC Mini SD with adapter MMC Multi media...

Страница 15: ...lights on green when the system is running When the system is in sleep mode the LED blinks 0 0 Battery Indicate the battery status Green light means the battery is fully charged Orange light means the battery is being charged Blinking orange light means the OTP of the battery pack is activated Red light means the battery power is low 0 HDD A blinking green LED indicates HDD activity data is being ...

Страница 16: ...battery 1 Connect the AC adapter to the DC in jack of your tablet PC 2 Connect the AC adapter to the power cord 3 Plug the power cord to an electrical outlet Using Battery Power 1 Install a charged battery in the battery compartment 2 Remove the AC adapter if plugged Your tablet PC will automatically use the battery power NOTE If your tablet PC is connected to an electrical outlet and thebattery i...

Страница 17: ... Install the battery to your tablet PC See procedures above 2 Connect the AC adapter to the DC in jack of your tablet PC 3 Connect the AC adapter to the power cord 4 Plug the power cord to an electrical outlet Charging Time Number of battery pack Charging duration at 25 C 1 3 5 hours 2 6 5 hours NOTE The charging time may be longer if you are using your tablet PC while charging the battery CAUTION...

Страница 18: ...maining Battery 1 80 remaining Battery 2 94 remaining Select a power plan lo Balanced Power saver Adjust screen brightness More power options When to replace the Battery Pack The battery performance gradually decreases over time and usage We recommend you to replace your battery pack after 18 to 24 months of usage Removing the Battery To remove the battery follow the steps below Slide the battery ...

Страница 19: ...to suit your preference Press the GE3 button to rotate the display 90 clockwise Shutting Down Your Tablet PC It is important to properly shut down your tablet PC to avoid the loss of unsaved data To shut down your tablet PC do the following Tap Start Shut down Wait for your tablet PC to turn off power completely before removing the power source if necessary ___________ ...

Страница 20: ...wer Options o L Recovery k M Sound System J b troubleshooting J Programs and features 7 Region and language у Speech Recognition i f Tablet PC Settings J User Accounts A a Network and Scaring Center Pen and Tc ich Pbone and Moilem Kealtek HD Audio Manager RemoteApp and Desktop Connections Sync Center Taskbar and Start Menu Windows CardSpace 3 Tap Calibrate 4 Follow the on screen instructions to co...

Страница 21: ... u leB in sleeper2 J b u ce ter6 0 1 TW TootS Tap the keys on the keyboard just as you would on a hardware keyboard To toggle between standard and expanded keyboard tap Tools Show expanded keyboard When keys are pressed the on screen keyboard predicts the word as you type Word suggestions appear on top of the keyboard Tap a word to select it keyboard mode tap the Keyboard icon il ...

Страница 22: ...n to enable disable the Bluetooth function 4 GPS Tap the icon to enable disable the GPS function 5 Auto rotate Tap the icon to enable disable the Auto Rotate screen function 6 Keypad Backlight Tap the icon to turn the keypad backlight on off 7 Setup Tap the icon to set hotkey serial port light sensor and keypad backlight settings NOTE The K eyp a d B a cklig h t о the keypad backlight is en Setup ...

Страница 23: ...able V j plugged in charging Not connected 1 U Brightness ____ ____ Volume Balanced Battery Status Turn wireless off j Wireless Network к Primary landscape No display t connected No sync 5 7 partnerships Ъщ Not presenting Rotate screen Connect display Sync settings Turn on Screen Orientation External Display Sync Center Presentation Settings Ш Ш Ш Ш t H R I 11 Barcode Tap the icon to trigger the B...

Страница 24: ... Camera Scan fe il on desktop Tap Start All Programs DuraBook g p s off GPS unknown H GPS good Display Liveview Window PREV NEXT Liveview Mini Window DISPLAY LIVEVIEW Take Photos Press the Record button to capture the pictures View Photos Press the Forward or Backward button to view the recorded photos Press the Play button to switch to Playback mode In Playback mode press the Preview button to sw...

Страница 25: ... program GPS device must be implemented in the system for locating the positions and recording the coordinates when capturing photos If GPS coordinates are not able to be received the last coordinates would be used instead GPS GPS status indicator GPS device is working properly GPS device is not available GPS signals are unstable If the user decided to use the external USB GPS device do the follow...

Страница 26: ...ection r GPS Comport Setting P o rt N u m b e r T 1 0 Auto Scan Comport Cancel iSi й О Cam era 1 Cam era 2 C am eras There are three cameras that you can select the camera is available and ready to use the camera is not available Press the Leave button G 3 after you have chosen the desired camera Resolution S V T A Ш X G f i SQOx 60Q I 1024x768 There are four resolution options that you can select...

Страница 27: ... The camera logs the GPS position accurately if photos are taken outdoor Flash When capturing photos under the low light environment tap ON to turn on the LED Flash NOTE The effective flash range is 50cm Idle Timing There are five Idle Timing options that you can select 1 0 mln I 1 5 mln I 2 0 mln 30 mln Press the Leave button G 3 after you have chosen the desired time NOTE When the system is left...

Страница 28: ... clicks into place Removing a Memory Card It is important to remove the memory card properly Improper removal may cause the data in the memory card to be corrupted and your tablet PC to malfunction To properly remove the memory card follow the steps below 1 Tap the removable disk icon on the system tray 2 Tap Eject SD Card The system confirms that the device can be safely removed 3 Push the memory...

Страница 29: ...onnect your tablet PC to other USB devices such as a mouse keyboard digital camera printer or an external hard disk drive 1 Connect one end of a USB cable to the USB port of your tablet PC 2 Connect the other end to the USB device if necessary NOTE The USB cable is not included in the package It is sold separately or it may come with your USB device ...

Страница 30: ...e with serial port 1 Connect one end of an RS 232 cable to the RS 232 port of your tablet PC 2 Tighten the two screws on the side of the cable plug with your fingers 3 Connect the other end to the RS 232 port of a printer or other peripheral device NOTE The RS 232 cable is not included in the package It is sold separately ...

Страница 31: ...2 Tap the wireless network icon on the system tray 3 Available wireless network connections are displayed Tap the desired wireless network 4 Tap Connect Some networks require a network security key or a password TIP 4 Check Connect automatically box to automatically connect to this network when it is available 6 Enter the network security key 7 Tap OK 8 After the connection is established you can ...

Страница 32: ...luetooth Devices 4 Tap the Bluetooth icon Send a File 5 Tap Add a Device The system starts scanning for Recerve a File Bluetooth devices and displays the available devices Jotn a Personal Area Network 6 Tap on a device then tap Next fe d Open Settings и Remove Icon r lie 9 1 mm r 3 56 PM _ 8 4 24 2012 7 Enter the passkey PIN to start pairing and tap Next 8 After the pairing process is complete tap...

Страница 33: ...anager RemoteApp and Desktop Taskbar and Start Menu 3 Select a power plan Require a password on wakeup Chocse what t ie oower buttons do Create a power plan f J Choose when to turn of the ditplay Change when the computer Jeeps Personalization W indow Mobility Center User Accounts Ро л е plans can help you majrimize your computer s performance or conserve energy Make a plan active by selecting it o...

Страница 34: ...o enter sleep mode follow the steps below 1 Tap Start 2 Select Shut down Sleep j Solitaire Л Help and Suppoi Switch user Log off Lock Ziff Davis Media BatteryMark 4 0 1 All Programs Restart Sleep Search programs and fOes p Hibernate To wake up the tablet PC from sleep mode do one of the following Press the button Press any key on the external keyboard ...

Страница 35: ...t it can operate correctly Use the BIOS setup utility to change your tablet PC start up configuration For example you can change the security and power management routines of your system Starting the BIOS Setup Utility You can only enter the BIOS setup utility as the tablet PC is booting that is between the time you turn on the tablet PC and before the Windows interface appears If your tablet PC i...

Страница 36: ...main menu then press Esc Users are allowed to enter new values to replace the default settings in certain fields and the rest of the fields are specified by system default parameters and cannot be modified by users Reverse the attribute of the main options and press Enter to enter into the submenu Press Esc to return to the previous configuration page Main Menu The Main menu displays the system ov...

Страница 37: ...lp F 2 P r e v i o u s V a l u e s F 3 O p t i m i s e d D e f a u l t s F4 S a v e E xi t E S C E x i t V e r s i o n 2 1 4 1 2 1 9 C o p y r i g h t I C 2011 A m e r i c a n M e g a t r e n d s I n c Boot Menu The Boot menu allows you to configure the boot type and boot sequence A p t i S o t u p U t i l i t y C o p y r i g h t IC 7011 A m e r i c a n M e g a t r e n d I n c A d v a n c e d Г п ...

Страница 38: ... set than t h u is a p ow er on p a s s w o r d and m ust be o ntored to boot or enter Setu p In S etu p the U s e r will h a v e A d m in is tr a t o r rig h ts in the fo llo w in g range M inim u m length Э M a x im u m leng th 20 S e le c t S cre e n 11 S e le c t Item U s e r P a s s w o rd Lnt er S e le c t e C h a n g e Opt wsted C o p e i n g f 1 G e n e r a l Help f 2 P re v io u s V a lue...

Страница 39: ...ter to an electrical outlet The tablet PC cannot connect to Internet If using wireless check if your location is out of range of the network Move your tablet PC closer to the access point If the network you are connecting to requires a security password make sure you enter the correct password Check to make sure the settings configurations are correct Nothing happens when I press the Power button ...

Страница 40: ...reen panel LED backlighting Brightness 265nits typical 207nits minimum Sunlight Readable 7 WSVGA 1024x 600 resolution TFT LCD with Sunlight readable function resistive touch panel with circular polarizer Brightness 441nits typical 397nits minimum All the glasses of touch panel are tempered glass Light Sensor Build in ambient light sensor to adjust LCD brightness with 3 modes Max for outdoor Middle...

Страница 41: ...600 CPU only work within 2cm Digitizer Optional digitizer and active stylus pen System support auto switch pointing device between resistive touch panel and digitizer if available Communications Network Wireless Integrated 10 100 1000 Ethernet network RJ45 Intel Centrino Wireless N6235 WLAN 2x2 a b g n Bluetooth 4 0 GPS Global positioning system GPS receiver CTO option Bluetooth Support ВТ 4 0 I O...

Страница 42: ...cedure II Boot Up Temperature on Battery with fully charged battery only extended temp SSD 0 C 55 C Boot Up Temperature on adapter or external power via dock extended temp SSD 20 C 55 C Storage Environment Temperature 51 C 71 C Test Method High temperature Storage MIL 810G Method 501 5 Procedure I climatic category A1 Hot Dry Low temperature Storage MIL STD 810G Method 502 5 Procedure I climatic c...

Страница 43: ... 81 Магнитогорск 3519 55 03 13 Москва 495 268 04 70 Мурманск 8152 59 64 93 Набережные Челны 8552 20 53 41 Нижний Новгород 831 429 08 12 Новокузнецк 3843 20 46 81 Новосибирск 383 227 86 73 Орел 4862 44 53 42 Оренбург 3532 37 68 04 Пенза 8412 22 31 16 Пермь 342 205 81 47 Ростов на Дону 863 308 18 15 Рязань 4912 46 61 64 Самара 846 206 03 16 Санкт Петербург 812 309 46 40 Саратов 845 249 38 78 Смоленс...

Отзывы: