100
7. User Supportware
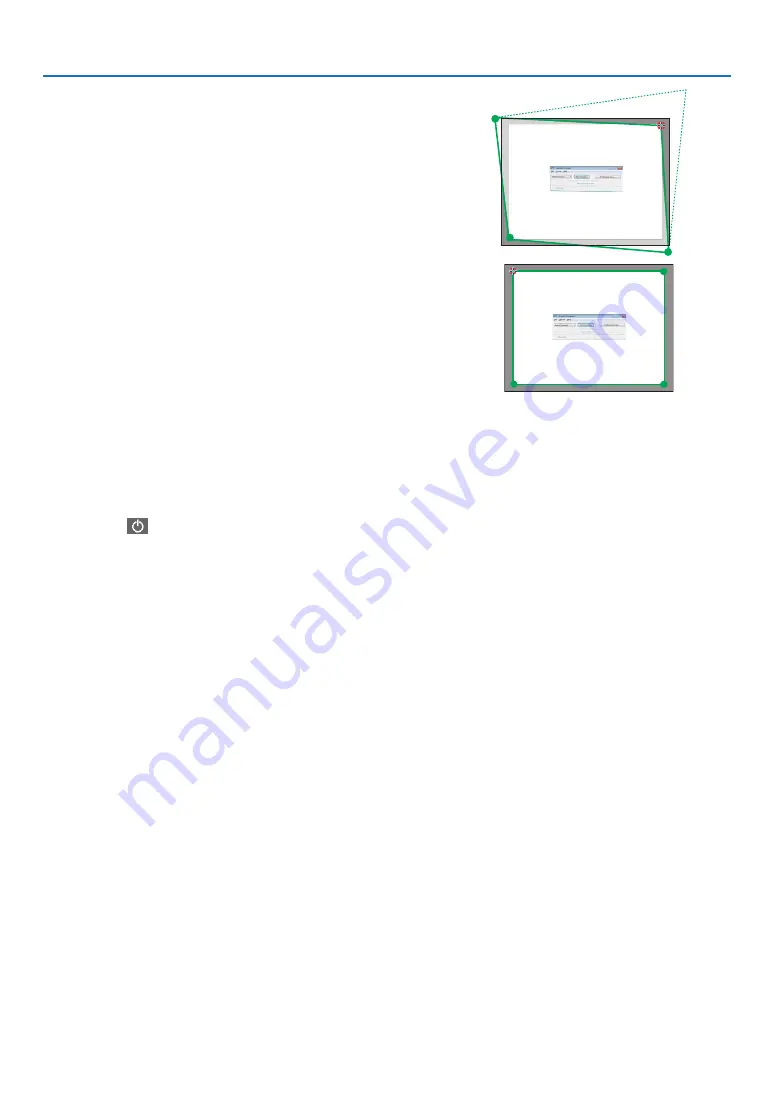
10. Drag the selected [
•
] mark to the point you wish to correct
and drop it.
• When you click somewhere within the project image area, the
nearest [
•
] mark will go to the position where the mouse cur-
sor is.
11. Repeat Step 9 and 10 to correct the distortion of the projected
image.
12. After completing, right-click the mouse.
The green frame and the mouse pointer will disappear from the
projected image area. This will complete the correction.
13. Click the “X” (close) button on the “4-point Correction” window.
The “4-point Correction” window will disappear and the 4-point
correction will take effect.
14. Click the “
” button on the control window to exit the GCT.
TIP:
• After performing the 4-point correction, you can save the 4-point correction data to the projector by clicking “File”
→
“Export to
the projector…” on the “4-point Correction” window.
• See the Help of Image Express Utility Lite for operating “4-point Correction” window and other functions than GCT. (
→


