Ducasa AVANT-DGi+ 1000 Скачать руководство пользователя страница 13

13

Ducasa Avant DGi+

QUICK GUIDE TO MANUAL PROGRAMMING

The Avant DGi+ & Vitro-i+ radiator is programmed by using heating ‘modes’.

The modes are set for each hour of the week, starting from midnight on Sunday

The days are numbered 1 to 7, with 1 being Monday and 7 being Sunday
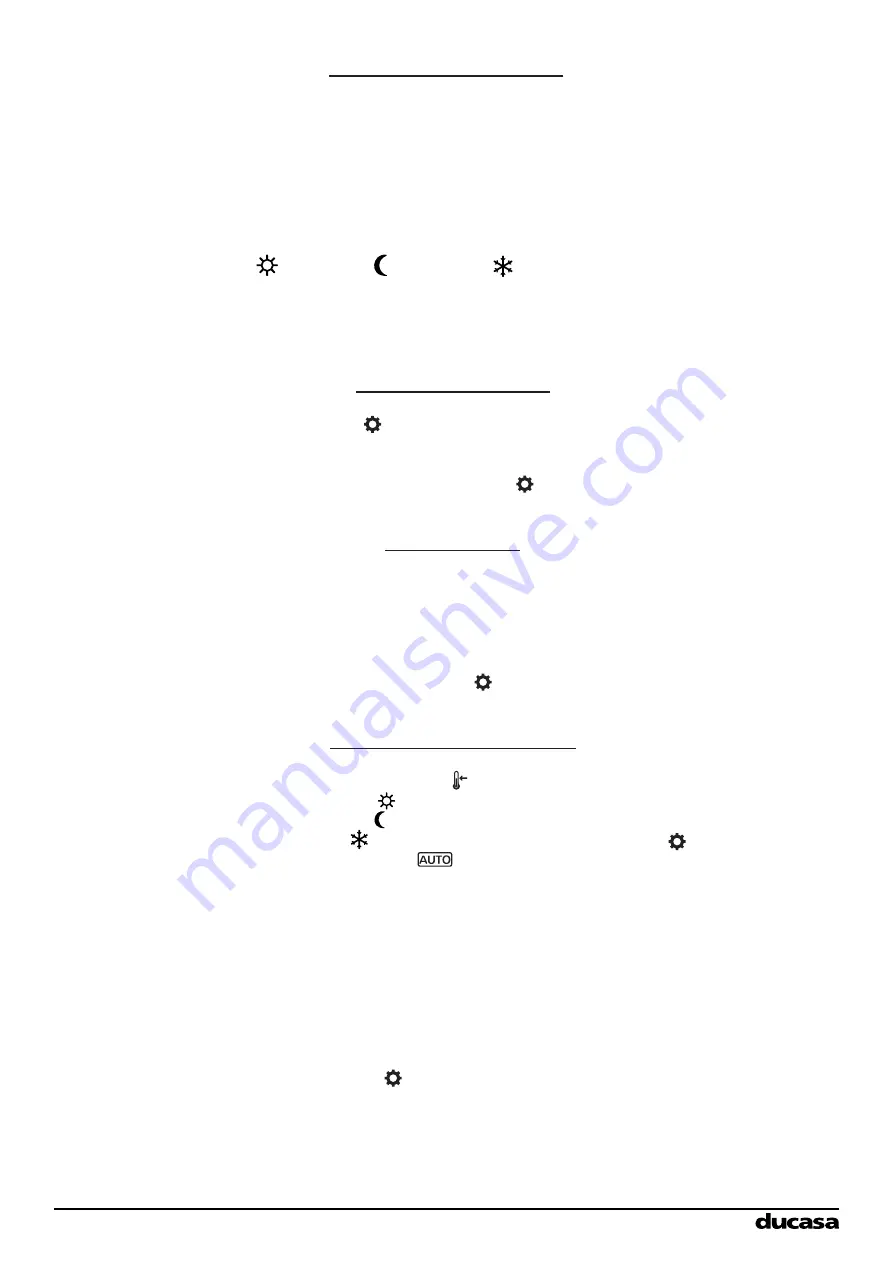
The ‘modes’ are:


Comfort         Economy        Frost Protection

There are 3 steps to programming your heater;

1.Programming the Modes  2.Setting the Clock  3.Setting the Temperatures

Programming the Modes

Press   Prog / Config for 3 Seconds

Press OK to choose the mode and ‘+’ to confirm for each hour of each day

If you make a mistake press ‘-’ to go back

When you are happy the modes are correct press   to move onto setting the clock

Setting the Clock

Use +/- to select the current day, 1 =Mon 7=Sun

then press OK

Use +/- to set the hour

then press OK

Use +/- to set the minute

When you are happy the clock is correct press   to move onto setting the temperatures

Setting the Mode Temperatures

Use +/- to select   then press OK

Use +/- to set the   comfort temperature then press OK

Use +/- to set the   Economy temperature then press OK

Use +/- to set the   Frost Protection temperature then press 

Press OK until 

 is shown on screen

Programming is complete

Notes & Tips:

When the radiator is running in Auto the set temperature can be changed by pr/-

At the next programmed mode change, the radiator will return to the pre-set temperature

lt can be useful to write down the times and modes you want before starting to

programme the radiator

The screen backlight switches of after 10 seconds and the radiator exits programme mode.

If this happens you will need to press   Prog / Config for 3 seconds and re-enter your modes.

Copyright Heattend Products Ltd 2018

Содержание AVANT-DGi+ 1000

Страница 1: ...ould be invalid if these requirements have not been met MODE CONFIG PROG MODE CONFIG PROG AVANT DGi AVANT DGi L Thermal Electric Radiator Operating and Installation Instructions Read these instruction...

Страница 2: ...ITCH 9 Stand by function 9 Using with smartcomand tevolve 9 Connecting to the smart command tevolve app 9 Geolocation 10 Using without smartcommand tevolve 10 Mode operation 10 Setting Programme and C...

Страница 3: ...minder to the user ATTENTION The heaters must not be covered by clothing containers or any other objects that may block the air ventilation VERY IMPORTANT The OFF indicator shown on the heater s contr...

Страница 4: ...supplied with the heater Do not place the heater directly on the floor Make sure that the wall where the heater is going to be mounted is suitable to bear the heater s weight Use the correct fixing fo...

Страница 5: ...special cast aluminium body specifically designed to assure the maximum rate of heat radiation the air circulation channels provide a very efficient convection effect A unique manufacturing process pr...

Страница 6: ...ht recommended by current UK regulations According to regulations the radiator must be connected to the power supply by means of an all pole circuit breaker with a contact gap of at least 3mm or by a...

Страница 7: ...more than 9 elements the bracket should be placed between the second and third element figure 1b Fig 1a Fig 1b Fig 2a Fig 3a Fig 2b Fig 3b Place the supports between the elements as shown in Figure 2...

Страница 8: ...es and offers the ultimate in control and energy monitoring Search for Tevolve on the either the Google Play Store or the Apple App Store Scan this QR code to access to the download It is also possibl...

Страница 9: ...n again press the MODE button to choose programme mode or manual mode you will see the following screens USING WITH SMARTCOMAND TEVOLVE APP Increase Decrease Mode OK AUTO MANUAL OFF CONFIG PROG Progra...

Страница 10: ...of degrees that is configured for each device from the App when you are away from home The default is 2 degrees Geolocation is activated from the App within the Homes setting If activated all connecte...

Страница 11: ...ress CONFIG while the radiator is in one of the main modes OFF AUTO MANUAL The following screen will appear Now press the CONFIG button for 5 seconds and C1 appears on the screen To scroll through the...

Страница 12: ...day period to establish how quickly the room reaches temperature and uses this information to switch the heater on at the correct time By reaching the required temperature at the set time and not bef...

Страница 13: ...Sun then press OK Use to set the hour then press OK Use to set the minute When you are happy the clock is correct press to move onto setting the temperatures Setting the Mode Temperatures Use to sele...

Страница 14: ...14 Installation Notes...

Страница 15: ...0 0008 kW 0 0008 kW 0 0008 kW 0 0008 kW 0 0008 kW 0 0008 kW 0 0008 kW 0 0008 kW At minimum heat output elmin 0 0008 kW 0 0008 kW 0 0008 kW 0 0008 kW 0 0008 kW 0 0008 kW 0 0008 kW 0 0008 kW 0 0008 kW I...

Страница 16: ...shown on the product or its literature indicates that it should not be disposed of with other household wastes at the end of its working life To prevent possible harm to the environment or human healt...

Отзывы: