background image

Customer Information

Solid wood /real wood veneers

   This product has been finished using natural materials. As living material you may

   notice some variation in the grain and colour shade between the different component 

parts.

Unlike a synthetic or man-made material which has a uniform finish , a feature of

   natural wood is its variation in grain and colour .We wish to reassure you that this is 

   quite normal , and is not the result of any manufacturing fault. 

Where sheets of veneer are joined together a line may be detected .Again , this is 

   normal and is not an imperfection . 

   The natural finish should be cared for by the periodic application of a good quality 

   ‘wax’ based domestic furniture polish (not silicone ). Occasional small spills should be 

removed immediately using a damp cloth.

    Do not allow hot articles to come into contact with the surface as damage will occur !

                                      8 of 8 

Содержание Amelia Bed

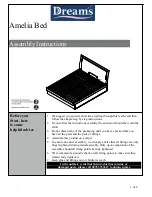
Страница 1: ...t you have all the parts and the pack of fittings 4 Assemble this product on a carpet 5 To ensure an easier assembly we strongly advise that all fittings are only finger tightened during initial assem...

Страница 2: ...Component parts contained in the box PARTS 2 of 8...

Страница 3: ...0775 QTY 4 PCS 040 00776 M N M5 QTY 1 PC 040 00777 QTY 2 PCS 040 00778 O P QTY 4 PCS 040 00779 QTY 4 PCS 040 00780 Q R QTY 10 PCS 040 00781 QTY 4 PCS 040 00782 S T QTY 1 PC 040 00783 QTY 1 PC 040 0078...

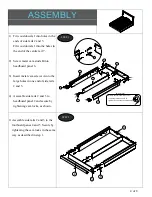
Страница 4: ...to the large holes in one end of side rails 2 and 3 4 Assemble side rails 2 and 3 to headboard panel 2 and secure by tightening cam locks as shown 1 Assemble side rails 2 and 3 to the footboard panes...

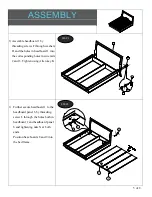
Страница 5: ...into the corresponding holes in side rails 2 and 3 Tighten using Allen key K 1 Further secure headboard 1 to the headboard panel 6 by threading screw L through the holes both in headboard 1 and headbo...

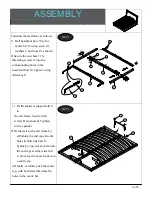
Страница 6: ...en using Allen key S 1 Fit the mattress support rails V to the slat frame Secure with screws H and nuts O Tighten with a spanner 2 Fit the slats to the slat frame by a Pushing the end caps into the ho...

Страница 7: ...nuts U 1 Two people carefully lower the slat frame onto the support arms T Secure by threading screws E through the holes in the slat frame and the corresponding holes in the support arms T Screw nut...

Страница 8: ...in grain and colour We wish to reassure you that this is quite normal and is not the result of any manufacturing fault Where sheets of veneer are joined together a line may be detected Again this is n...

Отзывы: