


16
Connecting via Wireless (WiFi) Connection
The steps below show how to connect to the HDPQ DataNode via a
Wireless (WiFi) connection.
NOTE
: The steps below can be done only if the WiFi option is installed
and a WiFi antenna is connected to the rear panel of the HDPQ
instrument. WiFi is an optional feature and must be factory-
installed (not user installable).
Step Action
PRE-REQUISITE STEPS FOR FIRST TIME CONNECTION TO WiFi:
For first-time configuration of Wireless (WiFi) settings, it is necessary to
connect to the HDPQ DataNode via Wired connection first to enable
and to set up the WiFi connection to the instrument.
Refer to the previous section Connecting via Wired Ethernet
Connection on page 14 and follow Steps 1 to 5.
Once the HDPQ DataNode Home Page is displayed, follow the steps
below to set up WiFi connection to the instrument.
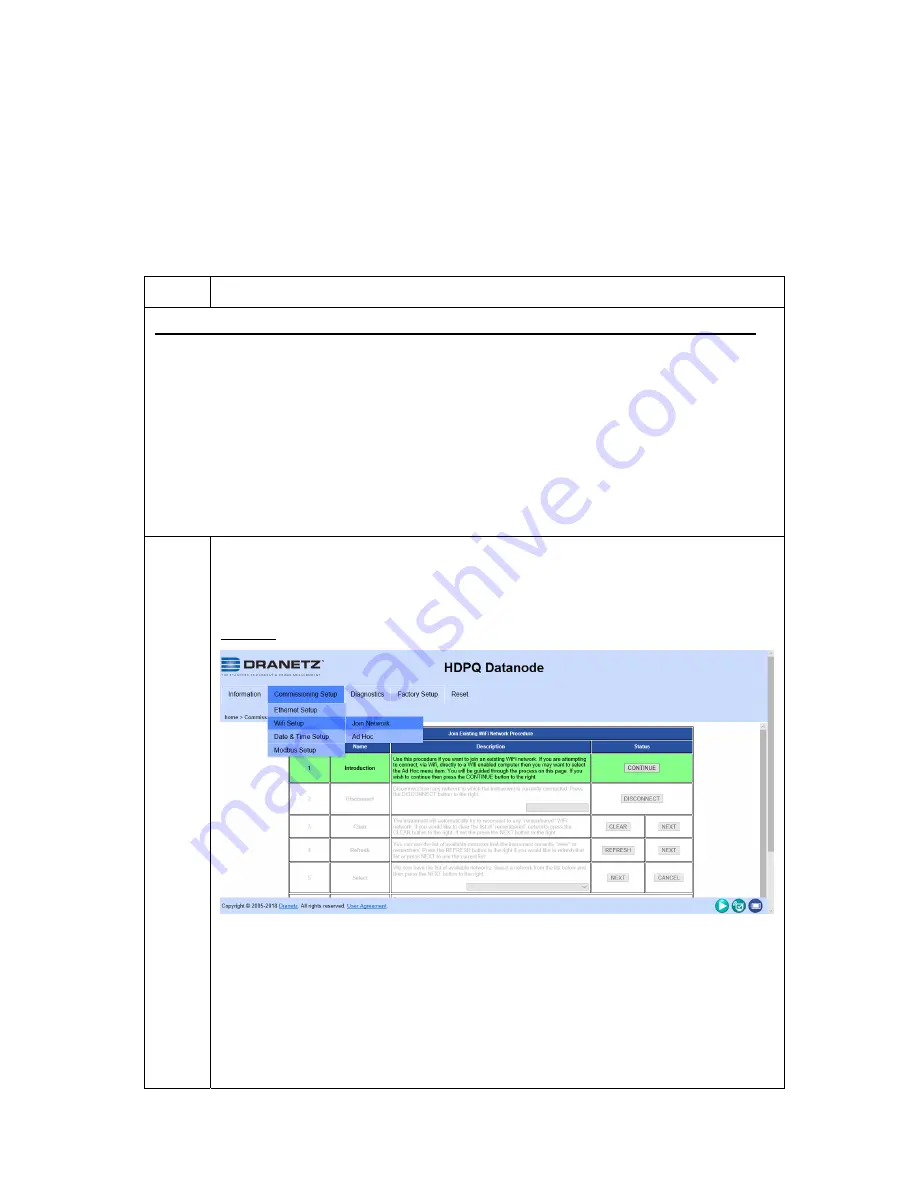
1
From the HDPQ DataNode Home page, click the
Commissioning Setup
tab and select
WiFi Setup
>
Join
Network.
Result: The following screen is displayed.
To join an existing WiFi network click on the
CONTINUE
button
to the right, and proceed to the next steps outlined in this
procedure
.
NOTE:
If you want to connect directly to a computer via WiFi,
select
WiFi Setup
>
Ad Hoc
menu instead. The instrument will
prompt you through the next steps.
Содержание HDPQ-DN-MZP
Страница 24: ...24 Connecting the Input Pods to the HDPQ DataNode...
Страница 39: ...39 This page intentionally left blank...
Страница 40: ...40...


