background image


15 

Getting Started


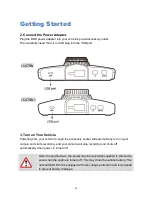
4. Turn on/off Your Camera Manually. 

Press

【 】

to turn on or turn off the unit manually. 

*The Dash Cam will turn on and off automatically with the power supply from your vehicle. 


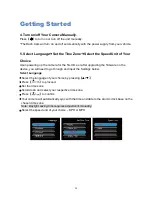
5. Select Language

Set the Time Zone

Select the Speed Unit of Your 

Choice 

Upon powering up the camera for the first time or after upgrading the firmware on the 
device, you will need to go through and input the Settings below. 

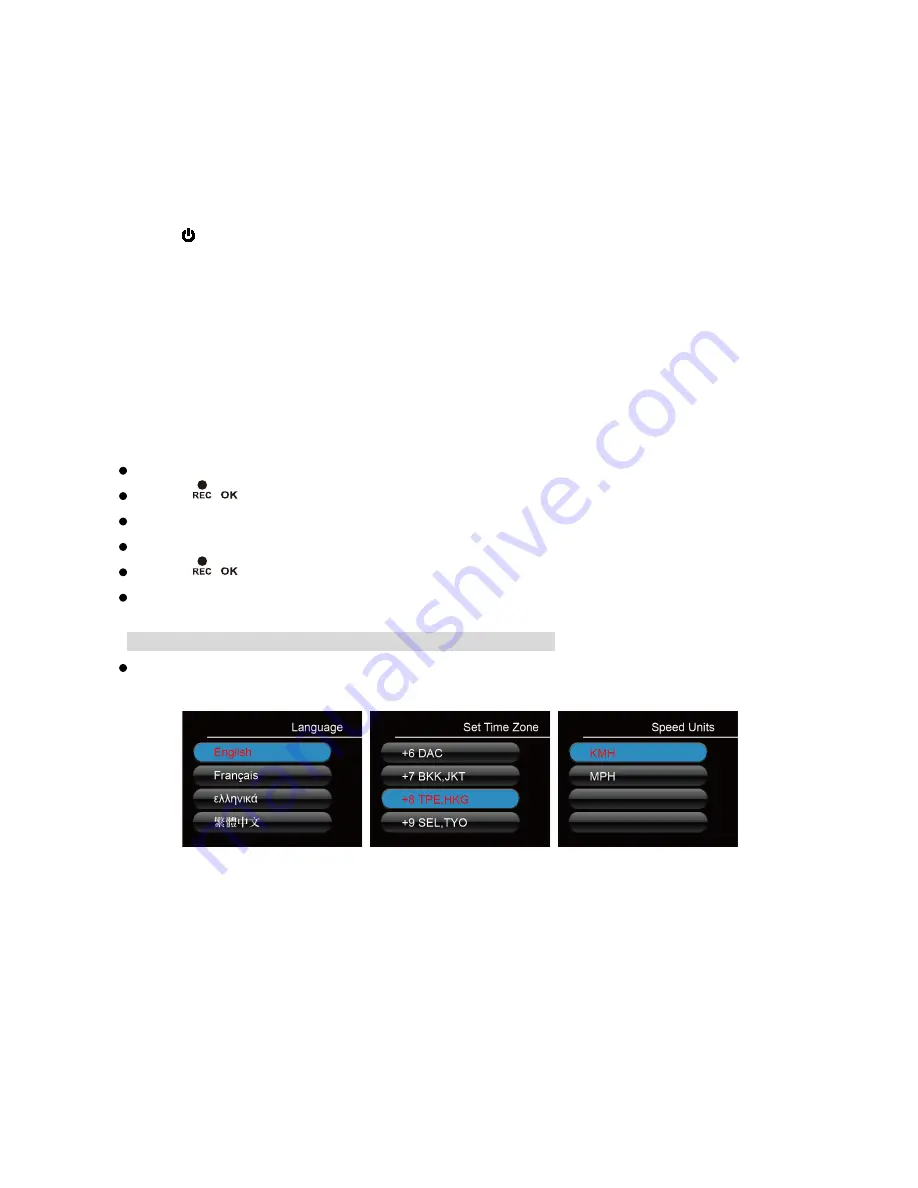
Select Language


Select the language of your choice by pressing

/


Press

/

to proceed. 


Set the time zone 


Scroll down and select your respective time zone.   


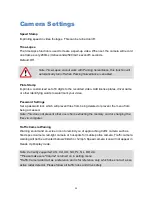
Press

/

to confirm. 


Your camera will automatically sync with the time and date to the atomic clock base on the 

chosen time zone. 

Note: Daylight saving time requires adjustment manually. 


Select the speed unit of your choice – KPH or MPH 


Содержание LS475W

Страница 1: ...LS475W LS475W User Manual...

Страница 2: ...5 Package Contents 6 Optional Accessories 7 Camera Controls 8 Getting Started 13 Installing Your Camera 16 Basic Camera Operation 18 Camera Modes 19 Camera Settings 21 System Settings 25 Transferring...

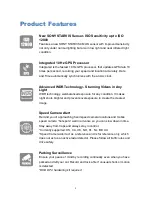
Страница 3: ...nced exposure for any condition It makes night shots brighter and prevents overexposure to create the clearest image Speed Camera Alert Remind you of approaching fixed speed camera locations and mobil...

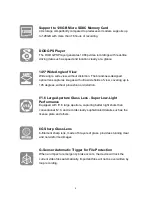
Страница 4: ...ide fields of view covering up to 145 degrees without pincushion or distortion f 1 6 Large Aperture Glass Lens Super Low Light Performance Equipped with f 1 6 large aperture capturing better night sho...

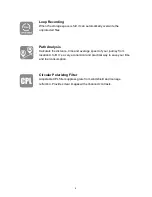
Страница 5: ...s Calculate the distance time and average speed of your journey from location A to B It s a very economical and practical way to save your time and fuel consumption Circular Polarizing Filter Adjustab...

Страница 6: ...rds If damaged please disconnect the power adapter and contact DOD Tech Support for assistance Do not pull insert or bend the power cable using excessive force Do not operate or handle the power cable...

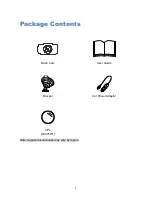
Страница 7: ...6 Package Contents Dash Cam User Guide Bracket Car Power Adaptor CPL LS475W Note Supplied accessories may vary by region...

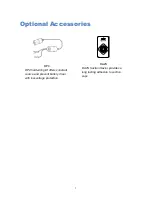
Страница 8: ...7 Optional Accessories DP4 DP4 hardwiring kit offers constant source and prevent battery drain with low voltage protection DA2S DA2S Suction Savior provides a long lasting adhesion to suction cups...

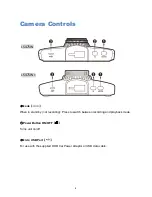
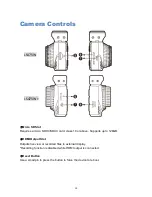
Страница 9: ...de When in stand by not recording Press to switch between recording and playback mode 2 Power Button ON OFF Turns unit on off 3 Micro USB Port For use with the supplied DOD Car Power Adaptor or USB da...

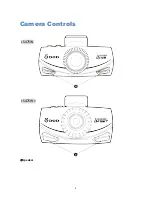
Страница 10: ...9 Camera Controls 5 Speaker LS475W LS475W...

Страница 11: ...ass 10 or above Supports up to 128GB 7 HDMI Output Slot Outputs live view or recorded files to external display Recording function is disabled while HDMI output is connected 8 Reset Button Use a small...

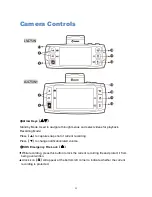
Страница 12: ...apture snap shot of current recording Press to change notification alert volume 10SOS Emergency File Lock While recording press this button to lock the current recording file and protect it from being...

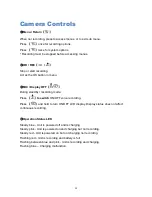
Страница 13: ...tandby recording mode Press to switch ON OFF voice recording Press and hold to turn ON OFF LCD display Display status does not affect continuous recording 14Operation Status LED Steady blue Unit is po...

Страница 14: ...ged if SD card is inserted incorrectly To save recorded videos stably DOD Tech recommends formatting your SD card every two weeks from in the camera Note After formatting the SD card all of your data...

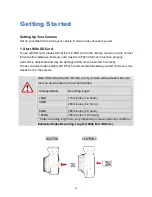
Страница 15: ...the accessory socket will automatically turn on your camera and starts recording and your camera will stop recording and shuts off automatically when power is turned off Note In specified cars the pow...

Страница 16: ...the first time or after upgrading the firmware on the device you will need to go through and input the Settings below Select Language Select the language of your choice by pressing Press to proceed S...

Страница 17: ...16 Installing Your Camera...

Страница 18: ...turn the mount nut clockwise to secure the mount 5 Install the Car Power Adaptor If you have not done so previously carefully insert the micro USB plug into the port on the camera and insert the powe...

Страница 19: ...let To turn off your camera manually simply unplug the USB cable or press the power button can power button Continuously powered electrical outlet allows the camera to capture videos while you are awa...

Страница 20: ...Power Status Indicates the power source and the battery status if external power is not connected ISO Sensitivity Indicates the current ISO value SOS File Lock Indicates current recording file is loc...

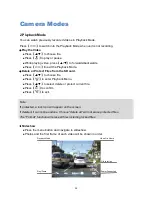
Страница 21: ...SD card Press to choose file Press to enter Playback Menu Press to select delete or protect current file Press to confirm Press to exit Note If protected a lock icon will appear on the screen If delet...

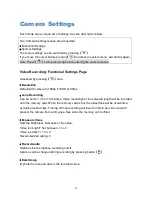
Страница 22: ...0fps Loop Recording Can be set to 1 3 5 or 10 minutes Video recordings of the selected length will be recorded onto the memory card When the memory card is full the oldest files will be overwritten ex...

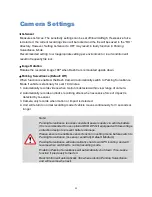
Страница 23: ...within view range of camera 2 Automatically records and locks recording videos when excessive force of impact is detected by G sensor 3 Camera only records when motion or impact is detected 4 Unit wil...

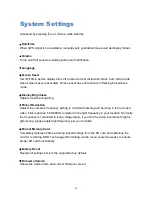
Страница 24: ...end when camera is turned on to when turned off If Path Analysis is set to on the results will be displayed on the screen when the unit is turned off Normal recording will resume If power is reconnec...

Страница 25: ...password lock which will prevent files from being deleted or prevent the menu from being accessed Note This does not prevent other users from extracting the memory card or changing the files via compu...

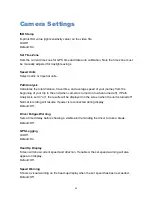
Страница 26: ...usts the camera s frequency setting to minimize flickering and banding in the recorded video Flick reduction 50Hz 60Hz is related to the light frequency in your location Normally the frequency is corr...

Страница 27: ...Tech s website and follow instructions for installation Suggested System Requirements Windows XP or higher i3 or better with at least 2GB Ram Mac OSX 10 6 4 or higher Launching the DOD Video Player O...

Страница 28: ...d navigate to the location of your files Press the ADD button located below the list of videos Video Player Features Once the video is playing your position speed and G Force will be displayed at the...

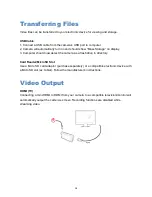
Страница 29: ...3 Computer should now detect the camera as a flash drive in directory Card Reader MicroSD Slot Use a Micro SD card adaptor purchase separately or a compatible electronic device with a MicroSD slot ex...

Страница 30: ...n the temperature range or the device may be damaged and or malfunction which these circumstances are not covered by warranty DOD is NOT responsible for the loss of any recorded video during operation...

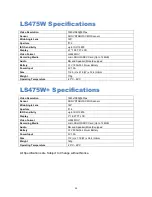
Страница 31: ...ze 112 6 L x 61 5 W x 33 4 H mm Weight 110g Operating Temperature 20 C 65 C LS475W Specifications Video Resolution 1920x1080 60fps Sensor SONY STARVIS CMOS sensor Wide Angle Lens 145 Aperture f 1 6 IS...

Страница 32: ...31 Copyright 2017 DOD Tech All Rights Reserved Under the copyright laws this manual may not be copied in any way shape or form without the written consent of DOD Tech...

Отзывы: