background image

9

Getting Started

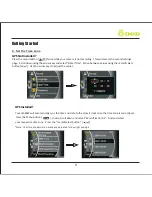
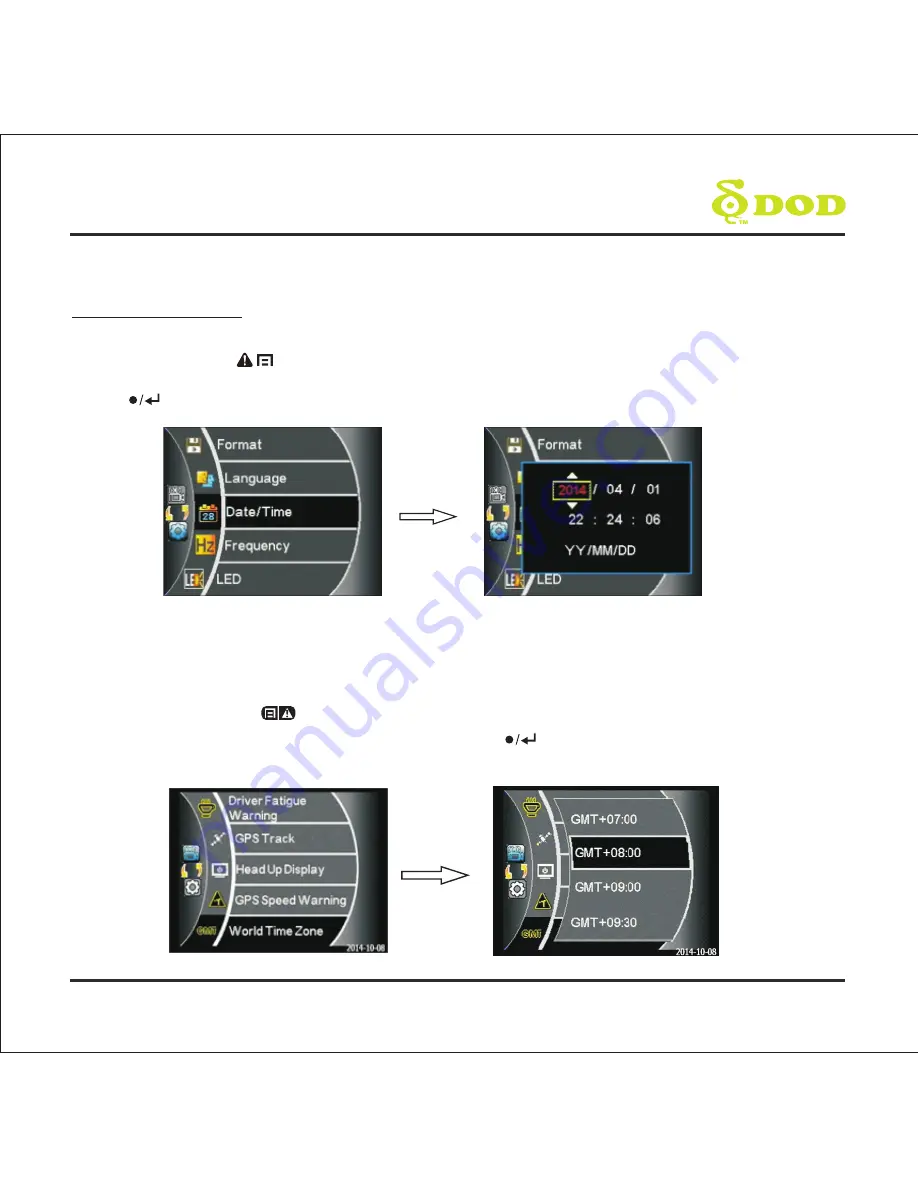
6. Set the Time zone

Your LS360W will automatically sync the time and date to the atomic clock once the time zone is correctly set.  

Press the Menu button [         ].  Inside, scroll down and select “World Time Zone”.  Find and select

    your respective time zone.  Press the “record/select button” [


]

*

Note: The time zone must be manually adjusted for daylight savings

GPS Installed?

GPS Not Installed?

Press the menu button [    


    ] twice while your camera is not recording.  This will access the second settings 

page.  Scroll down using the arrow keys and select "Date/Time".  Move between values using the record/select 

button [      


 ].  Use the arrow keys to adjust the values.

Содержание LS360W

Страница 1: ...USERMANUAL MANUELDEL UTILISATEUR...

Страница 2: ...Copyright 2014 DOD Tech All Rights Reserved C...

Страница 3: ...7 InstallingYour Camera 10 Basic Camera Operation 12 Camera Modes 13 Video Recording Mode 13 Photo Mode 14 Playback Mode 15 Camera Settings 16 Video Recording Settings 16 Photo Settings 19 Video Play...

Страница 4: ...not spray water or cleaning agents directly onto the camera Fluids may cause fire electric shocks or malfunctions Do not adjust the camera while driving Avoid installing the camera where it may obstr...

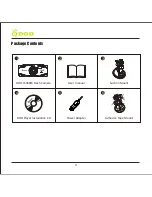
Страница 5: ...4 Package Contents DOD LS360W Dash Camera User manual Suction Mount Power Adapter Adhesive Tape Mount 1 2 3 5 6 DOD Player Installation CD 4...

Страница 6: ...5 2 13 10 12 1 3 5 6 7 11 14 15 16 4 8 9 Camera Controls...

Страница 7: ...peaker LED Notification Light Microphone Arrow Keys Used to navigate through menus and select videos for playback Menu SOS Emergency File Lock Access the settings menu when not recording video Press w...

Страница 8: ...Camera Set up your camera inside your vehicle to ensure easy access to power 1 Insert the Memory Card Note Please purchase a micro SD card for use with this unit 2 Connect the Power Adapter Plug the D...

Страница 9: ...n the vehicle is off Upon powering up the camera for the first time use the arrow keys located on the left side of the LCD Screen and select the language of your choice Press the record select button...

Страница 10: ...nd and select your respective time zone Press the record select button Note The time zone must be manually adjusted for daylight savings GPS Installed GPS Not Installed Press the menu button twice whi...

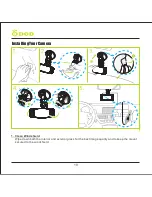
Страница 11: ...10 Installing Your Camera 1 Clean Windshield Wipe down both the interior and exterior glass for the best image quality and to keep the mount secured to the windshield...

Страница 12: ...horizon line to minimize glare 5 Install the Cigarette Adapter If you have not done so previously plug the cigarette adapter into your vehicle s power port Insert the USB plug opposite end of the pow...

Страница 13: ...Electrical Outlet If your electrical outlet is always powered the adapter must be manually removed to shut down the camera Alternatively the camera may be left on while parked to capture collisions w...

Страница 14: ...off and is charging Steady Pink Powering up while charging or is in playback mode Steady Red In Standby Mode Flashing Red Recording video not charging Flashing Blue and Pink Recording video and charg...

Страница 15: ...SOS Emergency Lock Pressing the Menu SOS lock while a video is playing will lock the camera from overwriting the video Photo Mode In Photo Mode press the record select button to take a photo WDR Enab...

Страница 16: ...eo Use the arrow keys to navigate between videos How to Watch a Video Press the record select button to play and pause To change videos or access the menu while paused press the mode button before usi...

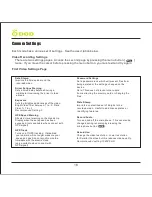
Страница 17: ...et speed has been exceeded only available when connect with GPS signal GPS Track Turns on off GPS tracking If disabled your camera will no longer measure your speed and position nor synchronize the ti...

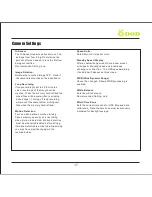
Страница 18: ...Motion Detection For use when parked not when driving Saves memory space by only recording when motion is detected Motion detection must be manually disabled before driving If motion detection is act...

Страница 19: ...ng 60 HZ in Canada USA Format Completely deletes all files including locked videos on on the memory card and optimizes the card for recording 64GB cards should use DOD s formatting program for proper...

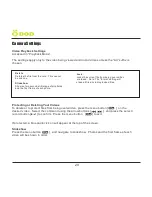
Страница 20: ...to the photo Date Stamp Imprints a date onto the capture photo Exposure Adjusts the exposure in one stop increments Image Size Adjusts the size of the image Higher megapixels increased file sizes and...

Страница 21: ...press the select record button to confirm Press the menu button to exit If protected a blue padlock icon will appear at the top of the screen Slideshow Press the menu button and navigate to slideshow...

Страница 22: ...emory card and videos can be accessed similar to a USB Flash Drive Card Reader MicroSD Slot Use a memory card reader separately purchased or a compatible electronic device with a MicroSD slot ex table...

Страница 23: ...alling the DOD Video Player Insert and launch the installer from the CD included or download the software from the support section on DOD Tech s website Once launched the player will appear on your sc...

Страница 24: ...ow the list of videos Double click on the video you wish to play The video will then load into the player Video Player Features Once the video is playing your position speed and G Forces will be indic...

Страница 25: ......

Отзывы: