9
IDW520 Photo ID System
1. Start the System
• Follow the proper sequence when powering ON the system. First the
photo printer
, then the
IDW520 console
, and finally the
passport
camera.
Do not turn the camera ON until you see the console main
screen.
• When you see the
CAMERA CONNECTED
message on the console,
you’re ready to begin. This takes about a minute.
2. Take the photo.
• Place the subject in front of a white or off-white background with no
textures or patterns.
• Have the person stand (or sit) close to the background to minimize
shadows.
• If possible, use lights to properly illuminate the subject and/or use the
camera flash to further reduce shadows.
• Stand 6 feet (2 meters) away from the subject. Hold the camera so that
the camera lens is eye-level with the subject.
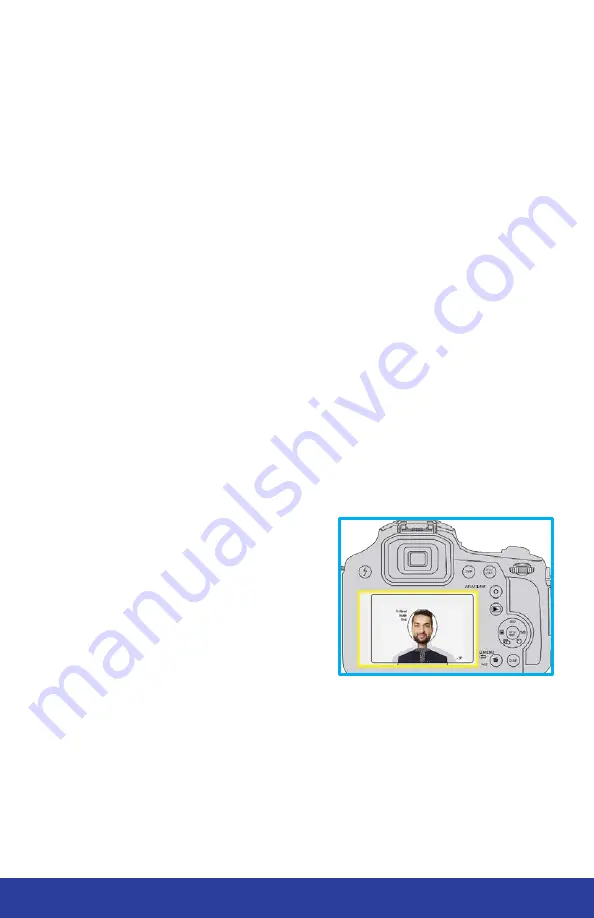
• Center the subject’s head in the guide on the camera screen. Use the
zoom to line up the subject’s head within the guide.
•
Take the picture.
• Review the photo on the camera screen and verify that the subject’s
head fits within the guides.
• Press the
Fn2
button on the top of
the camera.
• The print count menu appears on
the camera LCD screen. Check that
print count is
1
and press the
MENU/
SET
button to send the image to the IDW520
console. The printer icon appears
and the image transfer begins.
3. Exit PLAYBACK Mode.
• Press the
PLAYBACK
button again to exit PLAYBACK mode and return
to CAMERA mode.
Do not leave the camera in PLAYBACK mode.
Содержание IDW520
Страница 16: ......


