background image

Owner’s Manual 

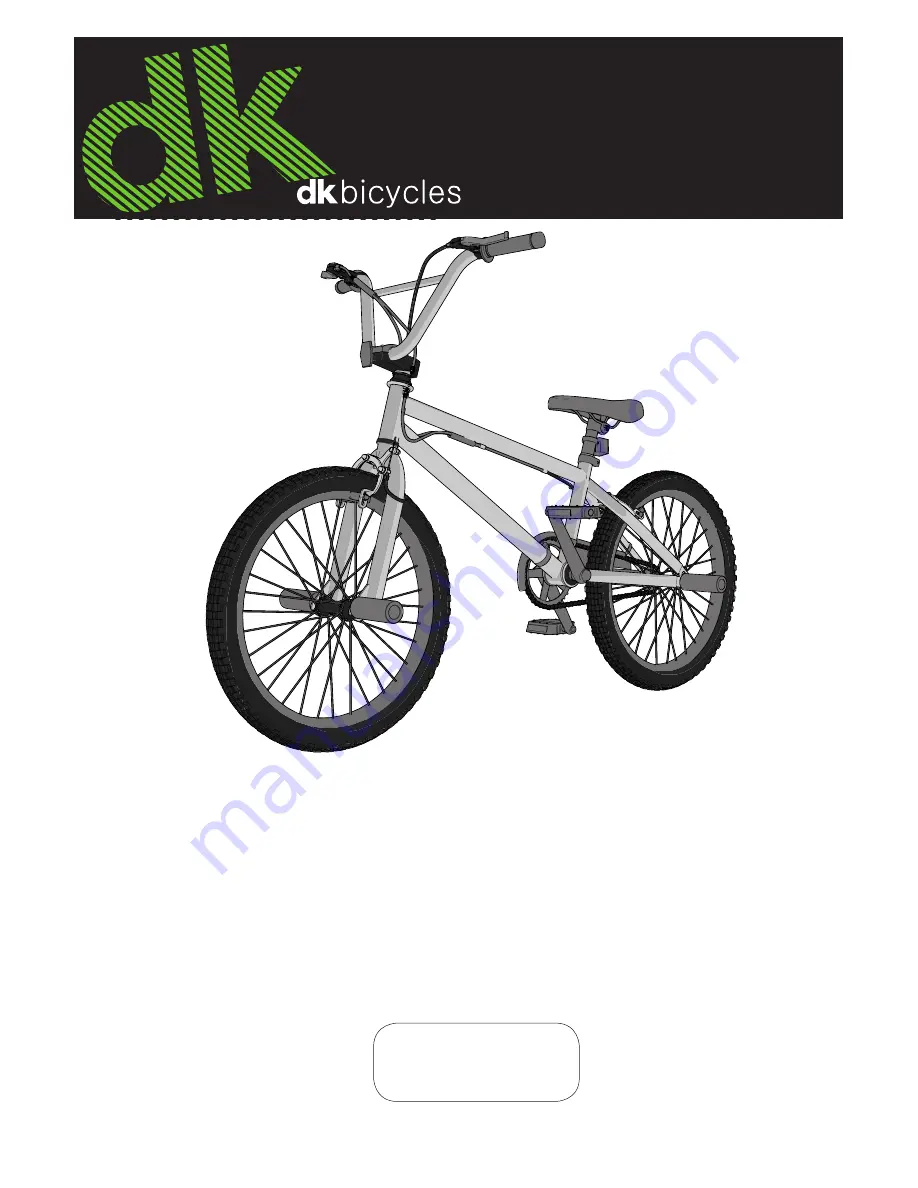
‘BMX’ Bicycles

Please read and fully understand this manual 

before operation.

Save this manual for future reference.

This manual contains important safety, assembly, operation 

and maintenance information.

Date Code Label

Here

H-DK BMX EN 072314 

m0104

Copyright DK Bicycles 2014

Содержание BMX Bicycles

Страница 1: ...d fully understand this manual before operation Save this manual for future reference This manual contains important safety assembly operation and maintenance information Date Code Label Here H DK BMX EN 072314 m0104 Copyright DK Bicycles 2014 ...

Страница 2: ...em Installation No Gyro Brakes 10 Gyro Brake and Stem Setup Rear Brake 12 Gyro Brake Setup Front Brake Cable Install 14 Seat Installation various models 15 16 Front and Rear Reflector Installation 18 Pedal Installation 19 Testing Seat Clamp and Post Clamp Tightness 20 Testing Stem and Handlebar Tightness 21 Brake System Setup and Adjustment 22 Coaster Brakes various models 26 Pegs Installation 27 ...

Страница 3: ...e Model Name Fitting the Rider to the Bicycle To determine the correct size of bicycle for the rider Straddle the assembled bicycle with feet shoulder width apart and flat on the ground 3 1 2 There must be at least 1 inch 2 5 cm of clearance 1 between the highest part of the top tube 2 and the crotch of the rider with tires properly inflated The minimum leg length for the rider is the highest part...

Страница 4: ...s adult supervision is required Do not add a motor to the product Do not tow or push the product Do not modify the product Replace worn or broken parts immediately If anything does not operate properly discontinue use Reflectors WARNING For your own safety do not ride the bicycle if the reflectors are incorrectly installed damaged or missing Make sure the front and rear reflectors are vertical Do ...

Страница 5: ...n hearing or control Do not ride with both hands off the handlebar The Owner s Responsibility WARNING This bicycle is made to be ridden by one rider at a time for general transportation and recreational use It is not made to withstand the abuse of stunting and jumping If the bicycle was purchased unassembled it is the owner s responsibility to follow all assembly and adjustment instructions exactl...

Страница 6: ...6 Components 1 5 18 3 4 9 7 14 10 12 13 33 34 15 16 17 2 24 25 26 27 28 29 30 32 31 3 4 6 8 23 19 11 20 21 22 22 21 Part Assembly View ...

Страница 7: ...dle Set 25 Head Set Bearings 8 Lower Brake Cable Coupler various models 26 Gyro Head Set 9 Chain 27 Front Reflector 10 Chain Guard 28 Handlebars 11 Handlebar Stem 29 Upper Brake Cable Coupler various models 12 Right Pedal 30 Right Brake Lever 13 Left Pedal 31 Left Brake Lever 14 Kick Stand 32 Grips x2 15 Wheel Retainer x2 33 Rear Axle Nut x2 16 Front Axle Nut x2 34 Rear Pegs 17 Front Pegs 18 Seat ...

Страница 8: ...specific sections of this manual Please read through this entire manual before beginning assembly or mainte nance If you are not confident with assembling this unit refer to a local bike shop WARNING Keep small parts away from children during assembly NOTE All of the directions right left front rear etc in this manual are as seen by the rider while seated on the bicycle Do not dispose of the carto...

Страница 9: ...e Axle Nuts 6 Tighten Axle Nuts to 21 ft lbs 28 4 N m B C A D A C E G F NOTE Some models may have Wheel Retainers F instead of Step Washers C Install Wheel Retainers F making sure the Tabs are in the Fork G Tab Holes NOTE Ensure wheel spins freely without contacting fork or fender WARNING Do not use Nuts A without serra tions to attach the front wheel WARNING Put the wheel in the center of the for...

Страница 10: ...old it in position 4 If necessary loosen the Handlebar Screws D and rotate Handlebar 28 into a comfortable riding posi tion 5 Tighten Handlebar Screws D just enough to hold it in position fig 08 6 Align the stem with the front tire and tighten the Stem Bolt C se curely fig 07 11 A A B E B C D fig 07 WARNINGS Do not over tighten the stem bolt Over tightening the stem bolt can damage the steering sy...

Страница 11: ...not over tighten Torque to 17 ft lbs fig 08b 3 1 2 4 28 D Two Bolt Stem Loosen Clamp Screws A Re adjust Handlebar B to a comfort able riding position Tighten Clamp Screws A NOTE Do not over tighten Torque to 17 ft lbs A B WARNINGS Do not over tighten the stem bolt Over tightening the stem bolt can damage the steering system and cause loss of control If the handlebar clamp in not tight enough the h...

Страница 12: ...from Cable Groove D and tighten Housing Nut C A B D C continued Stem and Handlebar Setup Gyro Brake Note The Handlebar Stem Clamp may be pre installed from the factory 3 1 2 4 A B C D Carefully unpack Handlebar and Brake Cables If needed loosen the Stem Bolt A and point the Stem B towards the front of the bike as shown Tighten the Stem Bolt securely Install the Handlebar C and rotate to a comforta...

Страница 13: ...de A B C WARNING Ensure Gyro Handlebar Stem Wheel system can rotate 360 de grees without binding any Cables and that the Gyro mechanism works smoothly Install the two Cable Adjusters A into the Gyro Plate B making sure the Shorter Cable C is on the same side as the Brake Lever D Turn the Cable Adjusters and Nuts E all the way into the Gyro Plate hand tight continued Assembly ...

Страница 14: ...e Cable does not touch the Tire C A A C B 1 Insert Cable Barrel 2 1 into Brake Lever Insert Brake Cable 3 1 into Groove as shown Ensure Housing Nut and Housing 4 3 4 1 are adjusted all the way in towards the Hand Lever Rotate Housing 4 1 Groove away from Cable Groove 4 2 and tighten Housing Nut 4 3 2 1 2 2 1 3 3 1 4 4 2 4 3 4 1 continued Assembly ...

Страница 15: ...ly continued Seat Installation various models Attach Seat to Seat Post pre assembled on some models If needed loosen nuts on seat clamp A and rotate Seat 22 into riding posi tion Put the Seat Post 19 fully through the seat clamp Tighten the Seat Clamp so the seat stays on the seat post If the Seat Clamp has a nut on each side tighten both nuts equally fig 09 A 19 22 CAUTION If you accidentally dro...

Страница 16: ...sition so the word open is pointing away from the Seat Post Clamp E NOTE The words open and close are on opposite sides of the quick release lever fig 11 E B F 19 D 21 22 Seat Installation various models continued Seat to Seat Post Single Bolt Style Some models are equipped with a seat and seat post assembly that uses a single bolt and nut to secure the seat to the seat post The seat is assembled ...

Страница 17: ...close position the clamping force is too light WARNING If the clamping force of the Quick Release Lever is too light the seat post can loosen while riding This can cause injury to the rider or to others Tighten the quick release lever continued Open and close the Quick Release Lever with one hand while you turn the Ad justing Nut F with the other hand fig 11 Tighten or loosen the adjusting nut by ...

Страница 18: ...the Rear Reflector is Red 1 Position REAR Reflector 20 so it points straight backwards 2 Tighten Clamp Screw NOTE Do not over tighten This will damage the Clamp 1 Position FRONT Reflector 27 so it points straight forward 2 Tighten Clamp Screw NOTE Do not over tighten This will damage the Clamp Assembly ...

Страница 19: ... marked R into the right side of the crank arm and the left pedal marked L into the left side of the crank arm Tighten the pedals fig 14 Make sure the threads of each pedal are fully into the crank arm NOTE The recommended torque tightness for each pedal is 30 ft lbs fig 14 R L Note A Pedal Wrench is preferred for attaching Pedals An open end wrench can also be used as shown WARNING Ensure ped als...

Страница 20: ... and tighten the Seat Clamp tighter than before Do this test again until the seat does not move in the Seat Clamp fig 09 A 19 22 If the Seat Post A moves in the Seat Tube B Move the Quick Release Lever to the open position OR loosen the Clamp Bolt and Nut C Put the seat in the correct position and tighten the Quick Release Lever tighter than before OR tighten the Clamp Bolt and Nut tighter than be...

Страница 21: ...he handlebar and stem do not turn without turning the front wheel WARNING Do not exceed 100 lbs force If the handlebar moves loosen the bolt s of the handlebar clamp Put the handlebar in the correct position and tighten the bolt s of the handlebar clamp tighter than before If the handlebar clamp has more than one bolt tighten the bolts equally Do this test again until the handlebar does not move i...

Страница 22: ... is flat against the rim and aligned with the curve of the rim Make sure each Brake Shoe does not rub the tire If the surface of the Brake Shoe has arrows make sure the arrows point toward the rear of the bicycle Hold each Brake Shoe in position and tighten the Screw Step Two Test the tightness of each Brake Shoe Try to move each Brake Shoe out of position If a Brake Shoe moves do Step 1 again but...

Страница 23: ...m Setup and Adjustment continued Brake System Adjustment 1 Loosen Cable Nut 1 1 so that the cable is loose 1 1 1 2 Insert Cable Barrel 2 1 into Brake Lever 2 1 2 2 1 3 Insert Brake Cable 3 1 into Groove as shown 3 3 1 Assembly ...

Страница 24: ...able Groove 4 2 and tighten Housing Nut 4 3 4 4 2 4 3 4 1 5 Squeeze Brake Arms 5 1 so that Brake Pads 5 2 are against the Rim 5 5 1 5 2 5 2 6 Pull Brake Cable 6 1 tight Tighten Cable Nut 6 2 Adjust Cable Nut 6 3 for 1 16 1 58 mm Brake Pad clearance 6 1 16 1 16 1 58mm 6 3 6 2 6 1 Assembly ...

Страница 25: ...re the Brake Lever is not loose 7 1 0 7 7 1 8 Make sure the cable sheaths are fully inserted into the adjustment housing at the Caliper 8 1 and Hand Lever 8 2 A 8 8 1 8 2 Rotate Brake Levers A into a comfortable riding position and tighten securely Assembly ...

Страница 26: ...icycle has a caliper brake s in addition to the coaster brake always use the coaster brake as the main brake to stop the bicycle WARNING If you do not obey the following instructions injury to the rider or to others can occur When you ride the bicycle the first time test the coaster brake and practice using it at a low speed in a large level area that is free of obstructions Every time the bicycle...

Страница 27: ...n each end of the axle Make sure the peg is fully seated against the frame or fork Tighten the peg se curely Pegs will go over the axle nuts B A B WARNINGS Do not ride beyond your capabilities Pegs should be installed by an adult Check before each ride Ensure there is no damage to frame fork or wheels during install and use Ensure chain is properly adjusted after install Ensure wheels are properly...

Страница 28: ...own inside each peg and onto the end of the axle Ensure the serrated side F of the Axle Nut is toward the wheel Put the wheel in the center of the fork or frame and tighten both nuts to the recom mended torque of 21 ft lbs 28 4 N m C B A F E D WARNINGS Do not use Axle Nuts A without serrations F to attach the wheels Do not ride beyond your capabilities Pegs should be installed by an adult Check be...

Страница 29: ...s manual or any Special In structions are not sufficient for you Chain Adjustment fig 16 C B A Adjustment fig 16 The chain must be at the correct tightness If too tight the bicycle will be difficult to pedal If too loose the chain can come off the sprockets When the chain C is at the correct tightness you can rotate the crank freely and you can pull it no more than one half inch A away from a stra...

Страница 30: ...occur The chain can throw excess oil onto the wheel rim Wipe excess oil off the chain Keep all oil off the surfaces of the pedals where your feet rest Using soap and hot water wash all oil off the wheel rims the brake shoes the pedals and the tires Rinse with clean water and dry completely before you ride the bicycle Using a light machine oil 20W lubricate the bicycle according to the following ta...

Страница 31: ...e Brake Cables every six months Put four drops of oil into both ends of each cable Allow the oil to soak back along the cable wire Pedals every six months Put four drops of oil where the axles go into the pedals Chain every six months Put one drop of oil on each roller of the chain Wipe all excess oil off the chain Gyro Head every six months Put 4 drops of oil around the Gyro Head Bear ings Mainte...

Страница 32: ... on the crank You should not be able to move the pedal end of the crank from side to side Wheel Bearings Lift each end of the bicycle off the ground and slowly spin the raised wheel by hand The bearings are correctly adjusted if The wheel spins freely and easily The weight of the spoke reflector when you put it toward the front or rear of the bicycle causes the wheel to spin back and forth several...

Страница 33: ...oses are also acceptable The maximum inflation pressure is shown on the tire sidewall If two inflation pressures are on the tire sidewall use the higher pressure for on road riding and the lower pressure for off road riding The lower pressure will provide better tire traction and a more comfortable ride Before adding air to any tire make sure the edge of the tire the bead is the same distance from...

Страница 34: ...all necessary maintenance and adjustments Bicycle is used for general transportation and recreational use only What is not covered by this Limited Warranty This Limited Warranty does not cover normal wear and tear normal maintenance items or any damage failure or loss that is caused by improper assembly main tenance adjustment storage or use of the bicycle This Limited Warranty will be void if the...

Страница 35: ...from the date of purchase What will Huffy do Huffy will replace without charge to you the component found to be defective by Huffy The original owner must pay all labor and transportation charges connected with the repair or warranty work How do you get service Contact Consumer Service See included list for Customer Contact information What rights do you have This warranty gives you specific legal...

Страница 36: ...fingers should fit between the strap and your chin A proper fitting helmet should be comfortable and not rock forward back ward or side to side Always read the user manual that comes with your helmet to make sure it is fitted and attached properly to the wearer s head according to the fitting instructions described in the user manual WARNING ALWAYS WEAR YOUR HELMET WHEN RIDING THIS PRODUCT ...

Отзывы: