www.discmakers.com 1-800-237-6666
28
Step 9
Installation of Labeling Software
If your EliteMicro was purchased with the Inkjet Printer Adapter Kit, you will need to install the label
making software included with the kit.
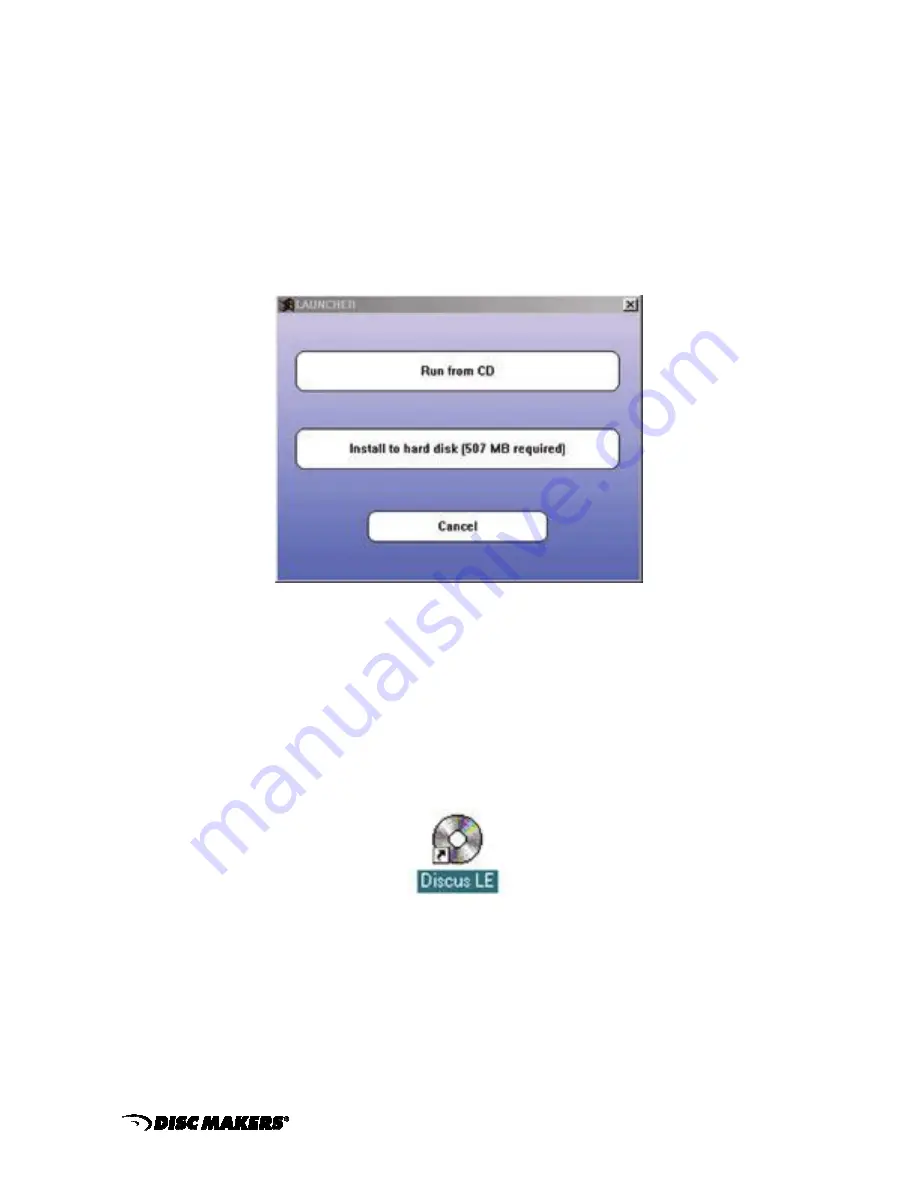
Locate the Discus Labeling Software CD and insert into the CD-ROM drive on your PC that is
connected to the EliteMicro. The menu below will be displayed. Click “install to hard disk.” NOTE: Be
sure that your PC can handle the 500MB of required storage space.
When the Discus Labeling Software begins to install, it will first load Apple QuickTime onto your PC.
Follow the instructions for installation. When the screen asks to register the QuickTime, simply click
on “Proceed” without entering anything.
Once the Discus installation is complete, a Discus LE icon will be placed on your desktop.
Click on the Discus LE icon and verify that Discus installed correctly. Close Discus and remove the
CD-ROM from your PC's drive.


