


www.discmakers.com 1-800-237-6666
15
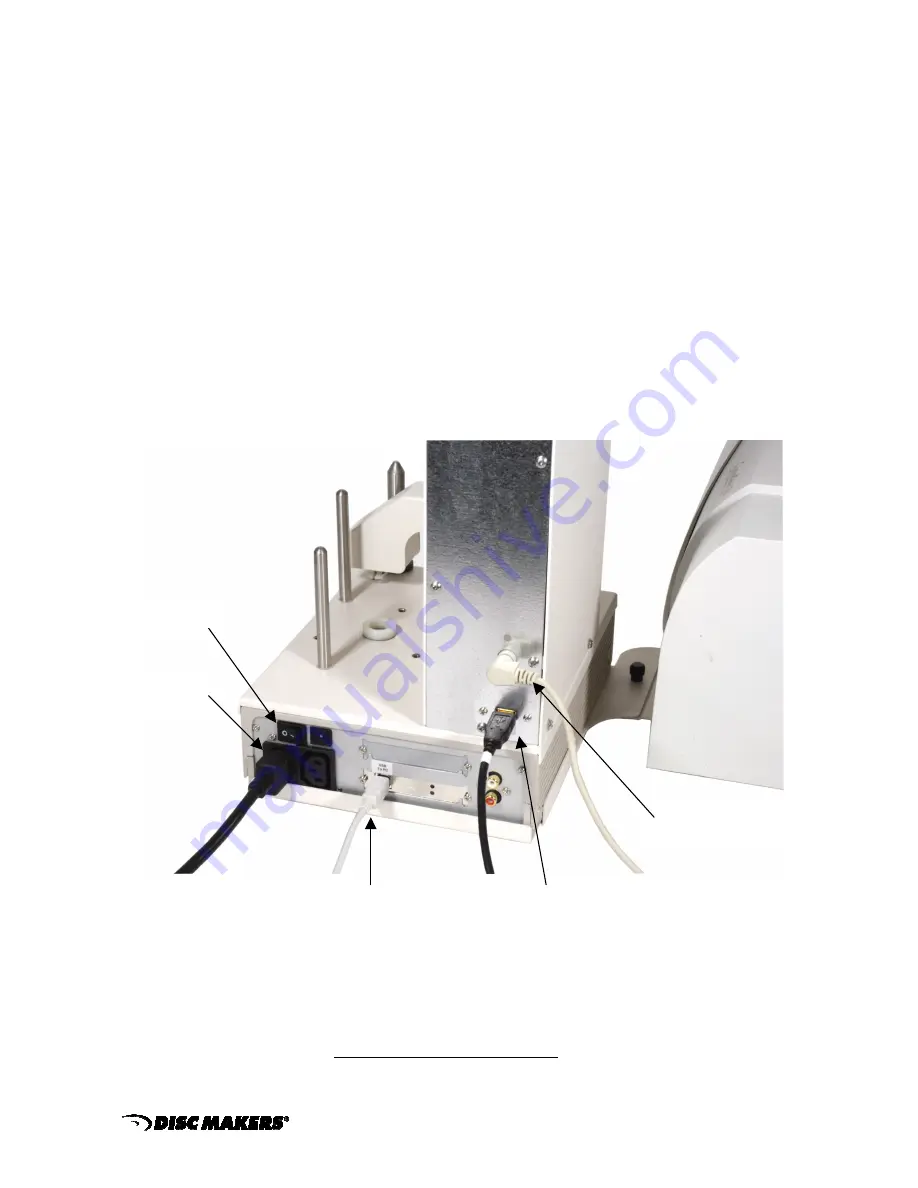
Step 3
Installation and Connection of AC Power and USB 2.0 Cable
Plug the USB 2.0 Cable into the connector labeled “USB To PC” located on the left side of the rear of
the Elite unit. This connector is identical to the common connectors of standard computers.
Arrange your PC on the same table as your EliteMicro unit. Connect the other end of the USB cable
into an available USB 2.0 port on your PC. Your PC should be off at this time.
Plug the power cord into the power supply of the EliteMicro, also located on the rear side. Plug into a
standard 115V AC outlet.
Use of a common plug strip with AC filtering, as is common with most high-end computers, is
recommended for the EliteMicro.
Also if the unit is to be located in an area where the utility or
power company experiences frequent outages, utilizing a Universal Power Supply (UPS) is
strongly recommended.
NOTE:
Review your entire unit and be sure that you have four (4) cables connected to the EliteMicro
Unit, three (3) cables connected to the printer and one (1) cable connected to your PC.
There is an “
Open/Lock
” slider button on the each side of the unit, which should remain in the “Lock”
position and is intended for use by qualified service technicians only.
AC Power Input
Power Switch
USB 2.0 to PC
USB 2.0 to Printer
Printer Control Cable


