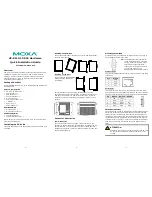
Two adjustments are available here on the final crimp
die. Example, if some of the reloads you have just
finished appear shallow as shown here (also on page 17
of the manual), then turn the seat plug clockwise
(down), using 1/4 turn increments.
Or
, you can turn the whole die clockwise (down)
using 1/4 turn increments. You will then see the next
reload with more taper on its end and the seated
depth will be deeper.
Another example relating to the final crimp die
adjustment when reloading different shotshells:
“When I have made some reloads, some of the
shotshells have buckled in the middle, but it doesn’t
happen all the time.” You will need to raise the whole
die by turning the assembly counterclockwise (up) at
least 1/4 to 1/2 a turn.
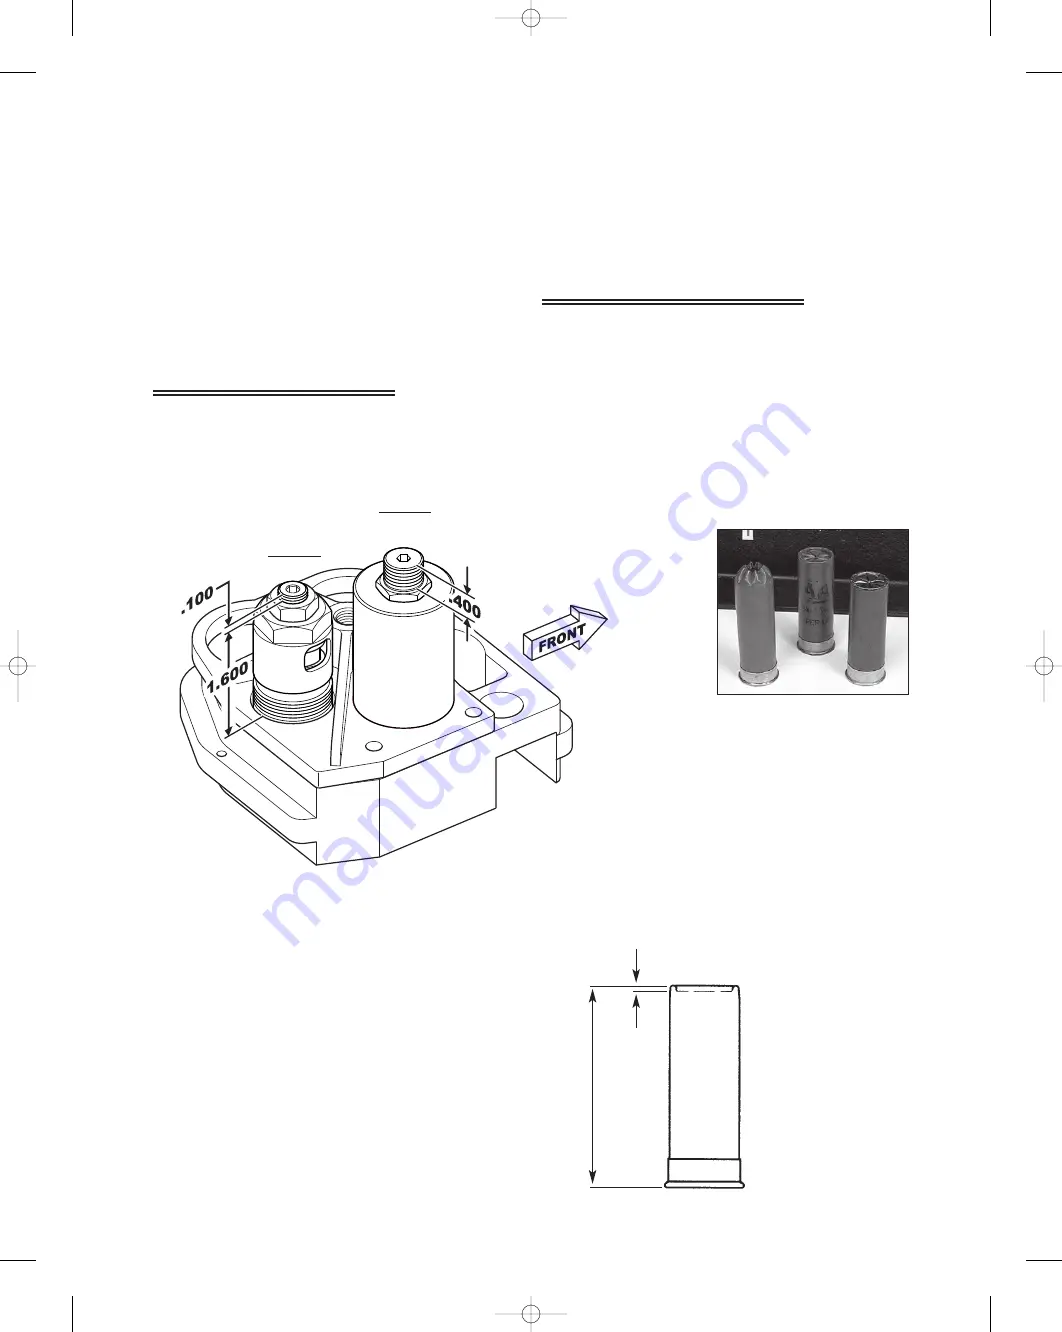
Here are some helpful adjustment settings for the SL 900 Shotshell Loader. These settings
illustrate ideal adjustments for the starter crimp and the final crimp die. These settings can also
be used to reset these dies if you get completely out of adjustment.
Station 5, Final Crimp Die
Use dial calipers when measuring
these dimensions. See the bottom of
this page for additional adjustments.
Use dial calipers when measuring these
dimensions.
When you turn the starter crimp screw
clockwise (down), you are increasing the
amount of plastic that will be folded or
rolled closed.
When you turn the starter crimp screw
counterclockwise (up), you are decreasing
the amount of plastic that will be folded or
rolled closed.
Station 4, Starter Crimp Die
2.30 -
2.350
overall
length
seated depth
.065
Station 4
Starter Crimp
Screw
Final
Crimp
Die
Station 5
Seat Plug
Starter Crimp
Die Body
(non-adjustable)
Suggested Settings
49
SL 900, May 2007 5/21/07 11:51 AM Page 49


