2. Pair the Locator with the Transmitter (Tx)
a.
Install transmitter (Tx) batteries and endcap.
b.
Confirm the Up and Down bands that will be paired to the Tx and their
power mode level (low
, standard
, or high
). To change the
level, click
Tx Power Mode
. For more information on power modes,
see the
DCI DigiGuide App
.
c.
Position the Tx's infrared (IR) port within five cm of the locator's IR
port.
locators set the V2 Tx power mode based on menu
selections. This overrides any other selection method.
d.
Select
Tx Pairing
and hold the Tx in place until the
check mark appears (4 to 5 seconds) and the locator
beeps.
e.
After a successful pairing, the locator displays the Up and Down bands
with their power mode.
f.
Click to confirm the bands and power level. The 1 pt calibration menu
opens.
3. Calibrate the Up Band
Calibrate in an interference-free environment
after any pairing, band change, or Tx Power
Mode change. If you change both bands, the
locator and Tx calibrates the Up band first.
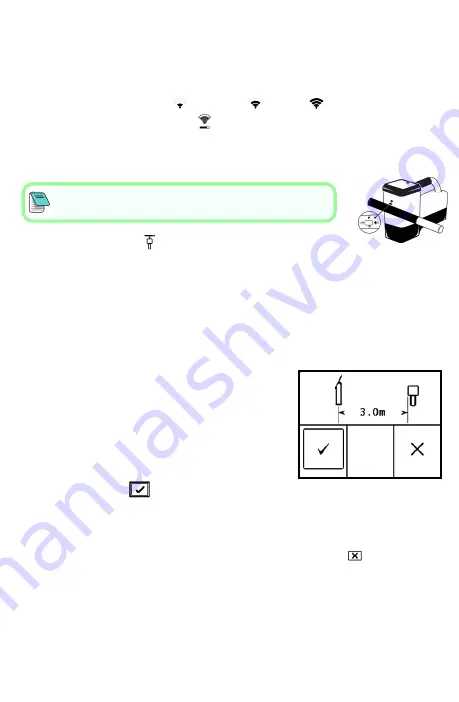
a.
Place the Tx in a housing on level ground
and measure 3 m from the nearest edge of
the locator to the center of the drill head.
b.
Click
Continue
to calibrate. Do NOT move the locator during
calibration. The AGR screen opens.
c.
Check the default Above Ground Range (AGR) with a tape measure to
verify depth readings on each band at least two depths (1.5 m and 4.6
m). Distance readings should be within ±5%. Click
Exit
.
4. Change Tx and Locator Bands to Repeat Calibration and AGR
a.
To calibrate the Down band, first change the band on the Tx. Use one
of the methods described in
Changing Transmitter Frequency Band
section on page 5.
b.
At the Locate Mode screen, toggle right and hold to the Band Selection
screen, select the Down band.
- 3 -


