7
Installation -
Installation
1
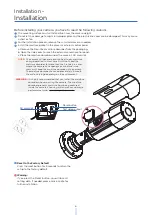
Using the mounting template sheet or the camera itself, mark and drill the necessary holes in the wall or ceiling.
2
Once all cables are connected, secure the camera to the mounting surface using the included screws.
3
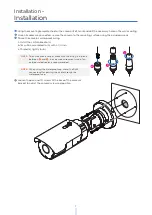
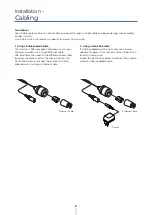
To use the camera’s waterproof wiring:
a. Install the LAN cable into (a) .
b. (b) will be assembled to (a) with a 1/4 turn.
c. Thread (c) tightly to (b).
NOTE:
To ensure moisture seal, make sure the o-ring is in place
between and . In extreme environments use of an
outdoor rated sealer is recommended.
a
b
NOTE:
When using the waterproof cap, crimp the RJ45
connector after passing the cable through the
waterproof cap.
4
Loosen the pan and tilt screws at the base of the camera’s
bracket to adjust the camera’s view and position.
a
b
c

