25
Operation
Printing a Card
Note:
●
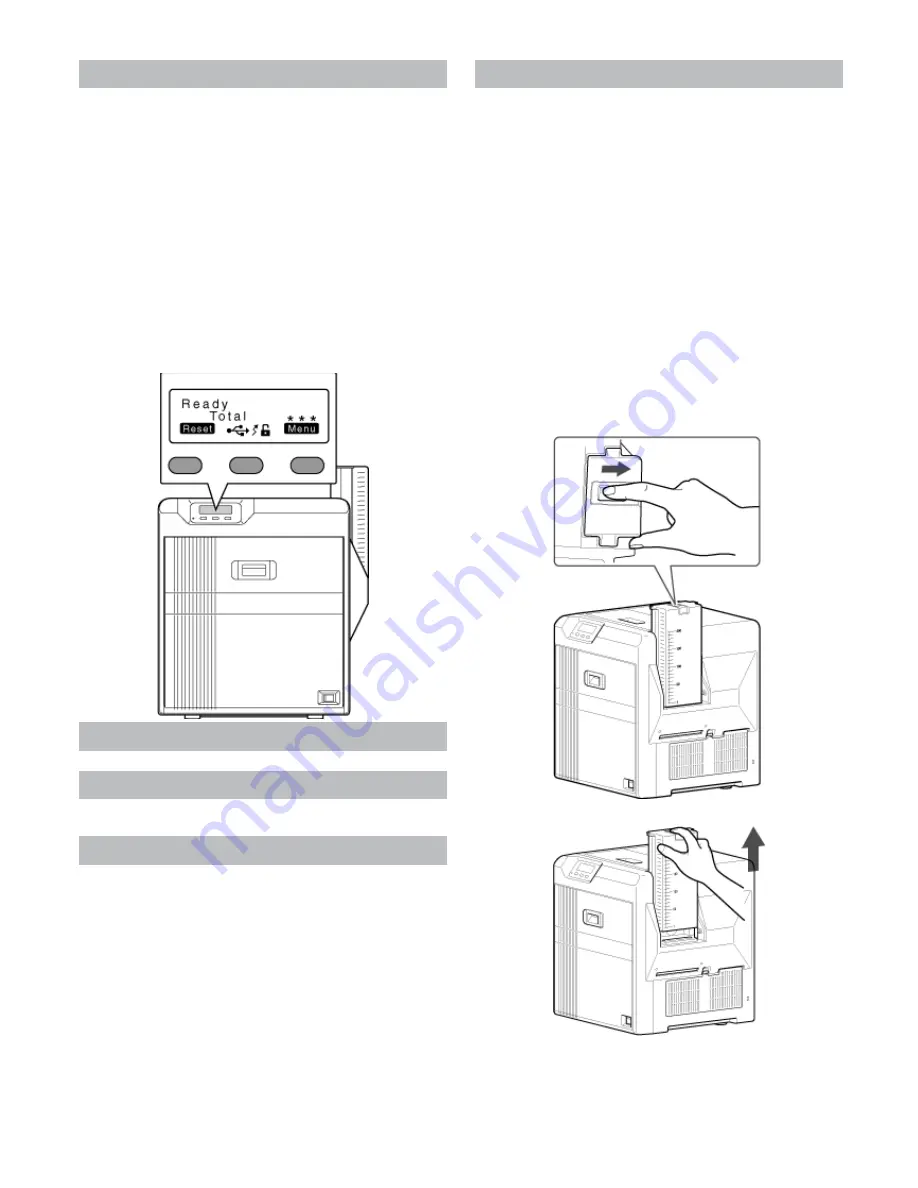
If you see an [Initializing...] or [Preheating..] message on the LCD panel
of the printer, this means the printer is not ready yet. Printing cannot be
performed in this case.
●
Printing the card on the side with the magnetic stripe may cause print-
ing errors or damage to the card’s functions. If you want to do so, con-
sult our authorized dealers in advance.
Printing a Card
1
Turn on the power.
2
Check to ensure that cards are inserted into the card hopper.
3
Open the print settings screen.
4
Select this printer from
[
Name
]
.
●
If there are multiple printers, select the name of the printer that you
want to perform printing on.
5
After ensuring that a
[
Ready
]
message appears on the LCD panel of
the printer, start printing.
Precautions on cards
●
"Card has run out"
A
page 25
Ink Ribbon
●
"Ink ribbon has run out"
A
page 26
●
"Ink ribbon is broken"
A
page 27
Retransfer Film
●
"Retransfer film has run out"
A
page 29
●
"Retransfer film is broken"
A
page 30
Precautions on cards
Card has run out
●
Loads the cards.
Print this page
Note:
●
If the security lock function is turned on, the card hopper will be locked.
Turn off the security from the computer. After loading the card, turn on
the security again from the computer.
●
Do not touch the printing surface of the card. Touching it may cause
printing errors. Put on the supplied gloves when handling the cards.
●
When using new cards, separate them one by one before setting them
in the printer. Cards may be adhered to each other due to static, thus
causing card jams.
●
Align the cards before setting them in the printer. Otherwise, the card
hopper cover may not close properly, and this may damage the printer.
●
Printing the card on the side with the magnetic stripe may cause print-
ing errors or damage to the card’s functions. If you want to do so, con-
sult our authorized dealers in advance.
●
To set cards with both functions (magnetic stripe and contact IC), fol-
low the procedure for setting the contact IC card.
1
Set the card hopper knob to
[
OPEN
]
.
2
Lift to remove the card hopper cover.
3
Align the orientation of the cards, and set them in the printer.
Содержание EDIsecure X ID 8300
Страница 14: ...14 Operation ...
Страница 15: ...15 Operation ...


