Digital Blue Digital Movie Creator 3.0 Скачать руководство пользователя страница 26

Rename the scene so you can find it easily

The scene you just recorded is now in the Temporary collection.

1. Open the Collections screen by clicking the Collection button at the top of  

the screen.

2. Click the title under the scene you just recorded and type in a new name.

3. Press the Enter key on your keyboard to finish renaming your scene.

Save your scene in the Permanent collection

To save the scene, you have to move it from the Temporary collection to the Permanent 

collection.

1. In the Temporary collection, click on the scene you just created and renamed.

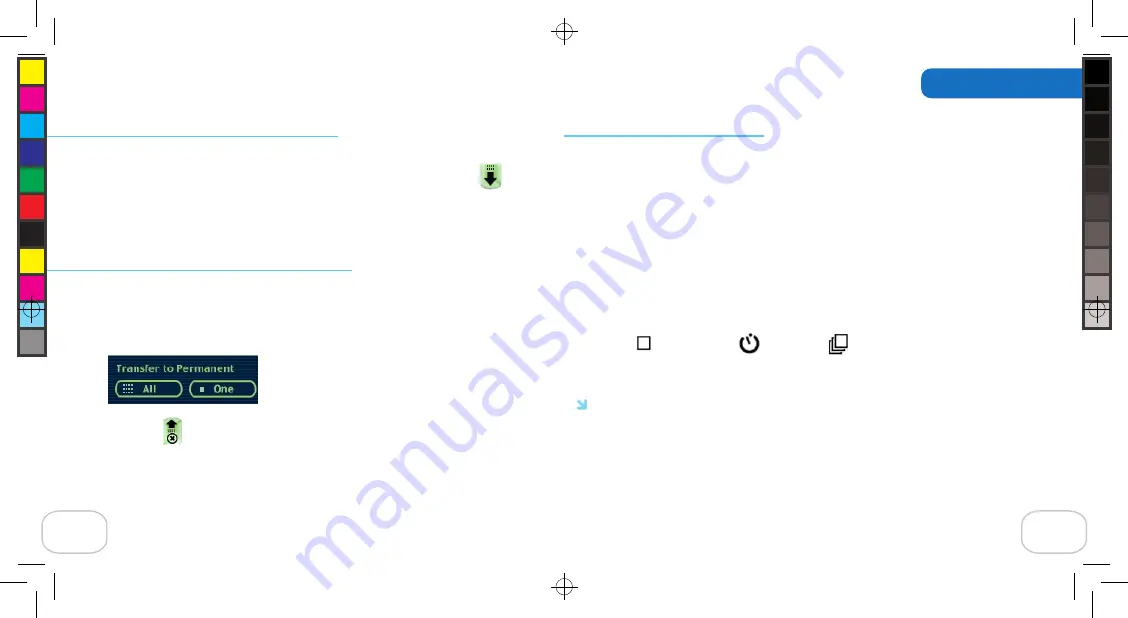
2. In the lower left-area of the of the Collection window, you’ll see your transfer options:

3. Press the One button to move the scene from the Temporary collection to the Permanent 

collection. 

4. Click the Collection screen button to close it.

24

9

Using the Camera

Taking pictures with the camera

To take pictures with your camera, press the Snapshot button (on the top of the camera) 

to enter Snapshot mode.  The first time you press the Snapshot button it will capture one 

picture immediately. Hold the camera still until the picture has been captured.

Once you’re in Snapshot mode, you can choose to make the Snapshot button take one 

picture at a time (single), 3 pictures in a row (burst), or wait 10 seconds before taking the 

pictures (timer). 

To change this setting:

1. Open the Display Screen and press the Snapshot or Record button to turn on the  

camera.

2. Use the Left Arrow button to change the icon on the Display Screen.

Single =              Timer on  =    

           Burst = 

3. Once you see the icon you want, press the Snapshot button.

Note: To zoom in on your subject, press the Up Arrow button. To zoom out, press the 

Down Arrow button.

D M C 3 _ 1 0 0 6 0 6 R S 0 4 . i n d d ,  

S p r e a d  

1 1  

o f  

1 8  

-  

P a g e s  

( 2 6 ,  

1 1 )  

1 0 / 1 4 / 0 6  

4 : 3 6 

Содержание Digital Movie Creator 3.0

Страница 1: ...Quick Start Guide D M C 3 _ 1 0 0 6 0 6 R S 0 4 i n d d S p r e a d1o f1 8 P a g e s 3 6 1 1 0 1 4 0 64 3 6...

Страница 2: ...e Creator 3 0 Quick Start Guide TM and 2007 Digital Blue Inc All rights reserved Innovation starts here www PlayDigitalBlue com D M C 3 _ 1 0 0 6 0 6 R S 0 4 i n d d S p r e a d2o f1 8 P a g e s 2 3 5...

Страница 3: ...le of Contents i Table of Contents Getting Started Using the Camera Using the Software Additional Help 3 4 23 29 D M C 3 _ 1 0 0 6 0 6 R S 0 4 i n d d S p r e a d3o f1 8 P a g e s 3 4 3 1 0 1 4 0 64 3...

Страница 4: ...e installation CD Connecting the camera to the computer To connect the camera to the computer 1 Connect the USB cable on the camera s base to the USB port on your computer 2 Press the camera firmly in...

Страница 5: ...a using a small Phillips head screwdriver 2 Slide the battery compartment back and lift the cover to the open position 3 Insert the batteries using the battery polarity symbols and as a guide 4 Turn t...

Страница 6: ...ch the Help file Click Start Programs Digital Blue Digital Movie Creator 3 0 Digital Movie Creator 3 0 Help For additional product support visit our website at www digitalbluecorp com and select Custo...

Страница 7: ...g to cap ture images video Camera Base The USB cable on the camera s base connects to your computer When the camera is in the base and the software is running you can download pictures and capture ima...

Страница 8: ...ur subject with up to four times digital magnification Image Quality Shows whether the camera is filming in Normal or High Quality Normal High 6 Zoom level Battery status Active storage medium Memory...

Страница 9: ...Snapshot button is pressed Single Timer on Burst Capture Type Indicates whether you are taking a snapshot or a video clip Snapshot Video When you are playing back your movies you will see these symbo...

Страница 10: ...ess the Up Arrow button To zoom out press the Down Arrow button 8 Organize your scenes into a movie Once you have recorded your scenes you can use the Storyboard to make your scenes into a movie 1 Cli...

Страница 11: ...screen button to close it 24 9 Using the Camera Taking pictures with the camera To take pictures with your camera press the Snapshot button on the top of the camera to enter Snapshot mode The first t...

Страница 12: ...0 Making your first movie It s fun to make movies using the software that came with your camera Shooting a scene with the camera With your camera connected to your computer you can record movies using...

Страница 13: ...nd video from the camera You can delete images and video from the camera in 3 ways delete one item at a time delete the last item or delete all items on the camera at once To delete one item at a time...

Страница 14: ...plug the yellow end of the cable into the Video input the white end of the cable into Audio Left or L input and the red end of the cable into the Audio Right or R input If you leave any of these cabl...

Страница 15: ...era at once 1 Open the Display Screen and press the Snapshot or Record button to turn on the camera 2 Use the OK button on the Navigation Pad to go to the Main Menu 3 Press the Down Arrow button until...

Страница 16: ...be longs to someone else They may want to remove files from the card before you format it Using the camera in mass storage mode If you want to view images and videos you ve recorded without using the...

Страница 17: ...telling you that formatting is in progress will display during this time 8 When the formatting is complete a message will display Press the OK button to continue 18 Note To change the quality of stil...

Страница 18: ...lighted value 8 Press the OK button to set the time and date 16 Understanding the camera memory The camera will store images and video to the camera or to an SD card Your camera has 32MB of on board m...

Страница 19: ...lighted value 8 Press the OK button to set the time and date 16 Understanding the camera memory The camera will store images and video to the camera or to an SD card Your camera has 32MB of on board m...

Страница 20: ...telling you that formatting is in progress will display during this time 8 When the formatting is complete a message will display Press the OK button to continue 18 Note To change the quality of stil...

Страница 21: ...be longs to someone else They may want to remove files from the card before you format it Using the camera in mass storage mode If you want to view images and videos you ve recorded without using the...

Страница 22: ...era at once 1 Open the Display Screen and press the Snapshot or Record button to turn on the camera 2 Use the OK button on the Navigation Pad to go to the Main Menu 3 Press the Down Arrow button until...

Страница 23: ...plug the yellow end of the cable into the Video input the white end of the cable into Audio Left or L input and the red end of the cable into the Audio Right or R input If you leave any of these cabl...

Страница 24: ...nd video from the camera You can delete images and video from the camera in 3 ways delete one item at a time delete the last item or delete all items on the camera at once To delete one item at a time...

Страница 25: ...0 Making your first movie It s fun to make movies using the software that came with your camera Shooting a scene with the camera With your camera connected to your computer you can record movies using...

Страница 26: ...screen button to close it 24 9 Using the Camera Taking pictures with the camera To take pictures with your camera press the Snapshot button on the top of the camera to enter Snapshot mode The first t...

Страница 27: ...ess the Up Arrow button To zoom out press the Down Arrow button 8 Organize your scenes into a movie Once you have recorded your scenes you can use the Storyboard to make your scenes into a movie 1 Cli...

Страница 28: ...Snapshot button is pressed Single Timer on Burst Capture Type Indicates whether you are taking a snapshot or a video clip Snapshot Video When you are playing back your movies you will see these symbo...

Страница 29: ...ur subject with up to four times digital magnification Image Quality Shows whether the camera is filming in Normal or High Quality Normal High 6 Zoom level Battery status Active storage medium Memory...

Страница 30: ...g to cap ture images video Camera Base The USB cable on the camera s base connects to your computer When the camera is in the base and the software is running you can download pictures and capture ima...

Страница 31: ...ch the Help file Click Start Programs Digital Blue Digital Movie Creator 3 0 Digital Movie Creator 3 0 Help For additional product support visit our website at www digitalbluecorp com and select Custo...

Отзывы: