Installation Overview
SECTION 3
16
HARDWARE MANUAL |
Copyright
©
2007 Digimerge Technologies Inc.
Installation Overview
There are 3 mains steps required to perform a successful installation:
• Hardware installation:
A. Powered Install
B. Optional Connections
C. Adjusting the Included Lens
D. Software installation
A. Hardware Installation - Power
The basic Hardware installation consists of
mounting the camera and stand, connecting the
hard wired power and connecting the Ethernet cable
to the Camera. Other connections are optional.
NOTE:
The cables should be run through the wall or
ceiling to the mounting location, prior to installing
the Camera.
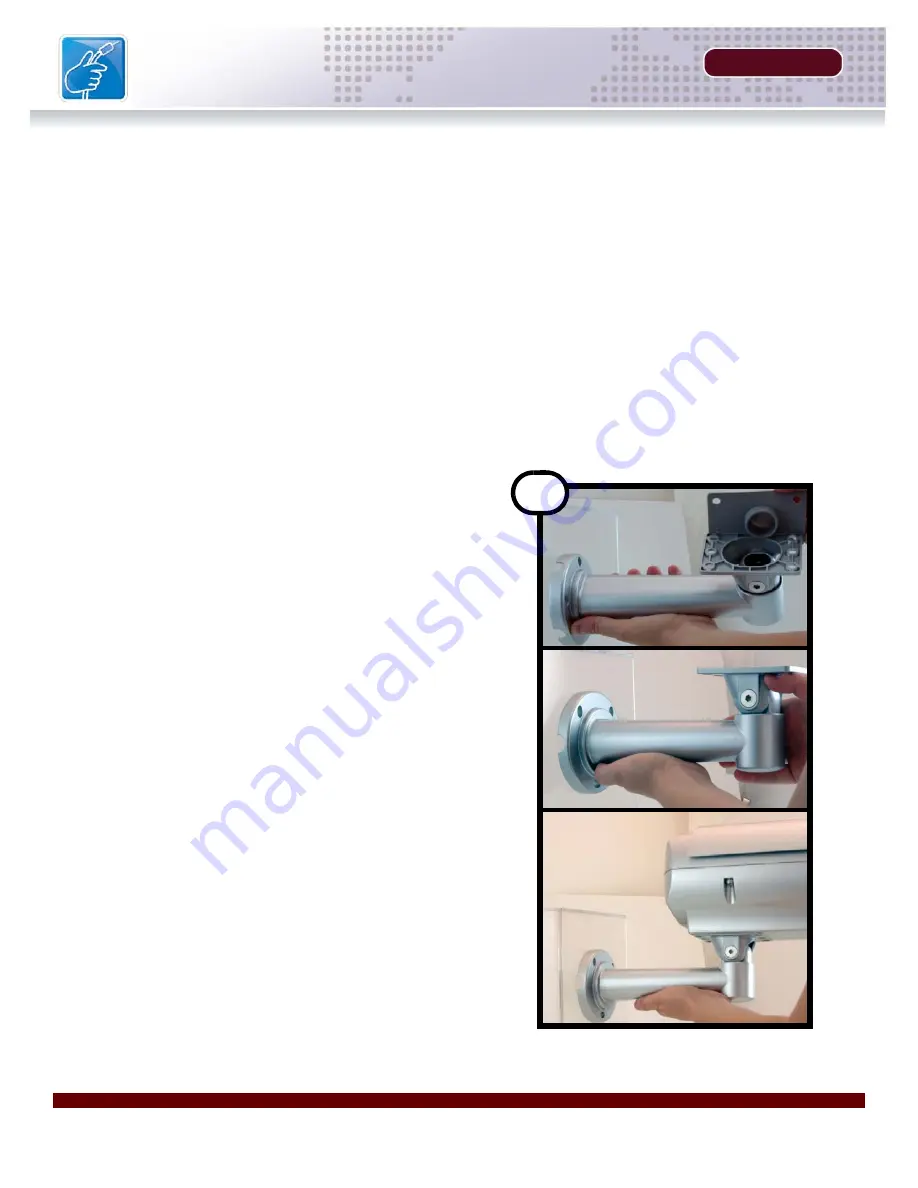
1.
Mounting Instructions: Run the Power and
Ethernet cables to the desired location.
• Cut out the cable channel hole in the Rubber
stopper. Place the stopper on the stand.
• Run the cables from the wall and through the
stand before permanently mounting the stand
to the wall or ceiling.
• Mount the stand to the wall or Ceiling using the
provided screws.
• Securely connect the camera housing to the
stand.
1
Содержание DNB6300V
Страница 9: ...GETTING STARTED SECTION 1 Package Contents 10...
Страница 11: ...PRODUCT OVERVIEW SECTION 2 DNB6300V Connector Ports 12 DNB6300V Power Ports 13 DNB6300V Lens Adjustment 14...
Страница 20: ......
Страница 30: ......
Страница 42: ......


