Network Connectivity Overview
SECTION 4
22
HARDWARE MANUAL |
Copyright
©
2007 Digimerge Technologies Inc.
Network Connectivity Overview
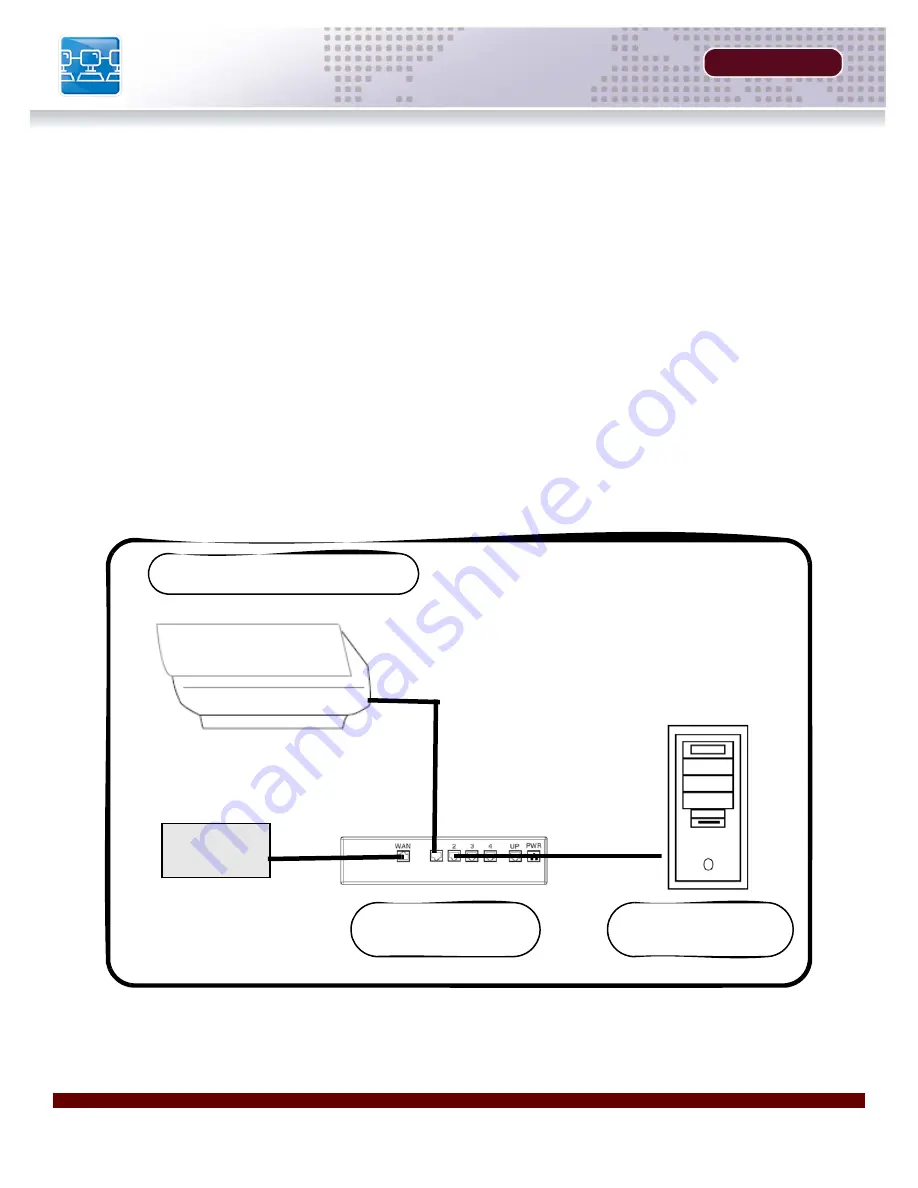
This camera is designed to be remotely controlled using your existing network and the provided
DigiViewer software (or a 3rd party compatible application - visit us on the web for an updated
compatible software list).
1. Connect the Camera to the Router or Switch using an Ethernet Cable, and power on the Camera.
NOTE: The Camera must be connected to the router prior to connecting the power to the
IP Device.
2. Locate the MAC and IP address of your Camera using the provided DigiConsole Setup Utility.
See next page for details.
3. Run the DigiConsole Software from the provided CD (optional installation to PC), and configure
the DigiViewer to allow DDNS connectivity. See the
DigiConsole / DigiViewer Software Guide
(provided with this Camera) for installation requirements and details on using the software.
CAMERA
ROUTER
(Not Included)
PC
(Not Included)
INTERNET
Содержание DNB6300V
Страница 9: ...GETTING STARTED SECTION 1 Package Contents 10...
Страница 11: ...PRODUCT OVERVIEW SECTION 2 DNB6300V Connector Ports 12 DNB6300V Power Ports 13 DNB6300V Lens Adjustment 14...
Страница 20: ......
Страница 30: ......
Страница 42: ......


