


Synchronic Plug-in Guide
54
4
Click OK to close the Plug-in Automation dia-
log.
.
To record automation:
1
In the Automation Enable window, make sure
that plug-in automation is write-enabled.
2
If using a MIDI control surface, do the follow-
ing: On the MIDI control surface, assign the
MIDI Controller number for the parameter you
want to automate.
3
On the track with Synchronic inserted, choose
an automation mode. For an initial pass, choose
Auto Write.
4
Click Play to begin writing automation, and
move the controls you want to automate.
5
When you have finished, click Stop.
After the initial automation pass, you can write
additional automation to the track without
completely erasing the previous pass by choos-
ing Auto Touch mode or Auto Latch mode.
These modes add new automation only when
you actually move the control for that parame-
ter.
Using MIDI
You can automate Synchronic RTAS parameters
by assigning MIDI note and controller data to
Synchronic presets and performance parame-
ters, and recording them to a MIDI track. You
can also edit and manually enter the MIDI data
on the track as desired, and use it to control Syn-
chronic during playback.
As an alternative to using the Plug-in Auto-
mation window, you can enable individual
plug-in parameters directly from the Plug-in
window by Control-Alt-Start-clicking (Win-
dows) or Command-Control-Option-click-
ing (Mac) the parameter’s text field or con-
trol. See the DigiRack Plug-ins Guide or
Digidesign Plug-ins Guide for more infor-
mation.
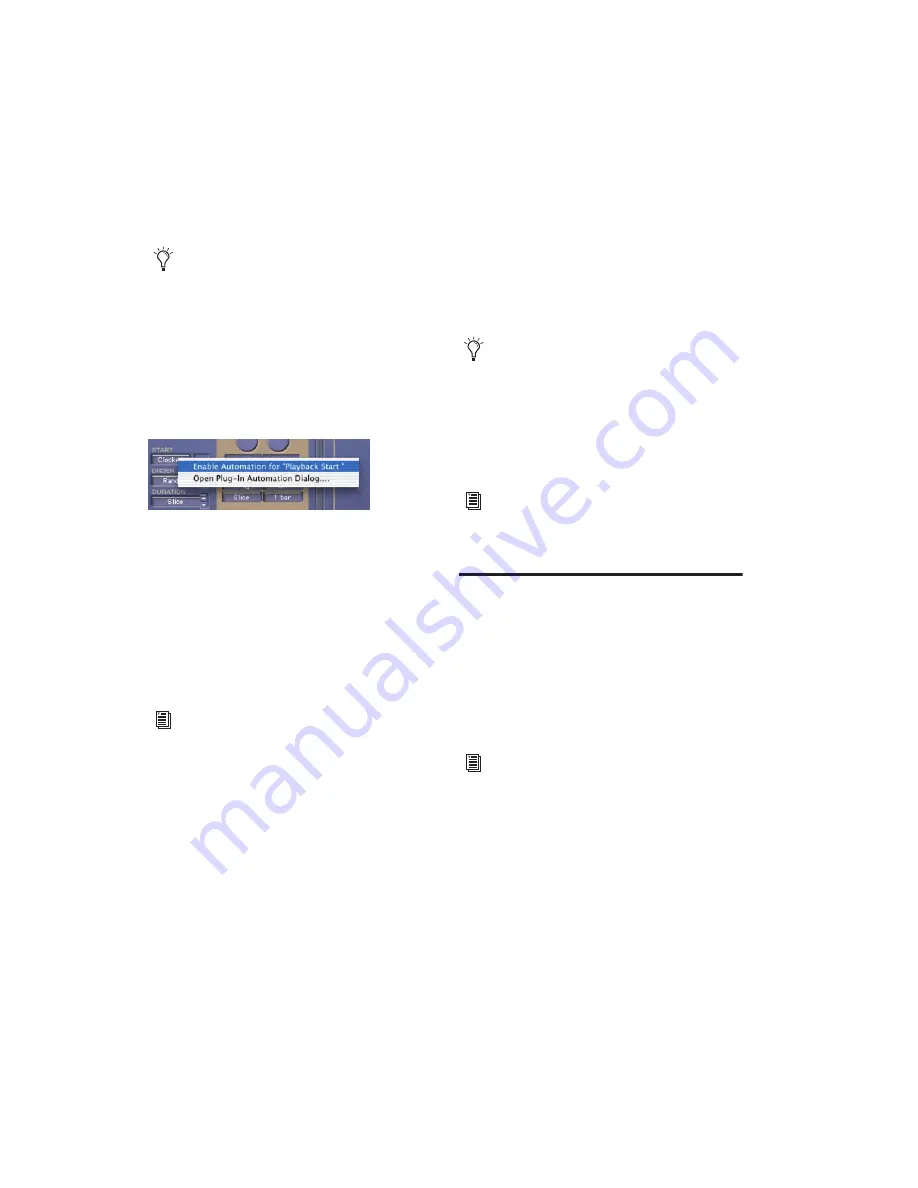
Shortcut for enabling a Synchronic parameter for
automation
For more information on assigning a MIDI
Controller number, see See “To assign MIDI
controller numbers to the Playback, Effects,
and XFade User Knobs:” on page 55.
If you use automation to control preset
changes, place automation breakpoints
slightly ahead of the point at which the
change is desired. Since Synchronic triggers
all Sound and Playback changes according
to MIDI Clock boundaries, a thirty-second
note ahead of time is recommended.
For more information on creating and edit-
ing automation, see the
Pro Tools Reference
Guide
.
For information on controlling Synchronic
with MIDI note and controller data, see
“MIDI Module” on page 42.
Содержание Synchronic
Страница 1: ...Synchronic Version 7 3 ...
Страница 20: ...Synchronic Plug in Guide 16 ...
Страница 50: ...Synchronic Plug in Guide 46 ...
Страница 56: ...Synchronic Plug in Guide 52 ...
Страница 62: ...Synchronic Plug in Guide 58 ...


