


Mbox 2 Micro Getting Started Guide
42
5
Do one of the following, depending on the type of in-
strument you are using:
• If you are using an instrument plug-in, click an In-
sert selector and insert the plug-in on the Instru-
ment track. The track’s MIDI output is
automatically assigned to the instrument plug-in.
– or –
• If you are using an external MIDI device, click the
track’s MIDI Output selector (at the top of the In-
strument track) and assign the device and channel
to receive the MIDI output (the choices will vary
depending on the device). With the Mbox 2 Micro,
you will need to monitor your MIDI devices audio
using its own headphone output or using an exter-
nal amp or mixer.
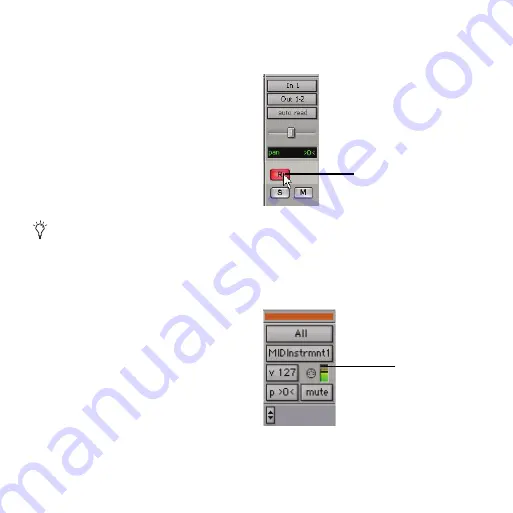
6
In the Mix Window, click the track’s Record Enable
button to enable the Instrument track for MIDI record-
ing.
7
Make sure Options > MIDI Thru is selected.
8
Play some notes on your MIDI controller and look for
the track’s MIDI Velocity meter to move. Remember,
MIDI is not audio, and the MIDI Velocity meter is not
registering sound output, but MIDI activity.
If your connected MIDI device does not appear,
check that you have correctly configured your
MIDI interface, computer, and its MIDI settings.
Enabling an Instrument track for MIDI recording
MIDI meter in Instrument track showing MIDI activity
Track Record Enable button
MIDI Velocity meter
Содержание Mbox 2 Micro
Страница 1: ...Getting Started Mbox 2 Micro Version 7 4 ...
Страница 2: ......
Страница 8: ...Mbox 2 Micro Getting Started Guide viii ...
Страница 10: ...Mbox 2 Micro Getting Started Guide 2 ...
Страница 16: ...Mbox 2 Micro Getting Started Guide 8 ...
Страница 28: ...Mbox 2 Micro Getting Started Guide 20 ...
Страница 46: ...Mbox 2 Micro Getting Started Guide 38 Figure 2 Session audio selected and ready to bounce ...
Страница 52: ...Mbox 2 Micro Getting Started Guide 44 ...
Страница 73: ...Index 65 V volume control 33 W WaveDriver Windows 12 ...


