Chapter 2 Hardware Installation
Chapter 5
www.dfi.com
Chapter 5 Ports and Connectors
15
DC-in
1
80
6
1
1
1
3
1
1
Mini
PCIe
1
1
12
12
1
2
1
Reset
Power
Button
Front
Panel
(JP11)
DDR4
DDR4
DDR4
DDR4
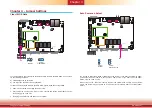
COM 4
LAN 2
LAN 1
USB 2
USB 1
USB 3.0
USB 4
USB 3
COM 3
COM 2
COM 1
VGA
USB 3.0
SATA 3.0
SPI Flash
BIOS
JP2
JP1
Battery
EIO
JP7
Mini
PCIe
MIC-in
LINE-out
HDMI
SATA 2 SATA Power
Realtek ALC888
Intel
WGI210IT
JP3
JP4
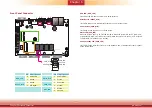
Auto PWR ON (JP7)
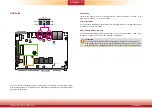
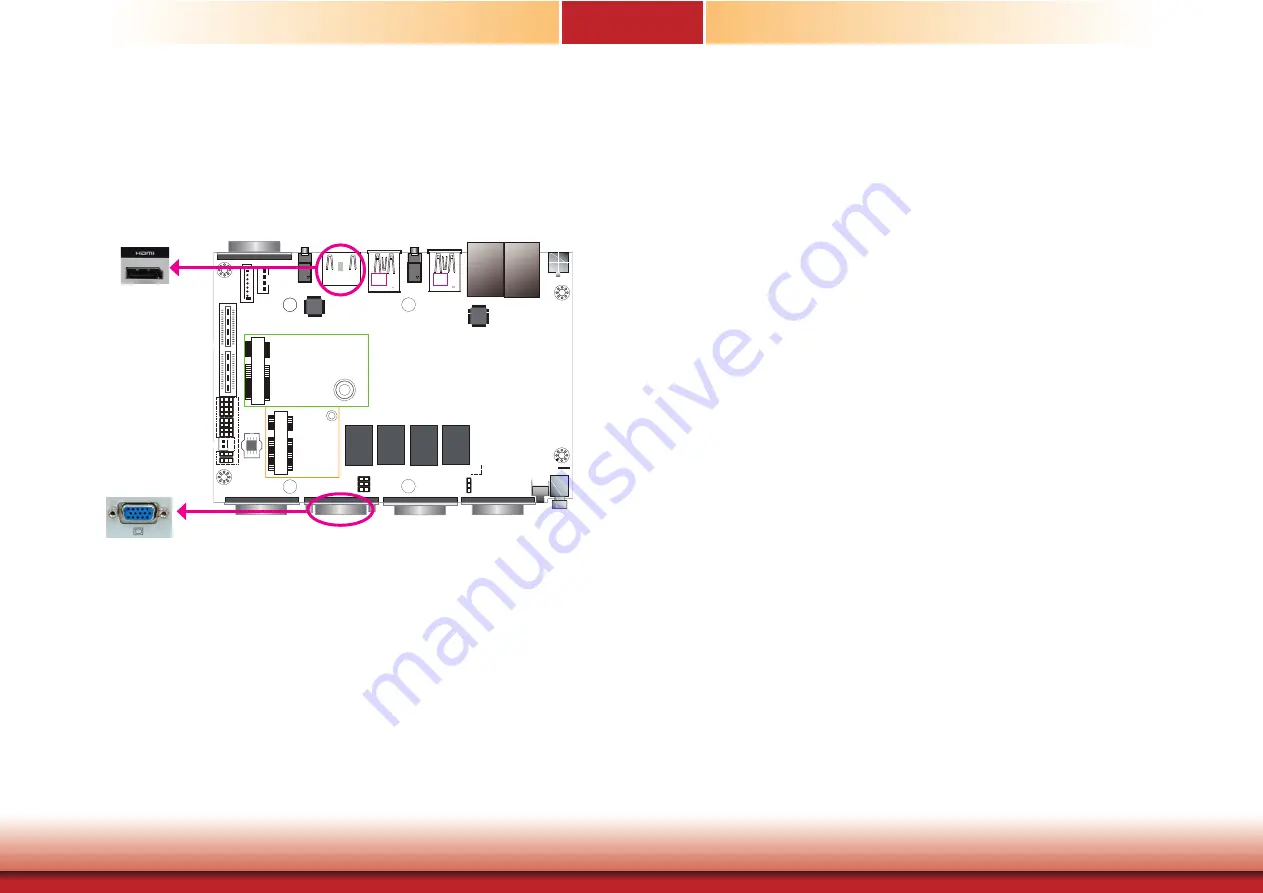
VGA Port
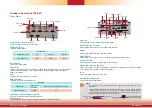
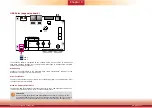
The VGA port is used for connecting a VGA monitor. Connect the monitor’s 15-pin D-shell cable
connector to the VGA port. After you plug the monitor’s cable connector into the VGA port,
gently tighten the cable screws to hold the connector in place. Note that if you choose to wire
a DP port on the expansion board (BOM option), this VGA port will not be available. Please
refer to “Display Interfaces (expansion board)” below.
HDMI Port
The HDMI port, which carries both digital audio and video signals, is used to connect the
HDMI port of an LCD monitor or a digital TV. Note that you can choose to wire this port as a
DP port (BOM option).
DP Port (optional)
The DP port is a digital display interface used to connect a display device such as a computer
monitor. It is used to transmit audio and video simultaneously. The interface, which is devel-
oped by VESA, delivers higher performance than any other digital interfaces.
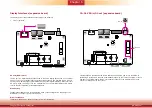
The display ports consist of the following:
• 1 HDMI or DP++ (optional)
• 1 VGA or DP++ (optional)
Display Interfaces
HDMI
VGA
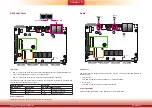
BIOS Setting
Configure the display devices in the Advanced menu (“Video Configuration” submenu) of the
BIOS. Refer to Chapter 7 for more information.
Driver Installation
Install the graphics driver. Refer to Chapter 8 for more information.
Chapter 5 - Ports and Connectors

