www.dfi.com
12
Chapter 3 Installing the Devices
Chapter 3
Installing a Mini PCIe Card
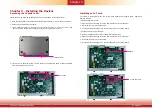
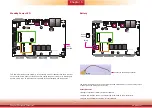
The system board is equipped with 2 Mini PCIe slots: one full-size and one half-size slot. Here we
will demonstrate the installation of a full-size Mini PCIe card.
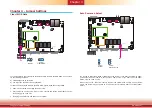
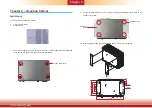
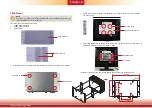
The PCIe sockets are located on the main board; to access the main board, detach the expansion
board on top of it. Remove the screws that affix the front and back bezels as shown in the
following pictures to access the expansion board and uninstall it from the system.
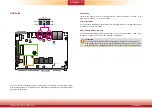
Use a wrench or a screwdriver
with a socket end to remove
the fasteners used on DB-9
and VGA connectors.
Use a wrench to remove the
hexagonal gasket
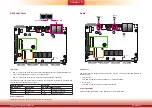
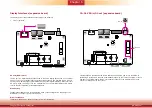
1. Grasp the Mini PCIe card by its edges and align the notch of the PCIe card with
the key in the connector on the system board.
2. Push the Mini PCIe card down and use the provided mounting screw to secure
the card on the system board.
Mounting Screw
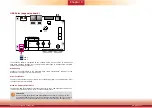
Note:
The system also has a half-size Mini PCIe slot that can accommodate either a Mini
PCIe or an mSATA card. Refer to jumper settings for signal selection for this slot.
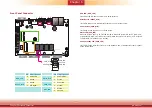
Remove these screws
to detach the expansion
board from the main board

