MARKER
ENGLISH
31
MARKING SCENES YOU WANT TO SEE AGAIN
10
2
Set marks at scenes you want to see again so that you can start playback from the marked position whenever you want.
Setting Marks
3
1
SELECT
TITLE
MENU
DISPLAY
RETURN
SUBTITLE
AUDIO
ANGLE
MARKER
DISC SKIP
1
2
PROG/DIRECT
2
1
2
1
2
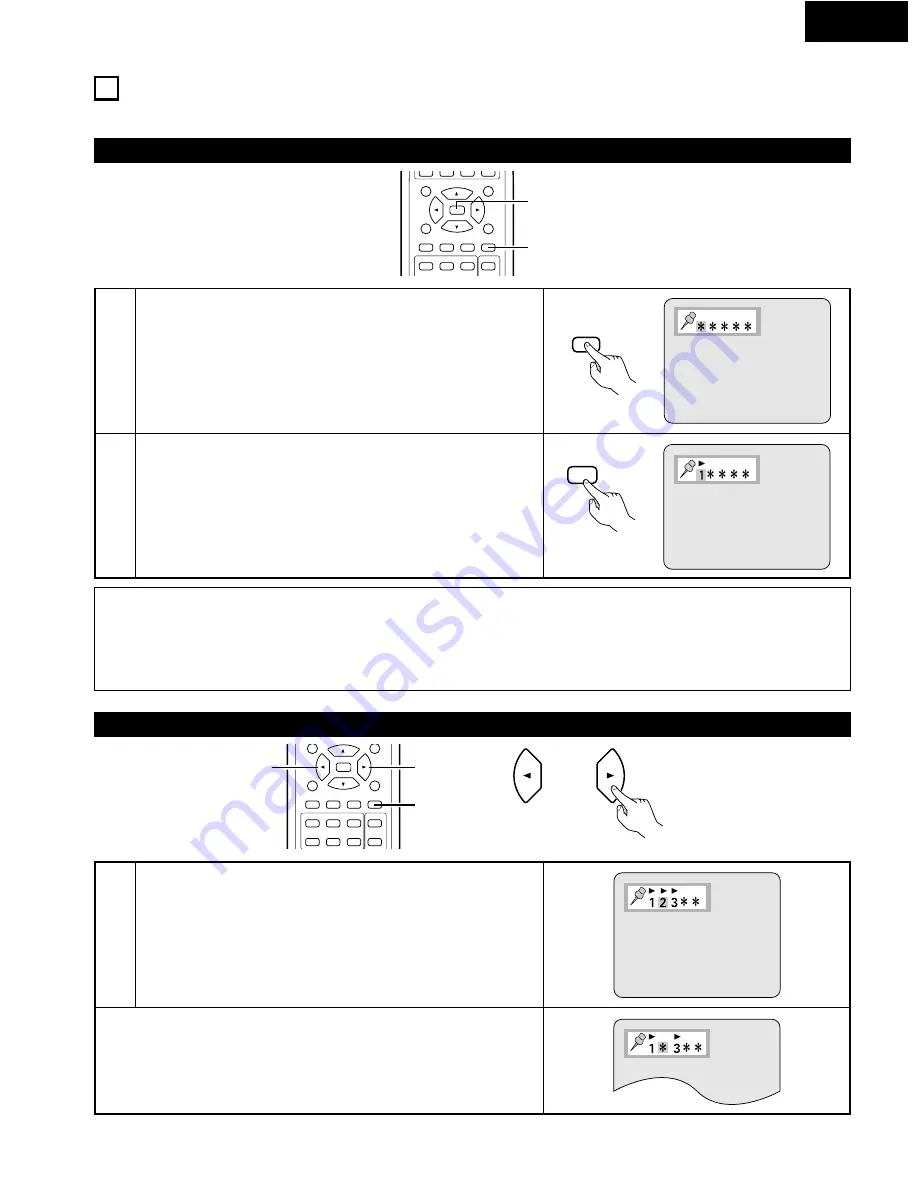
During playback, press the MARKER button.
• The marker screen appears.
• “*” is displayed if the mark is not set.
Press the SELECT button at the scene you want to mark.
• A number is displayed.
• Up to five marks can be set.
• If the SELECT button is pressed at a position at which a number is
displayed, the previously marked scene is unmarked and the new scene
is marked.
SELECT
Remote control unit
Remote control unit
NOTES:
• In some cases, subtitles may not be displayed at marked spots.
• The marking function cannot be used for DVDs and video CDs for which the elapsed time is not shown on the display during playback.
• The marks are retained until the power is turned off or the disc is ejected.
• The mark settings will be cleared when changing from the specified disc to a disc of a different disc number, or when the power is set to
the standby mode.
Calling Out Marked Scenes and Clearing Marks
SELECT
DISPLAY
RETURN
SUBTITLE
AUDIO
ANGLE
MARKER
4
5
3
DISC SKIP
1
2
CALL
PROG/DIRECT
1
1
1
1
Use the
0
and
1
cursor buttons to select the mark number.
• If the marker screen is not displayed during playback, press the
MARKER button to display it.
*
To play from the selected mark number:
Press the
•
cursor button.
The disc returns to the selected mark and playback starts.
*
Clearing the selected mark number:
Press the CLEAR button.
The selected mark is cleared.
Remote control unit


