The Operating Manual for DENON AV Receiver/Amplifier firmware upgrade Page 15 / 18
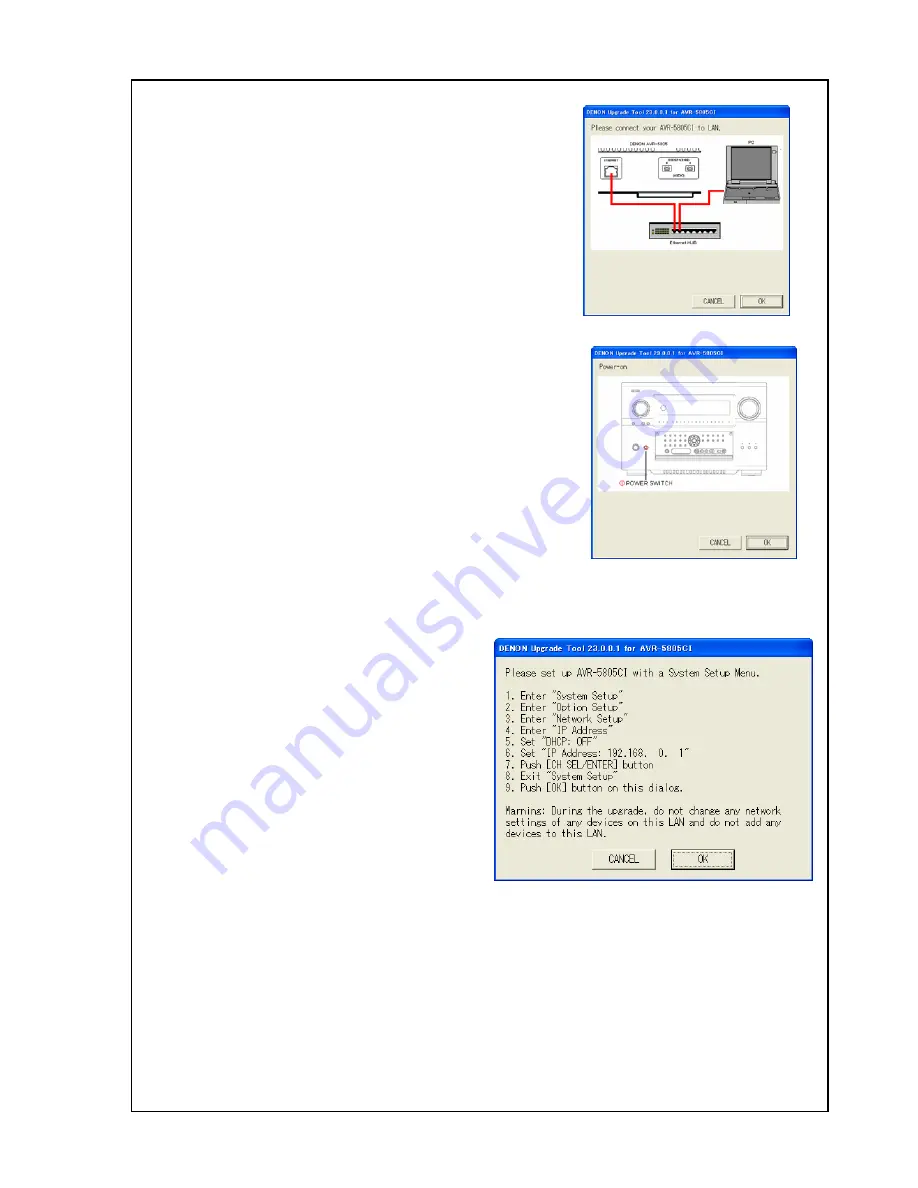
5.3
Connect the AV Receiver/Amplifier and the PC
1) Connect the AV Receiver / Amplifier and the PC
(refer to 2.1.c).
2) Push [OK] button on the dialog.
5.4
Turn on the AV Receiver /Amplifier
1) Turn on the power switch of the AV Receiver /Amplifier.
2) Confirm the power indicator is green. If the power
indicator is red, Make the power indicator green pushing
the [ON/STANDBY] button.
5.5
Check the IP address of the AV Amplifier / Receiver
You can see the dialog box like the picture of the right hand.
1) Push the [SYSTEM SETUP] button on the AV Receiver / Amplifier or the remote controller.
2) Select “7. Option Setup” and push the
[CH SELECT ENTER] button on the AV
Receiver / Amplifier or the remote
controller.
3) Select “7. Network Setup” and push the
[CH SELECT ENTER] button on the AV
Receiver / Amplifier or the remote
controller.
4) Select“IP addess”and push the [CH
SELECT ENTER] button, then “IP
addess”is displayed on OSD. Please write “IP Address” down. When checking by display of
the set, push the [CURSOL DOWN] button.
Push the [CH SELECT ENTER] button of the AV Receiver / Amplifier or the remote controller 3
times slowly. You can exit from the System Setup menu.


