3. Maintenance and troubleshooting
MERMAID E500-S
STD08
Page 27 of 52
•
Checking or Replacement of Suction Valves
(Please refer to pump assembly.)
Unscrew the M10 bolt (pos 50) and remove fluid end
(pos 14).
Remove fluid end collector (pos 45) from the pump assembly.
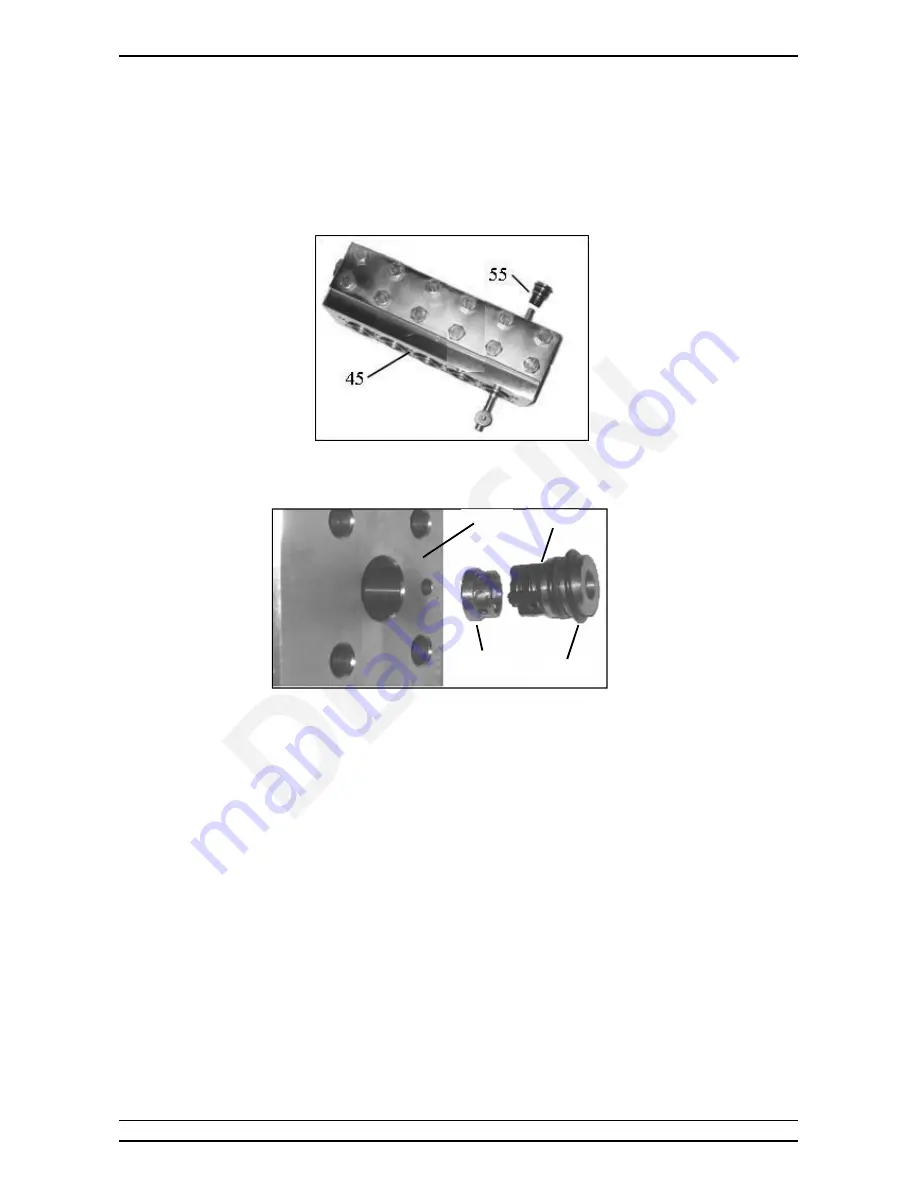
To remove suction valve assembly (pos 55), use a rod to push from the brass ring side of the pump
head (pos 45).
* Picture shown may vary
The spacer (pos 17) and “O” ring (pos 27) can be easily removed once the suction valve assembly
(pos 55) had been successfully removed.
Check sealing surfaces of the valve body and suction valve plate. Check suction valve (pos 55)’s
spring and “O” ring. Replace where necessary. Clean all the parts and replace the worn parts with
the corresponding parts in the repair kit.
Reassemble the in reverse order and pay extra care to the orientation of the spacer (pos 17). The
M10 bolt (pos 50) must be tightened in an alternative and uniform way with a suitable torque
wrench to the specified setting (page 30).
27
17
55
45
Содержание MERMAID E500-S
Страница 32: ...4 Spare parts list MERMAID E500 S STD08 Page 31 of 52 4 Spare parts list Main Chassis Assembly ...
Страница 37: ...4 Spare parts list MERMAID E500 S STD08 Page 36 of 52 Pump assembly spare parts list ...
Страница 40: ...4 Spare parts list MERMAID E500 S STD08 Page 39 of 52 Un loader valve assembly ...
Страница 52: ...5 Wiring diagram 380 480V 50 60Hz MERMAID E500 S STD08 Page 51 of 52 5 Wiring diagram 380 480V 50 60Hz ...


