Page 9
How to Measure using Batch Processing
1. Using
File, Import Image
, load an image file into WinDIAS, calibrate it, and set
the detection thresholds by picking colours for the Primary, Secondary or Tertiary
regions, whatever you require.
2. Create a test folder for the tests and using
File, Save
, save the image as
Reference.wd3
to this folder.
3. Place all the images files you want processing into this folder.
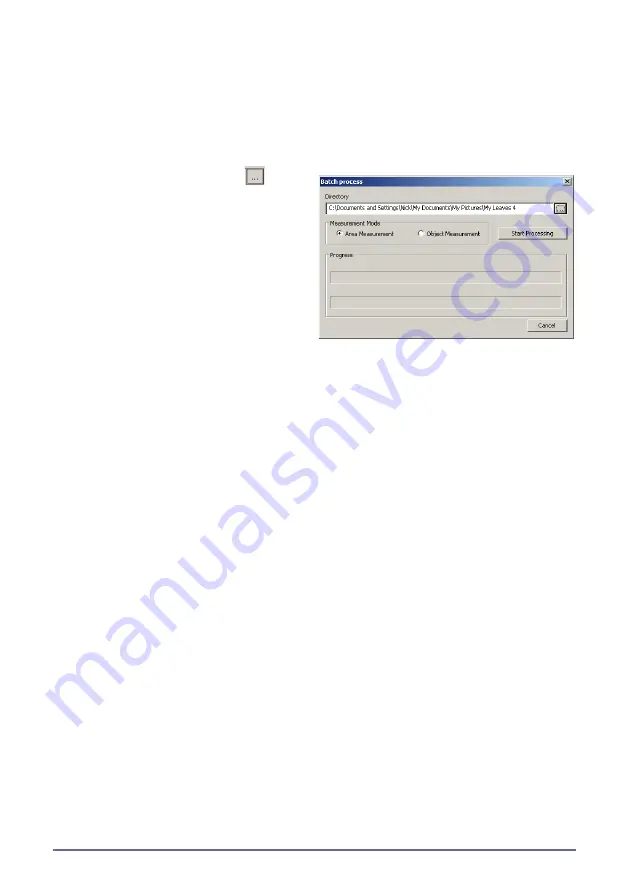
4. Select File Batch Processing to display the
Batch process
dialog
5. Click on the browse button
and
select the test folder.
6. Select
Area
or
Object
Measurement
. These will measure
according to the settings on your
Area or Object Control windows in
WinDIAS.
7. Click
Start Processing
.
8. Inspect the results as below.
Batch Processing Results
Re
sults are saved to the same folder in a text file called “
Results.txt
” along with a
second “
Settings.txt
” file
The Results.txt file is formatted as tab-separated values for ease of importing into
spreadsheets such as Excel.
The
Settings.txt
file contains the reference file name and path, date and time, and the
mid value and range for each of the colour zones picked.
Tip: To extract a record of the colour threshold settings from
any
.wd3 image file, save
a copy, naming it “Reference.wd3” to an empty folder and run the batch process
command on that folder. A Settings.txt file will be created with the colour threshold
settings in.
Area, Object , General and Seed Count
Measurement Mode
The WinDIAS3.3 Control Window has four tabs, each providing a different
measurement mode:-
Area
: for area measurements.
Object
: has a choice of 11 shape analysis measurements of multiple separate objects.
General
for measuring length or angle using the mouse, or counting non-touching
objects.
Seed Count
for counting seeds, some of which are touching, using an average area
method.


