22
INSTALLATION AND ELECTRICAL CONNECTION
• Unpack the oven and remove the protective packaging
containing the turntable (G), turntable support (H/I) and
all accessories. Check that the support (H/I) is correctly in-
serted in the centre of the turntable.
• Clean the inside of the oven with a soft, damp cloth.
• Check that the oven has not been damaged during tran-
sport. Check in particular that the door opens and closes
properly.
• Place the oven on a flat, stable surface at a height of at
least 85 cm and out of reach of children as the door may
become very hot during cooking.
• When positioning the oven on the worktop, take care to
maintain a gap of approx. 5 cm between the oven and the
walls to its rear and sides and a gap of at least 30 cm above
the oven.
• Do not block the air intake vents.
In particular, never place anything on top of the oven and
make sure the air and steam outlet vents (on the top, bot-
tom and rear of the appliance) are always free.
• Place the turntable support (H/I) in the centre of the circu-
lar housing and rest the turntable (G) on top.
The support (H/I) must be inserted in the housing in the
centre of the turntable.
Please note:
never place the oven on or near heat
sources (for example, on top of a refrigerator).
• Connect the appliance to sockets with a minimum current
rating of 16A only. Make sure the household main switch
has a minimum rating of 16A to avoid it tripping unex-
pectedly during operation of the oven.
• Position the oven in such a way that the power plug and
socket are easily accessible.
• Before you switch on the oven, check that the mains vol-
tage corresponds to that specified on the oven rating plate
and that the power socket is properly earthed. The manu-
facturer declines all responsibility for failure to observe this
safety precaution.
• The majority of modern electronic appliances (TV, radio,
stereo systems etc.) are shielded from radio frequency (RF)
signals. However, certain electronic appliances cannot be
shielded from radio frequency signals coming from a mi-
crowave oven. You should therefore keep these appliances
at least 1-2 metres away from a microwave in operation.
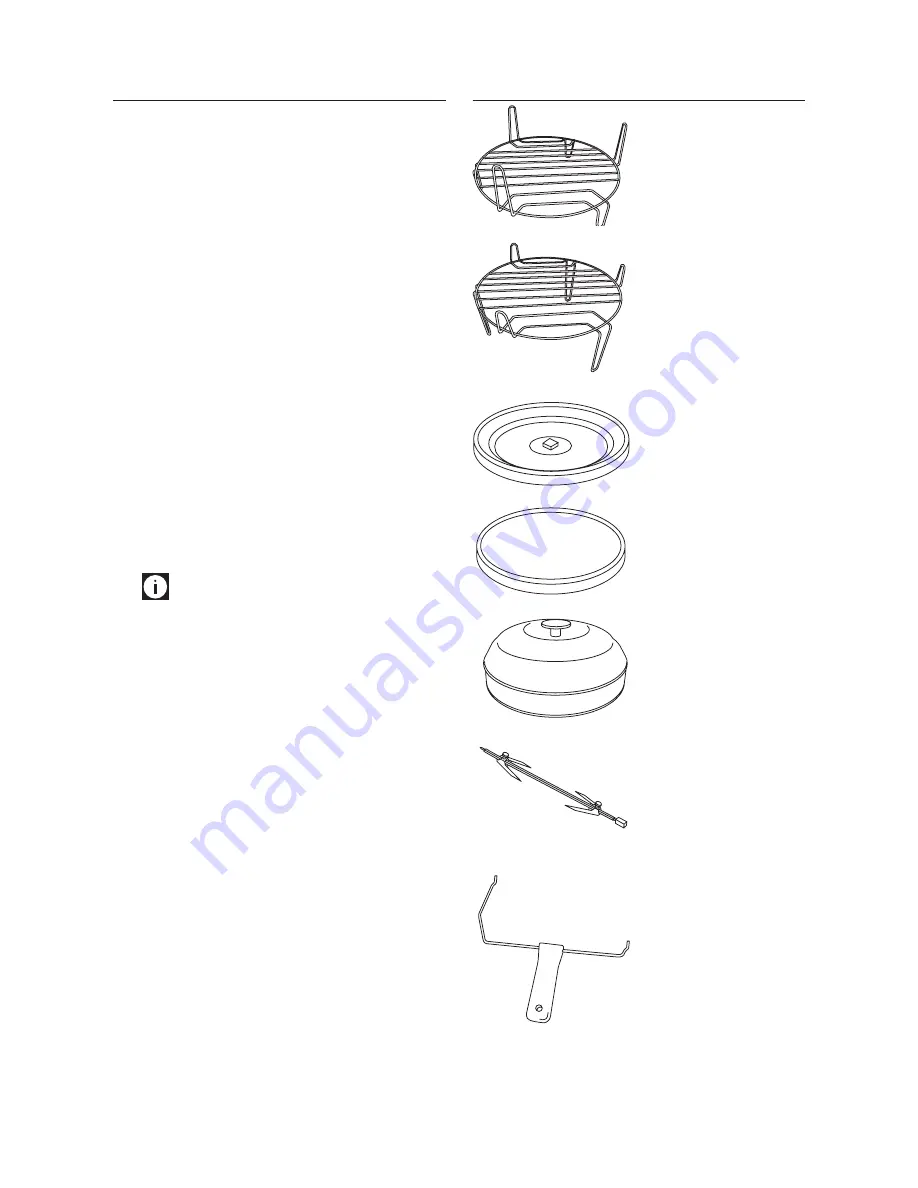
STANDARD ACCESSORIES
High/low dual function
wire rack (F)
Wire rack in low position:
Use with the Fan function for
all types of traditional cooking
and in particular to cook cakes
and desserts.
Wire rack in high position:
Use in the Grill function to
quick cook meat.
Turntable (G)
Use the turntable in all
functions.
Grill/pizza plate (M)
(certain models only)
Use the plate in the Pizza
function.
Steam accessory (L)
(certain models only)
Use in the Steam function.
Spit roast (N)
(certain models only)
Allows the spit to rotate auto-
matically during cooking
Spit roast extraction
handle (P)
(certain models only)
Allows the spit to be extracted
easily and safely after cooking


