Adding and Replacing Parts
95
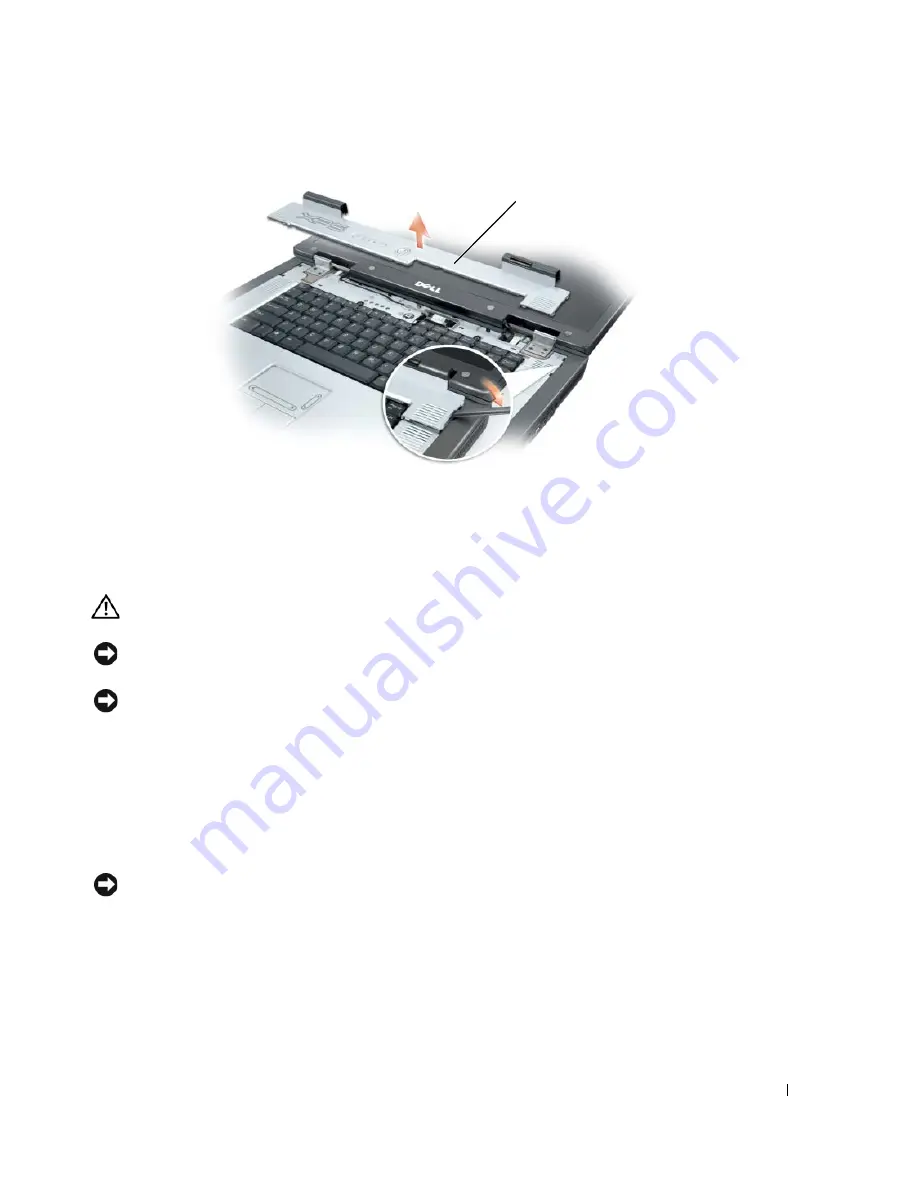
When replacing the hinge cover, first insert the left edge and then press from left to right until
the cover snaps into place.
Keyboard
CAUTION:
Before you begin any of the procedures in this section, follow the safety instructions in the
Product Information Guide
.
NOTICE:
To avoid electrostatic discharge, ground yourself by using a wrist grounding strap or by
periodically touching an unpainted metal surface (such as a connector on the back of the computer).
NOTICE:
To avoid damaging the system board, you must remove the main battery before you begin
working inside the computer.
1
Follow the procedures in "Before You Begin" on page 83.
2
Open the display.
3
Remove the hinge cover. See page 94.
4
Remove the keyboard:
a
Remove the two screws at the top of the keyboard.
NOTICE:
The key caps on the keyboard are fragile, easily dislodged, and time-consuming to replace. Be
careful when removing and handling the keyboard.
b
Lift up the keyboard and hold it up and slightly forward to allow access to the keyboard
connector.
hinge cover
Содержание XPS /Dimension Gen 2
Страница 8: ...8 Contents Macrovision Product Notice 113 Contacting Dell 113 Index 131 ...
Страница 30: ...30 Setting Up Your Computer w w w d e l l c o m s u p p o r t d e l l c o m ...
Страница 54: ...54 Using PC Cards w w w d e l l c o m s u p p o r t d e l l c o m ...
Страница 82: ...82 Solving Problems w w w d e l l c o m s u p p o r t d e l l c o m ...
Страница 102: ...102 Adding and Replacing Parts w w w d e l l c o m s u p p o r t d e l l c o m ...


