PS6000 Hardware Maintenance
Maintaining Disks
2–6
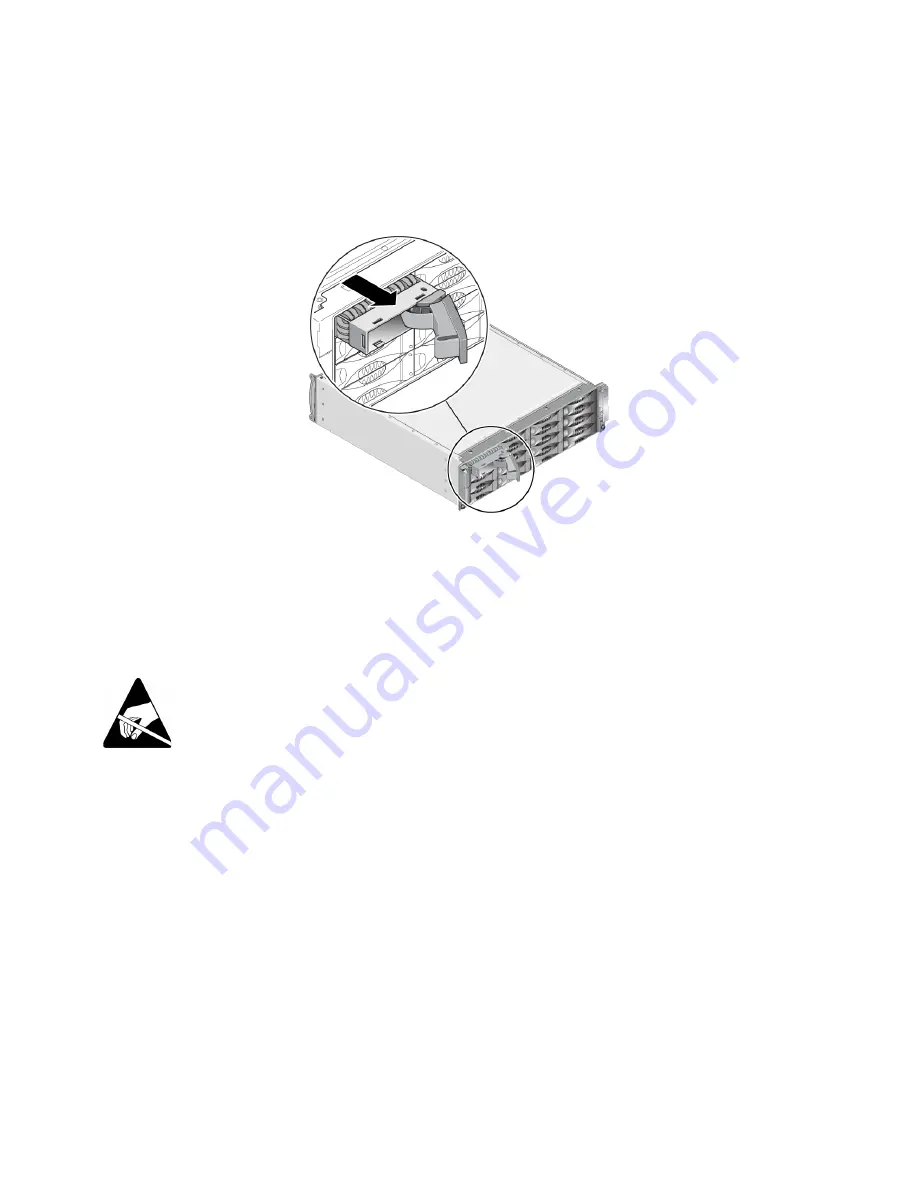
Figure 2-6: Removing a Disk
3. Wait 30 seconds to allow the heads to land. (Does not apply when removing a
blank carrier.)
4. Pull the disk further from the slot and re-engage the handle. You will hear a
click. Then, pull the disk completely out of the array.
Installing Disks
Caution:
Wear electrostatic protection when handling a disk. See
Disk Installation Guidelines and Restrictions
•
Install only disks of the same type, speed, and spin rate in an array. The color
of the handle release button indicates the disk type (black for SAS; gray for
SATA).
•
Make sure the disk is oriented in the position shown in Figure 2-4, with the
handle release button to the left.
•
You can use disks with different sizes in an array. However, the smallest disk
in the array will determine how much space can be used on each disk. For
example, if the smallest disk is 400GB, only 400GB of space will be available
for use on each disk.
Содержание PS6000
Страница 1: ...Hardware Maintenance ...
Страница 14: ......
Страница 44: ......
Страница 46: ......
Страница 50: ......


