


438
Configuring Captive Portal
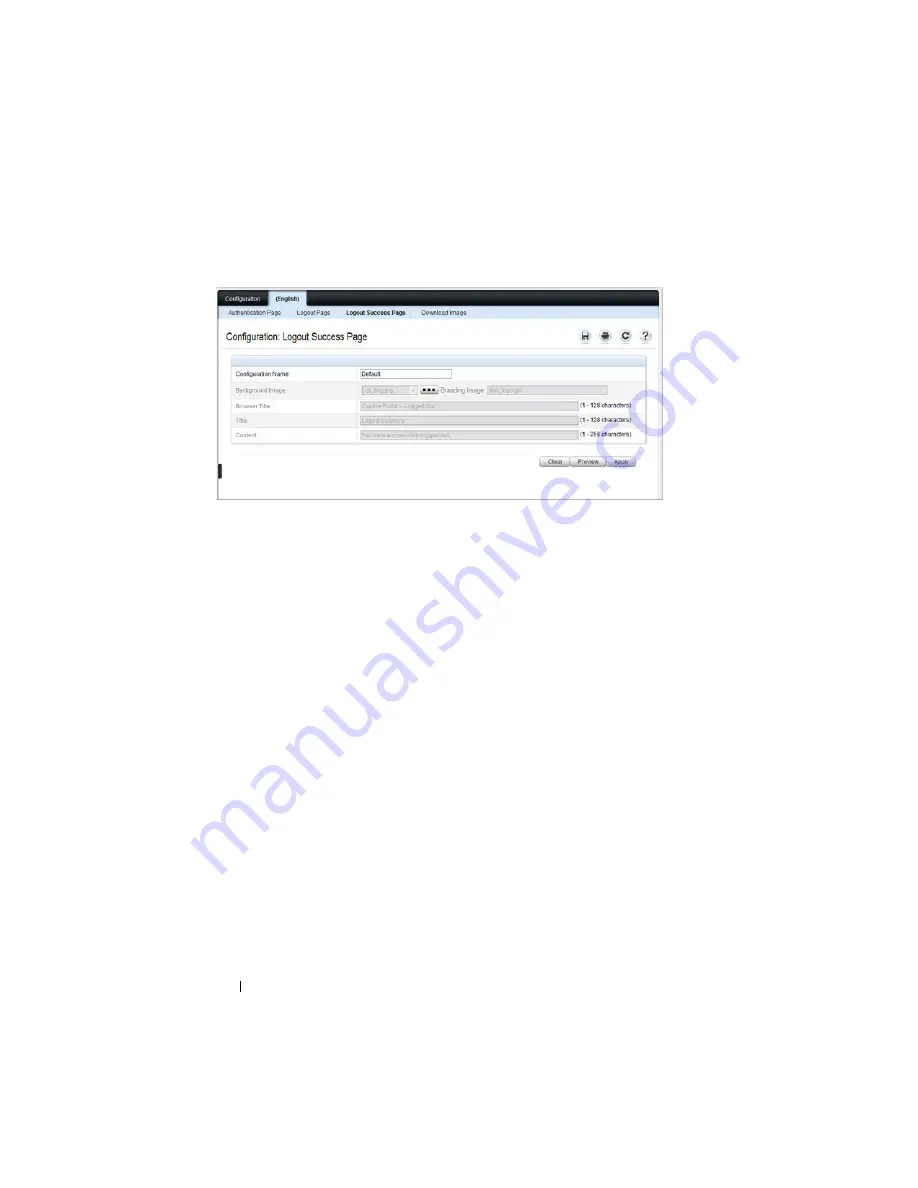
Figure 17-11. Captive Portal Logout Success Page
13
Customize the look and feel of the Logout Page, such as the background
image and successful logout message.
14
Click
Apply
to save the settings to the running configuration or click
Preview
to view what the user will see. To return to the default views, click
Clear
.
Local User
You can configure a portal to accommodate guest users and authorized users.
Guest users do not have assigned user names and passwords. Authorized users
provide a valid user name and password that must first be validated against a
local database or RADIUS server. Authorized users can gain network access
once the switch confirms the user’s credentials.
By default, each Captive Portal instance contains the default group. The
default group can be renamed, or a different group can be created and
assigned to each Captive Portal instance. A Captive Portal instance can be
associated to one user group only. A user, however, can be assigned to multiple
groups.
The
Local User
page allows you to add authorized users to the local database,
which can contain up to 128 user entries. You can also add and delete users
from the local database from the
Local User
page.
To display the
Local User
page, click
System
→
Captive Portal
→
Local User.
Содержание PowerConnect M6220
Страница 52: ...52 Introduction ...
Страница 86: ...86 Switch Features ...
Страница 100: ...100 Hardware Overview ...
Страница 116: ...116 Using the Command Line Interface ...
Страница 121: ...Default Settings 121 ...
Страница 122: ...122 Default Settings ...
Страница 142: ...142 Setting Basic Network Information ...
Страница 206: ...206 Configuring Authentication Authorization and Accounting ...
Страница 292: ...292 Managing General System Settings Figure 11 31 Verify MOTD ...
Страница 296: ...296 Managing General System Settings ...
Страница 332: ...332 Configuring SNMP ...
Страница 408: ...408 Monitoring Switch Traffic ...
Страница 560: ...560 Configuring Access Control Lists ...
Страница 582: ...582 Configuring VLANs Figure 21 6 Add Ports to VLAN 4 Click Apply 5 Verify that the ports have been added to the VLAN ...
Страница 591: ...Configuring VLANs 591 Figure 21 17 GVRP Port Parameters Table ...
Страница 597: ...Configuring VLANs 597 Figure 21 24 Double VLAN Port Parameter Table ...
Страница 693: ...Configuring Port Based Traffic Control 693 Figure 24 3 Storm Control 5 Click Apply ...
Страница 780: ...780 Configuring Connectivity Fault Management ...
Страница 804: ...804 Snooping and Inspecting Traffic Figure 27 17 DAI Interface Configuration Summary ...
Страница 818: ...818 Snooping and Inspecting Traffic ...
Страница 836: ...836 Configuring Link Aggregation ...
Страница 860: ...860 Configuring Data Center Bridging Features ...
Страница 906: ...906 Configuring DHCP Server Settings ...
Страница 940: ...940 Configuring L2 and L3 Relay Features Figure 34 3 DHCP Relay Interface Summary ...
Страница 1080: ...1080 Configuring VRRP ...
Страница 1104: ...1104 Configuring IPv6 Routing ...
Страница 1124: ...1124 Configuring DHCPv6 Server and Relay Settings Relay Interface Number Vl100 Relay Remote ID Option Flags ...
Страница 1131: ...Configuring Differentiated Services 1131 Figure 40 5 DiffServ Class Criteria ...
Страница 1158: ...1158 Configuring Class of Service Figure 41 1 Mapping Table Configuration CoS 802 1P ...
Страница 1174: ...1174 Configuring Auto VoIP Figure 42 2 Auto VoIP Interface Configuration ...
Страница 1240: ...1240 Managing IPv4 and IPv6 Multicast Figure 43 51 DVMRP Next Hop Summary ...
Страница 1266: ...1266 Managing IPv4 and IPv6 Multicast ...
Страница 1274: ...1274 System Process Definitions ...
Страница 1294: ...1294 Index ...


